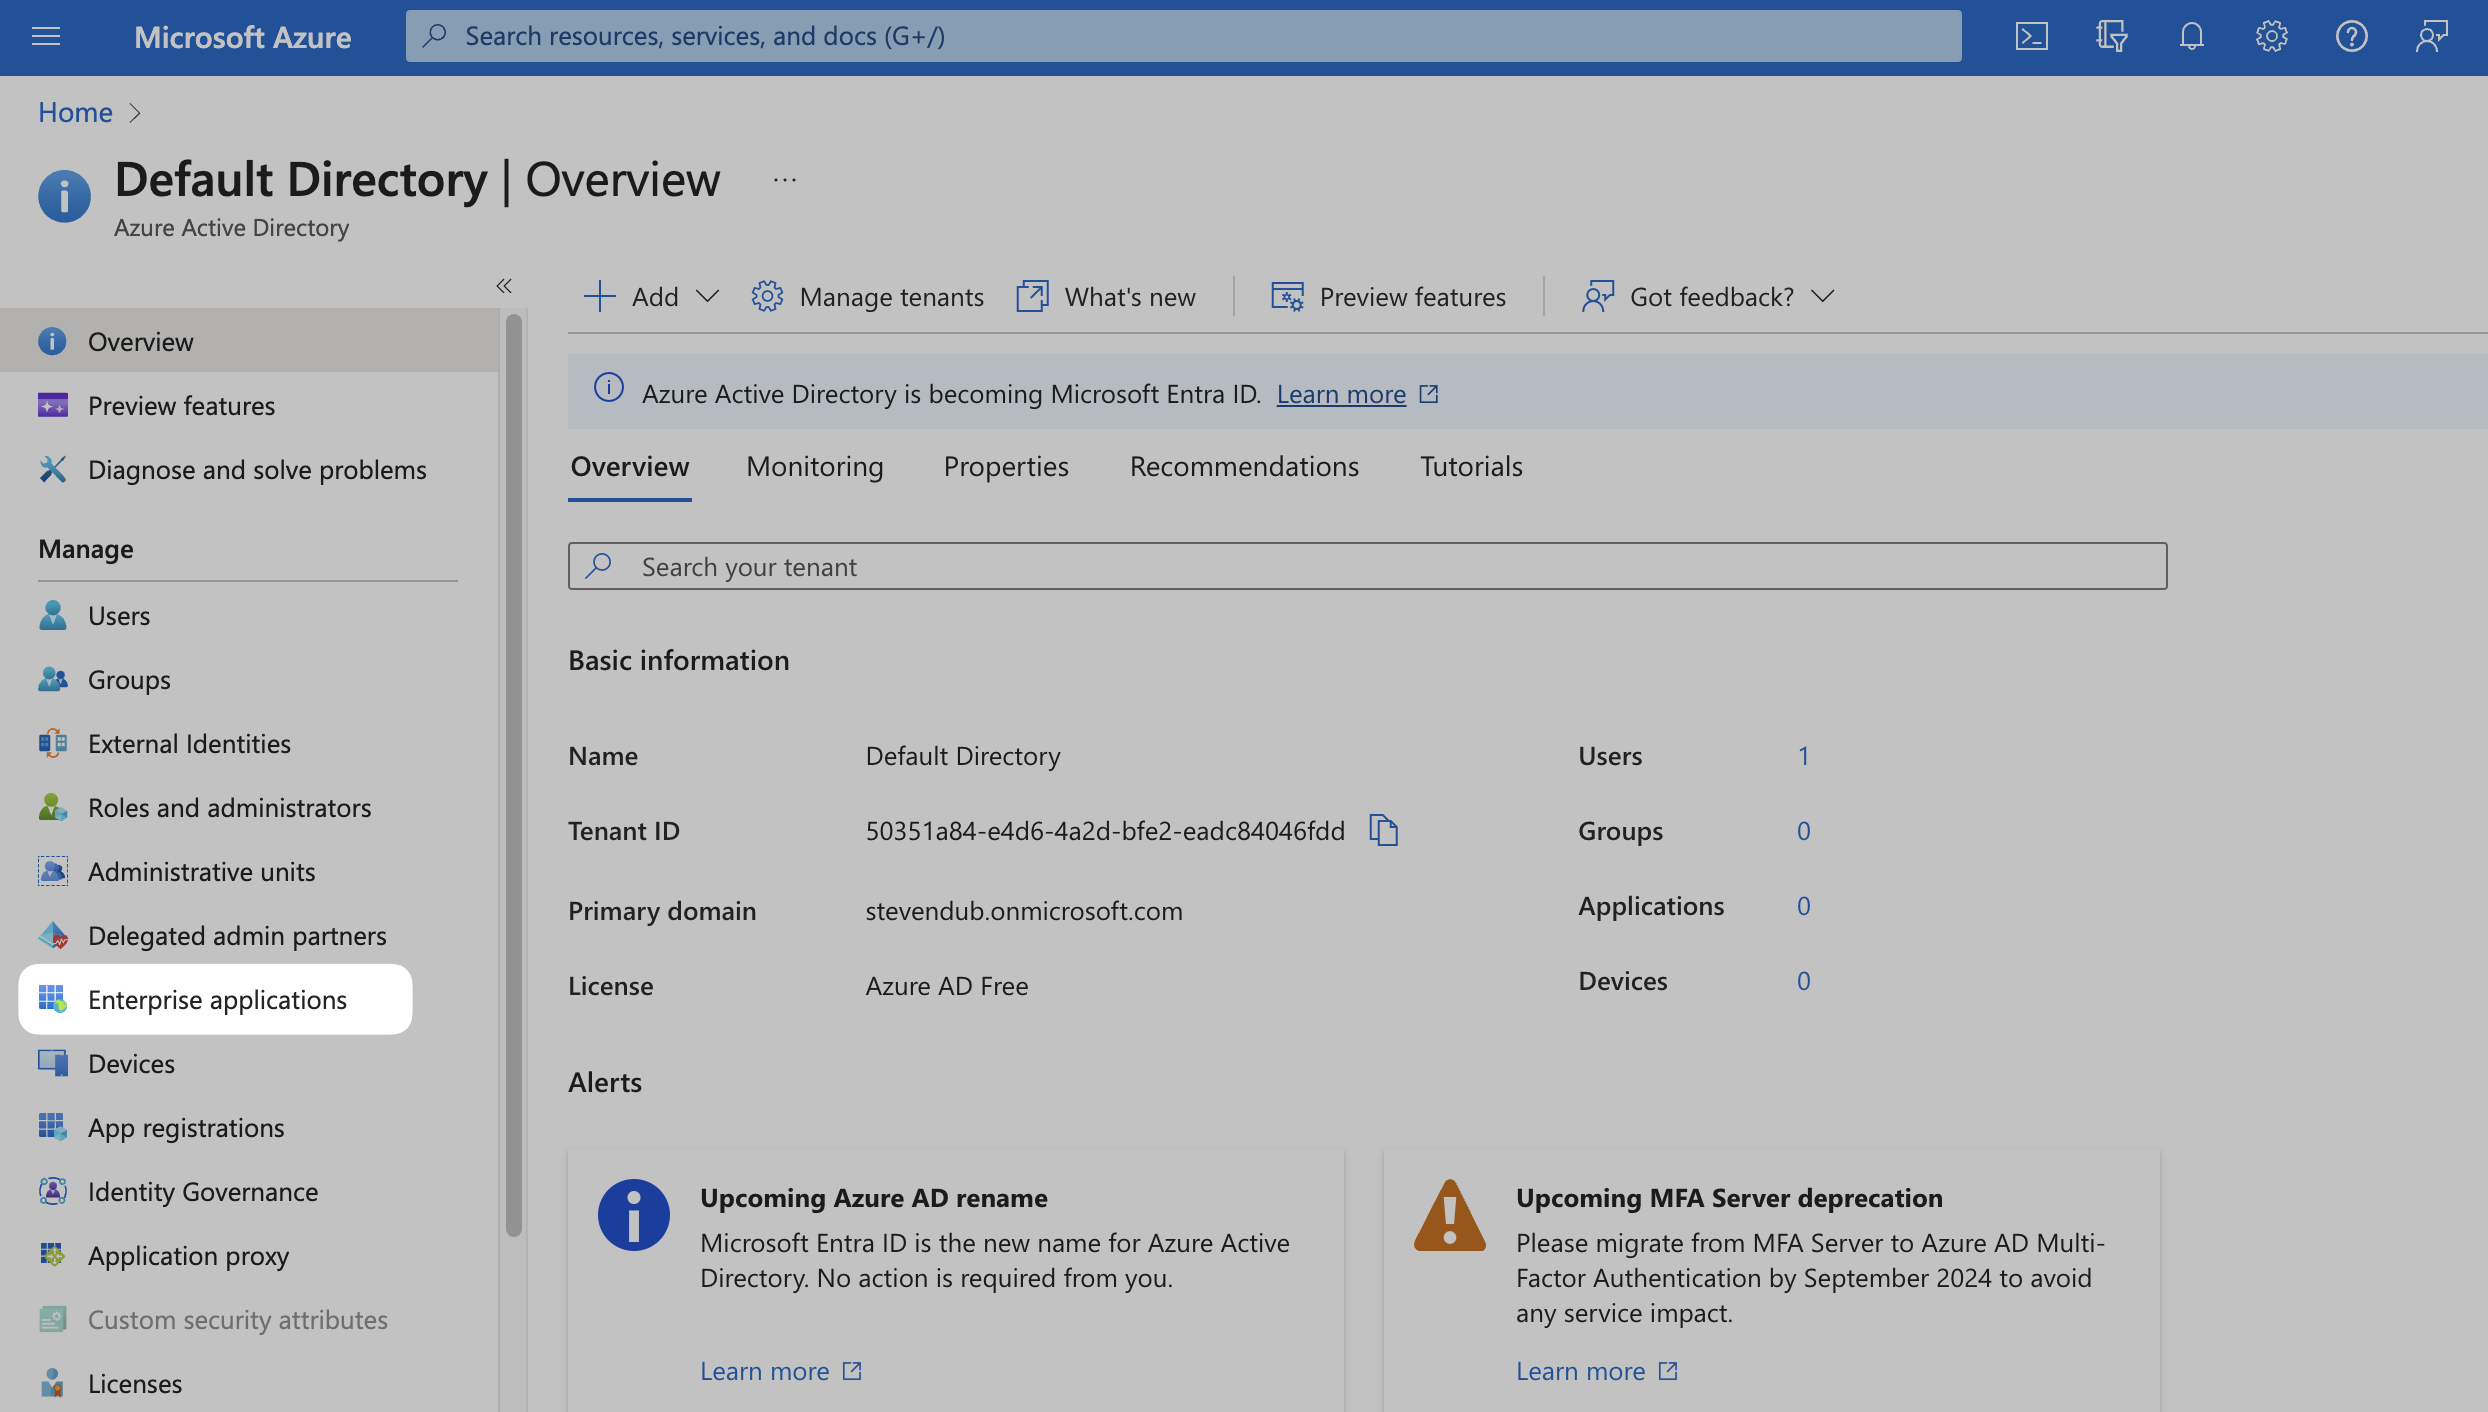
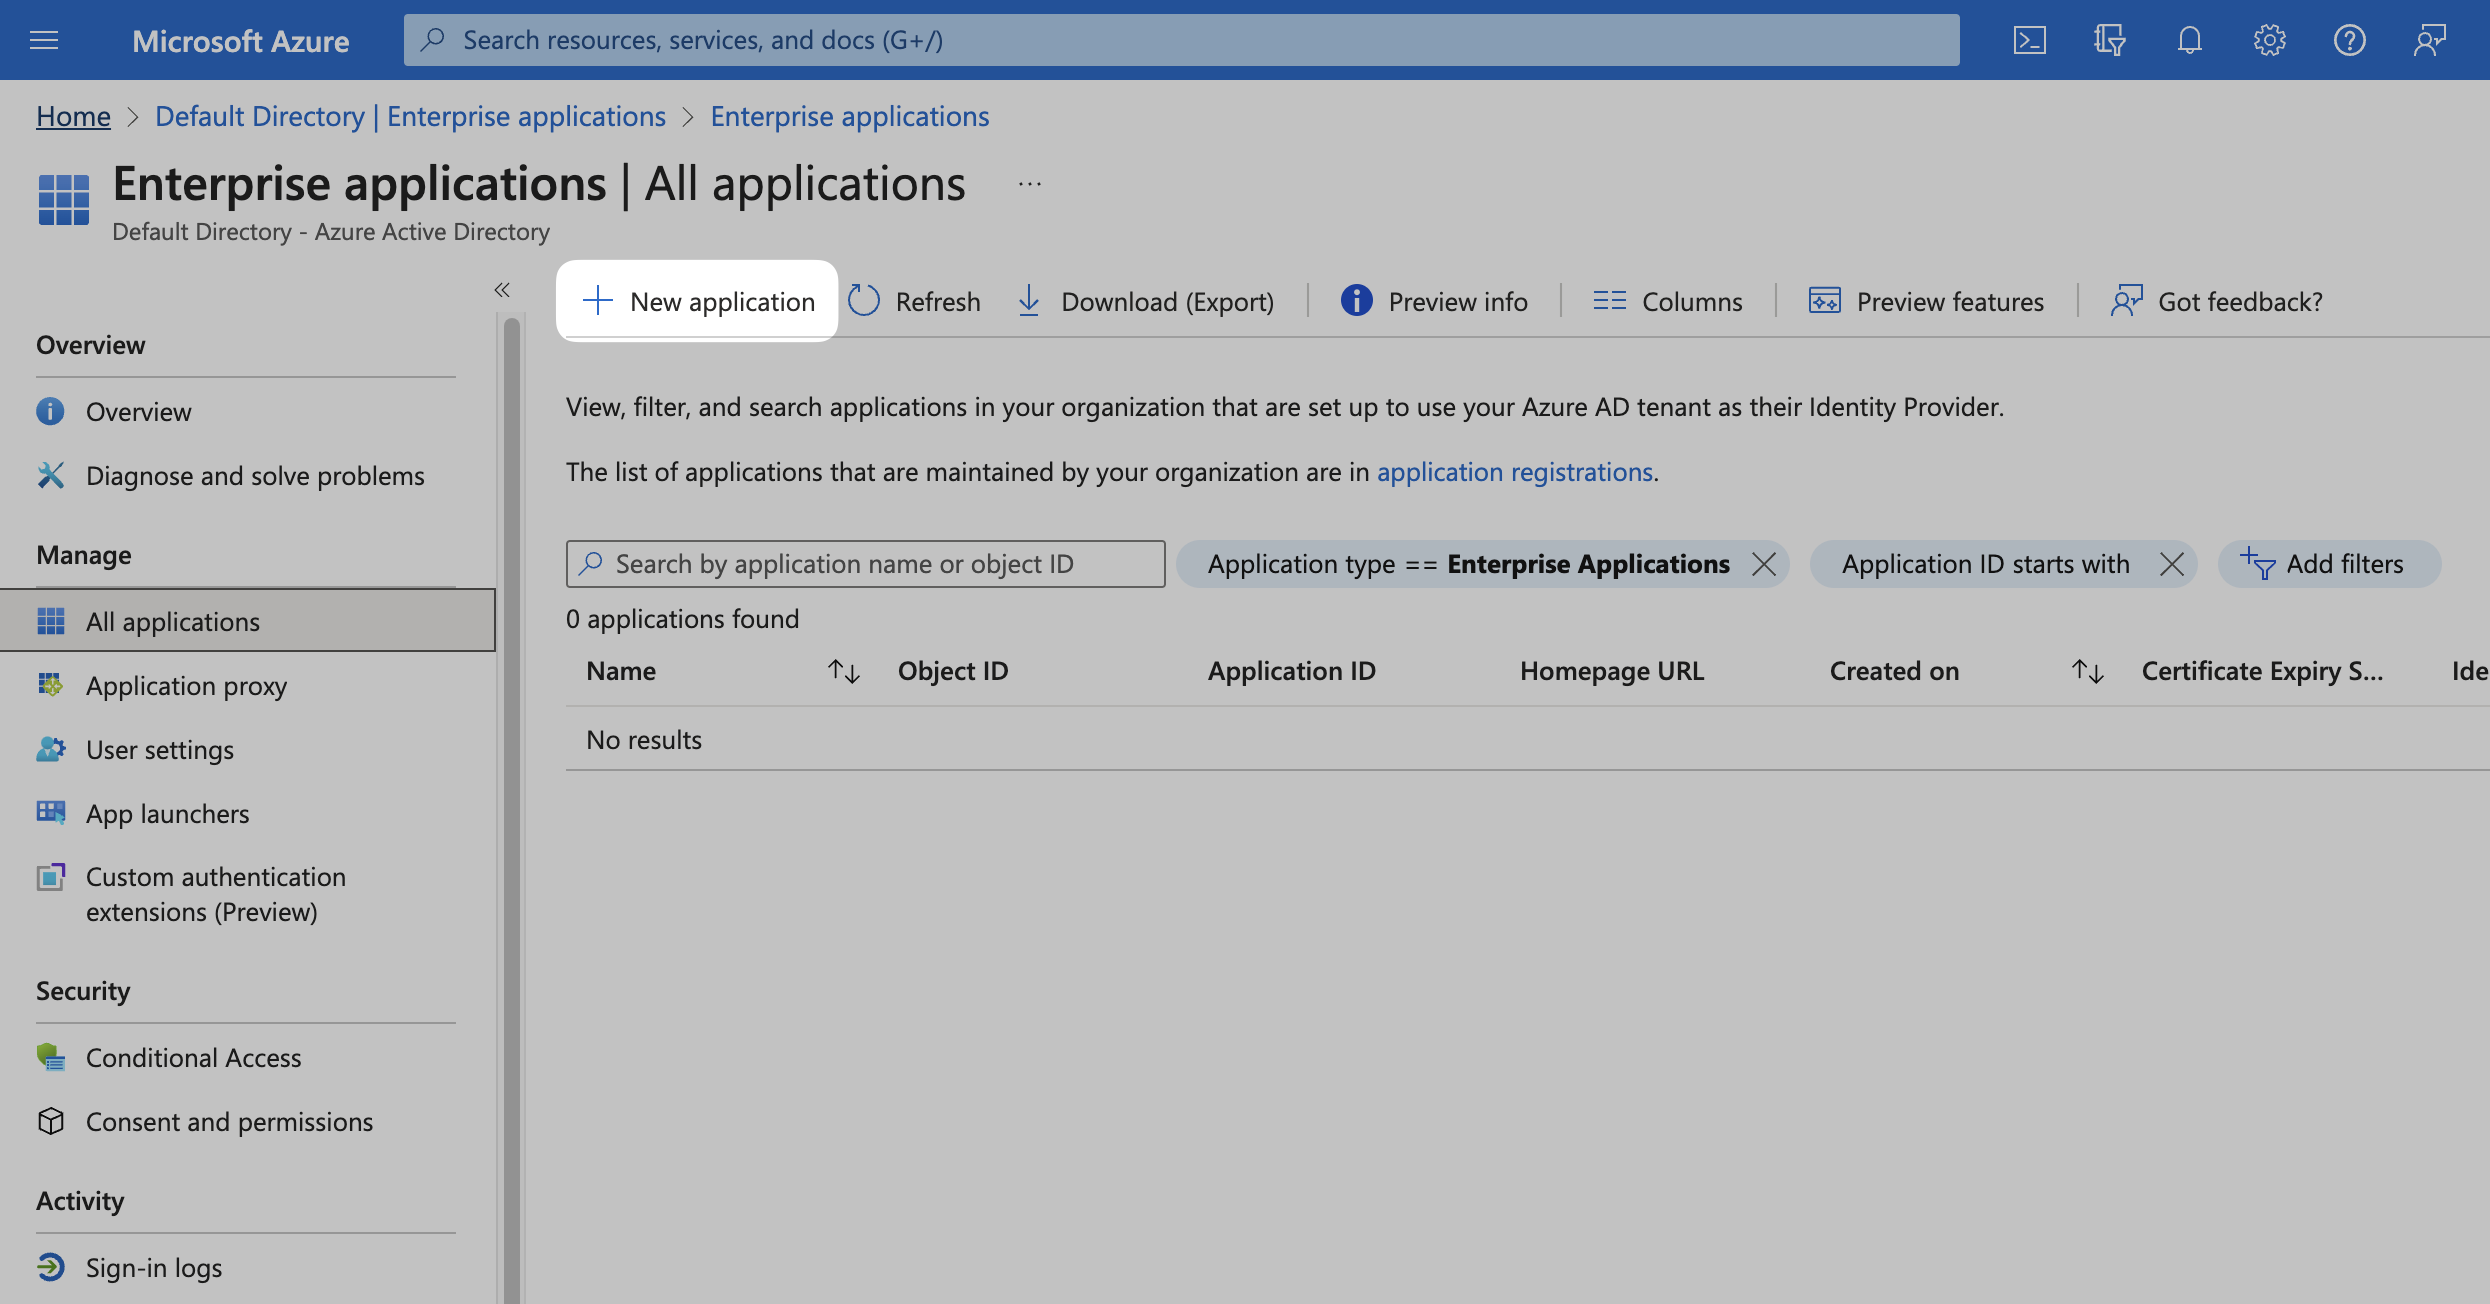
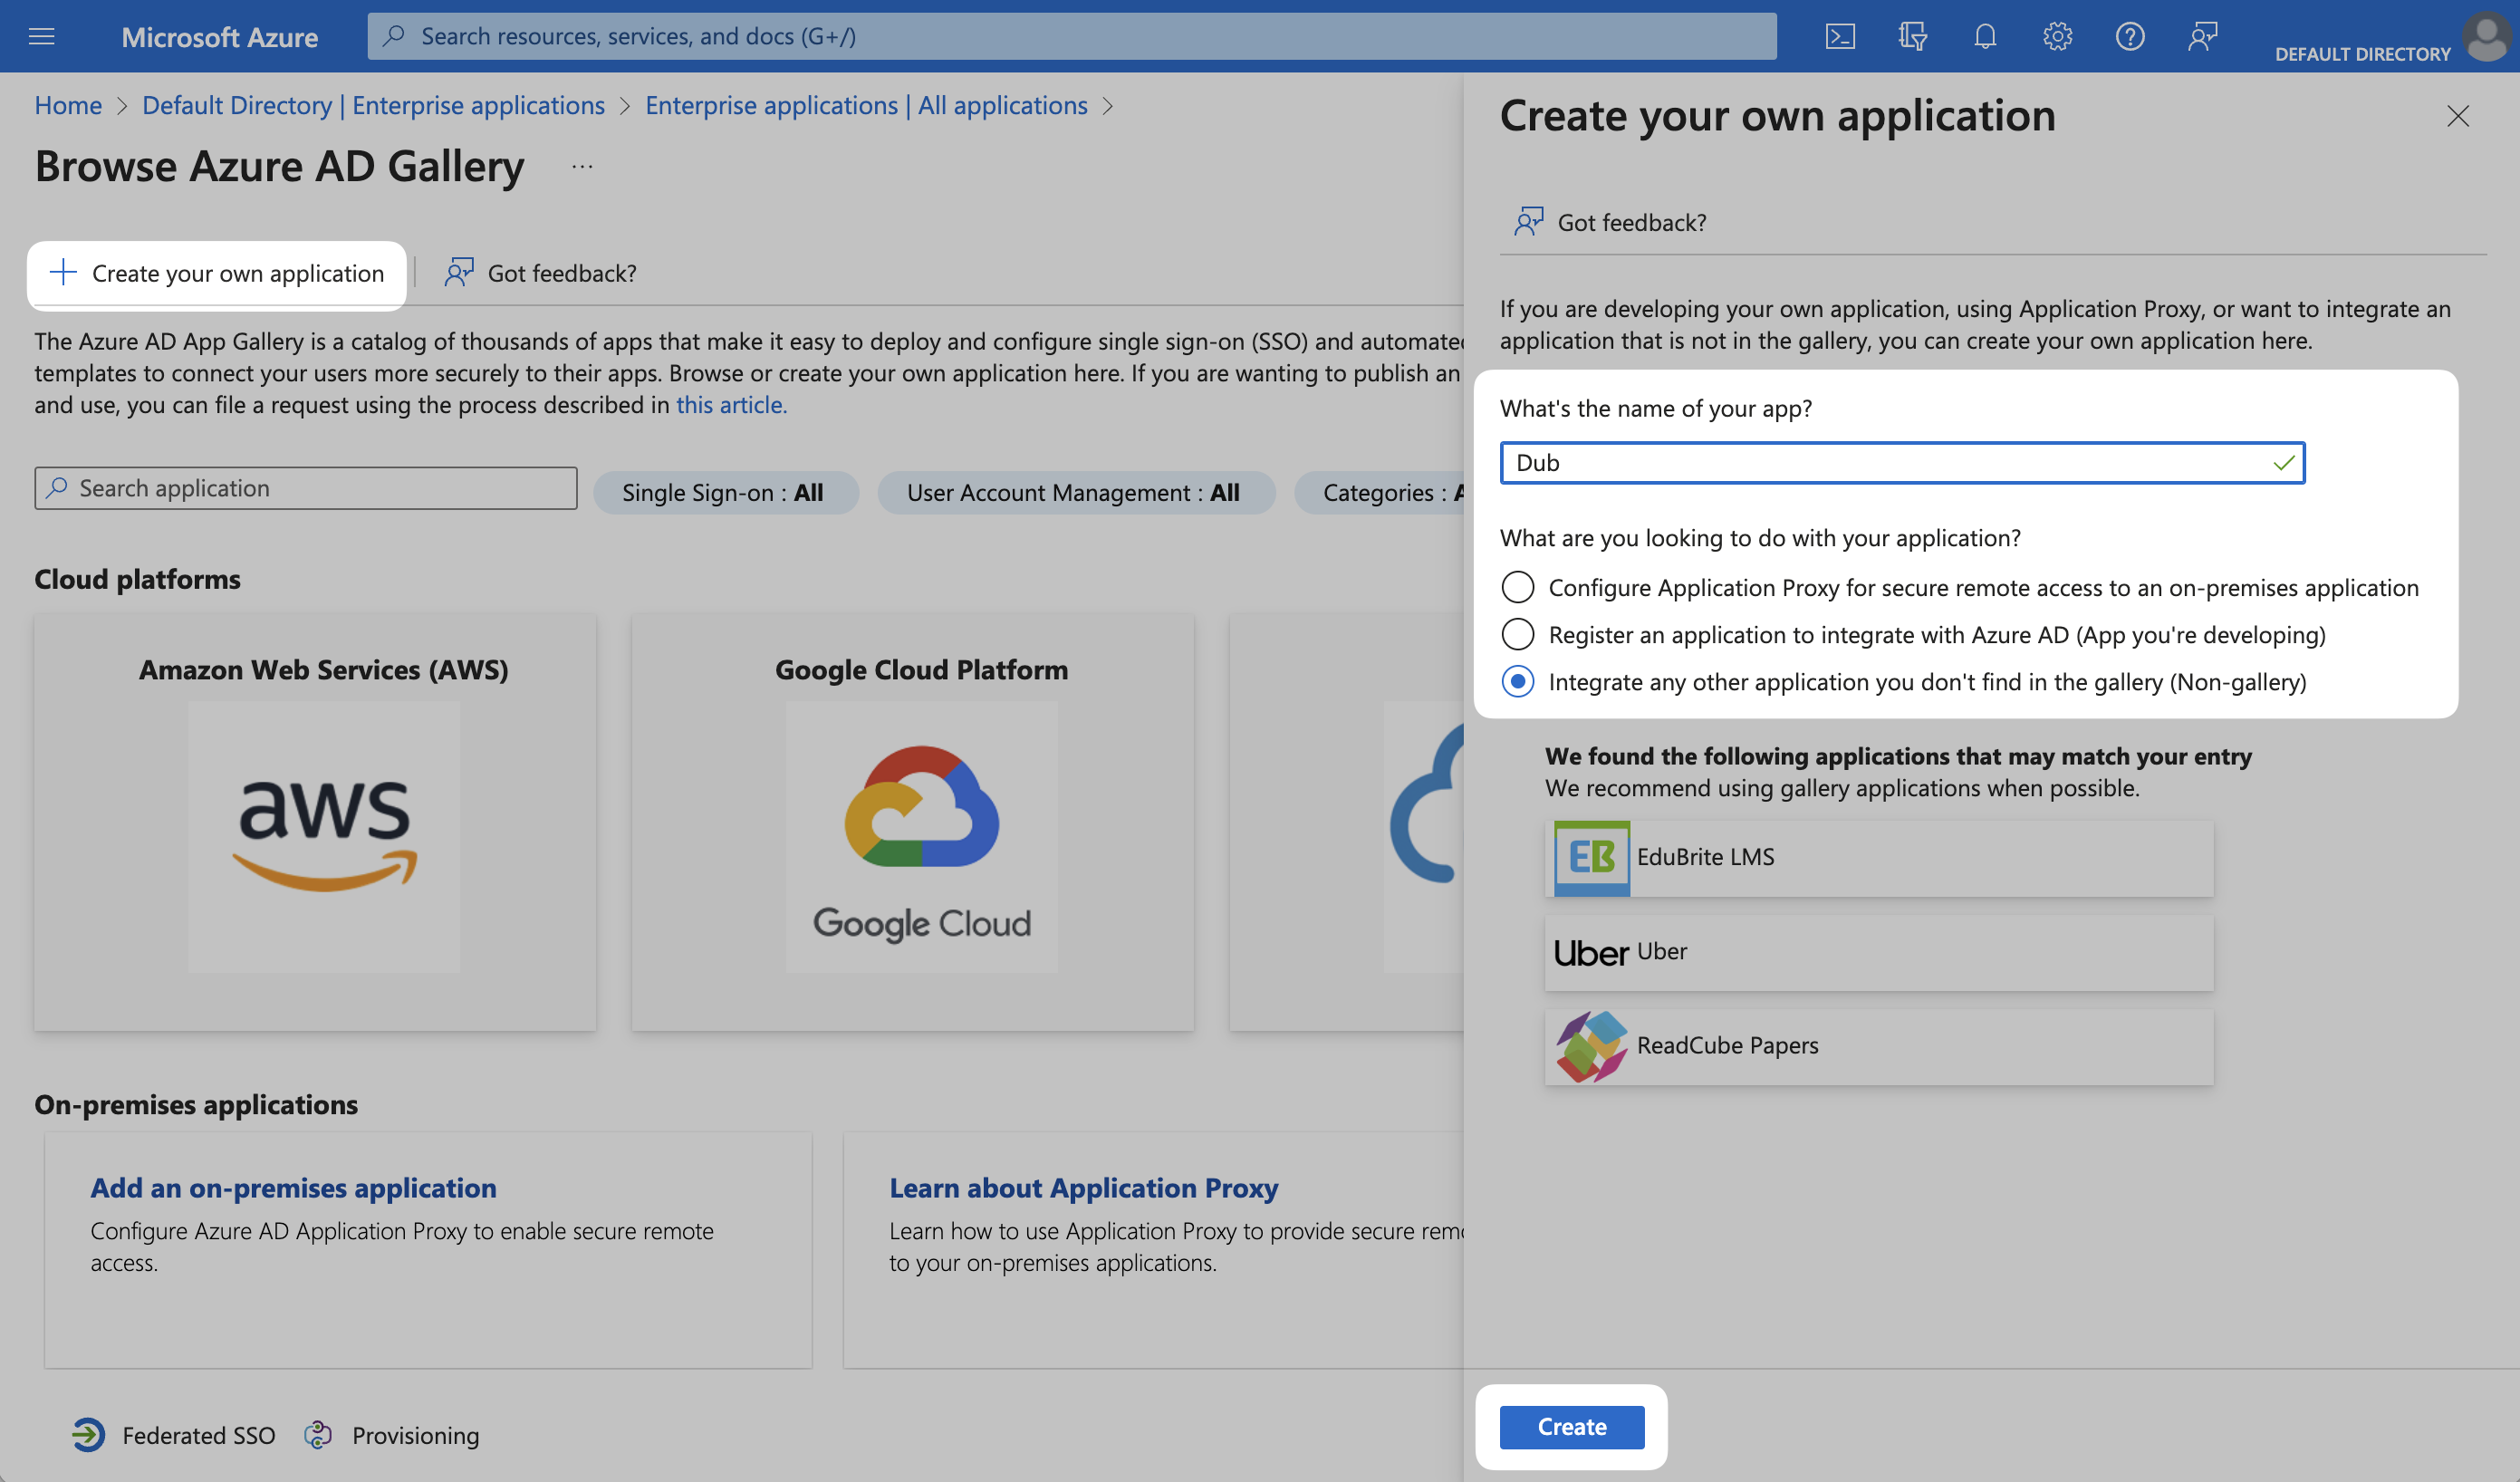
Step 1: Create or Select SAML Application
In your Azure Admin console, select Azure Active Directory (or search for it in the search bar).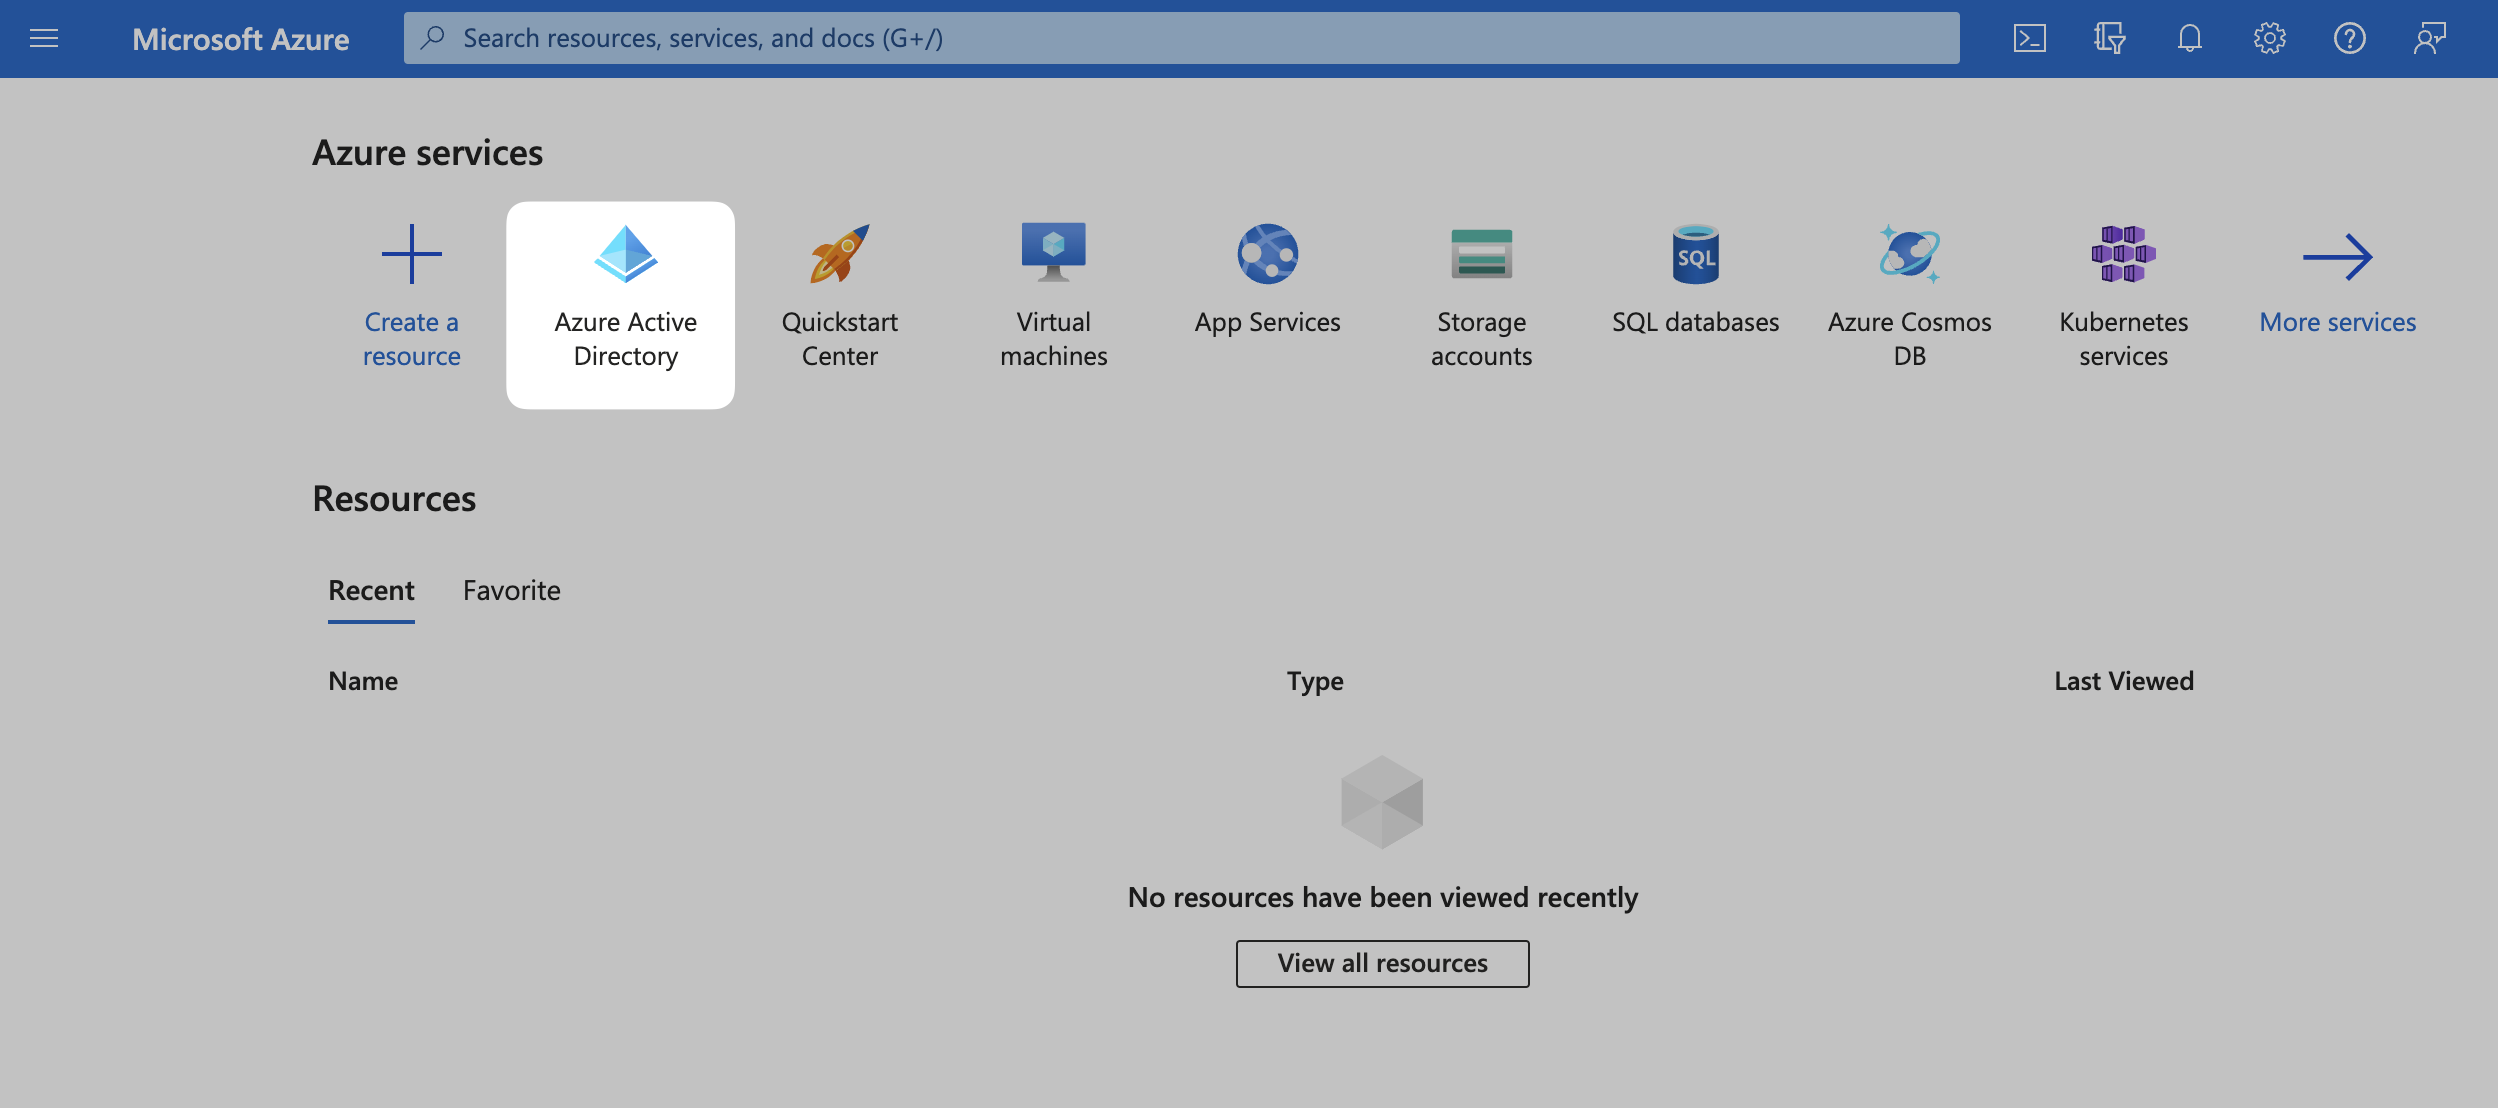
Step 2: Configure SAML Application
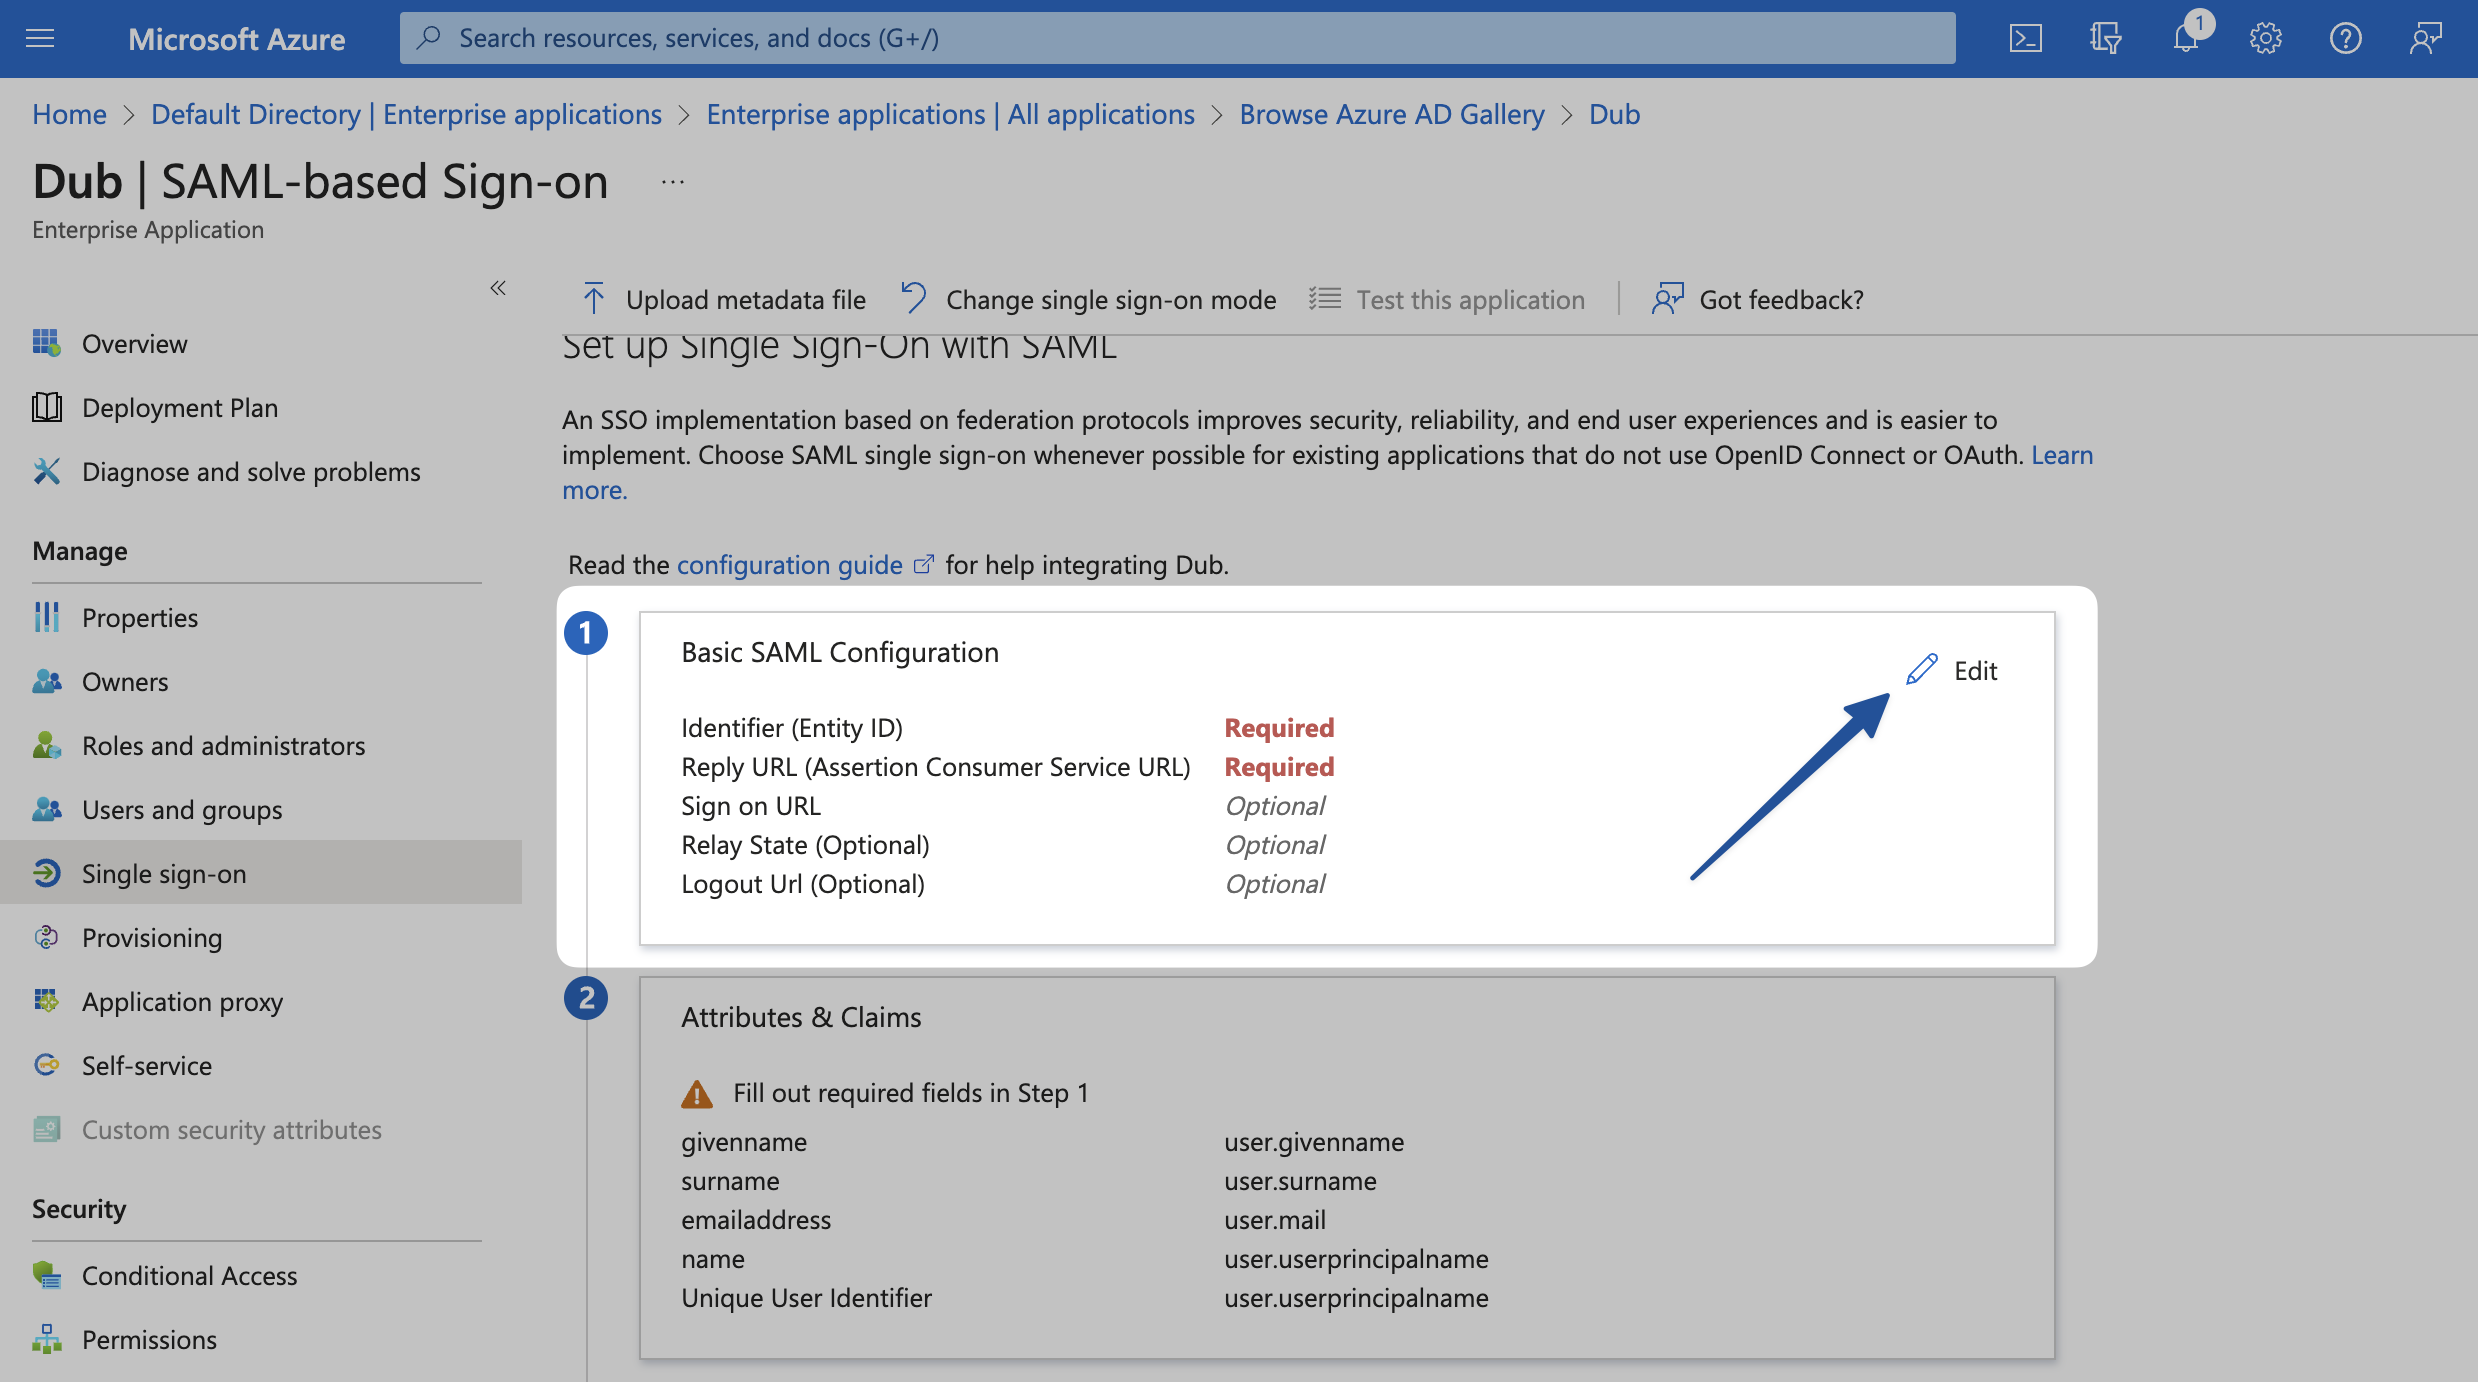
Under the Manage section in the left sidebar, select Single sign-on. Then, click on SAML.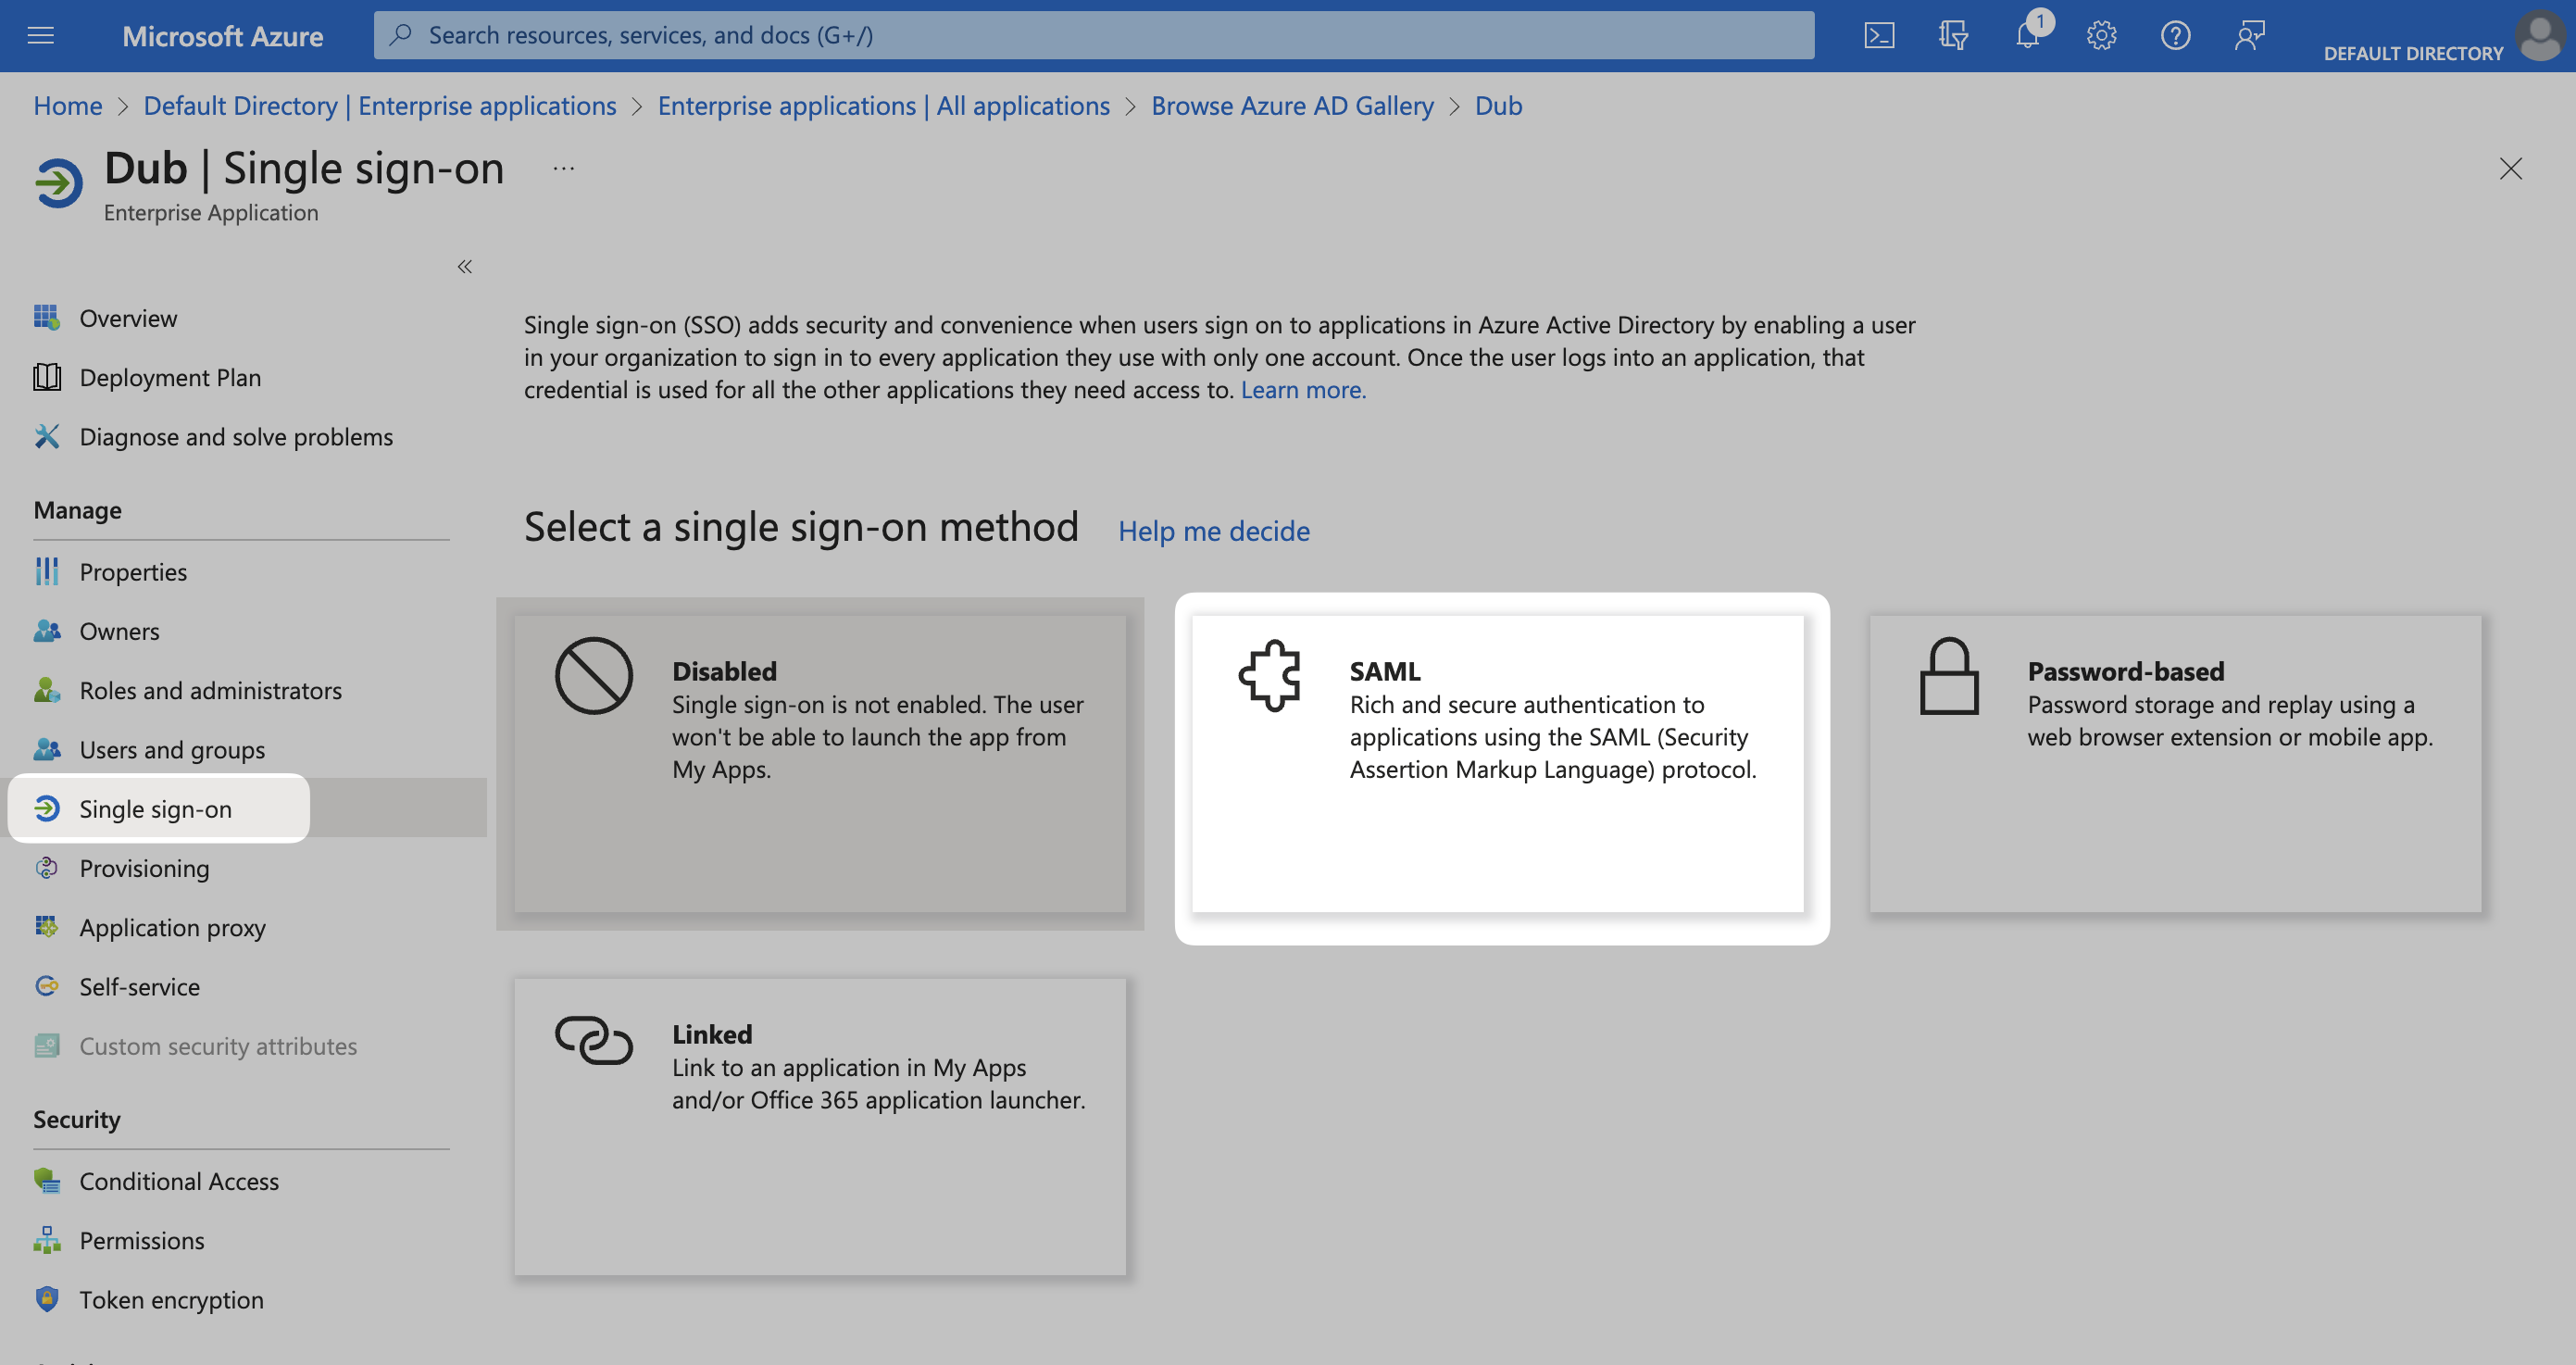
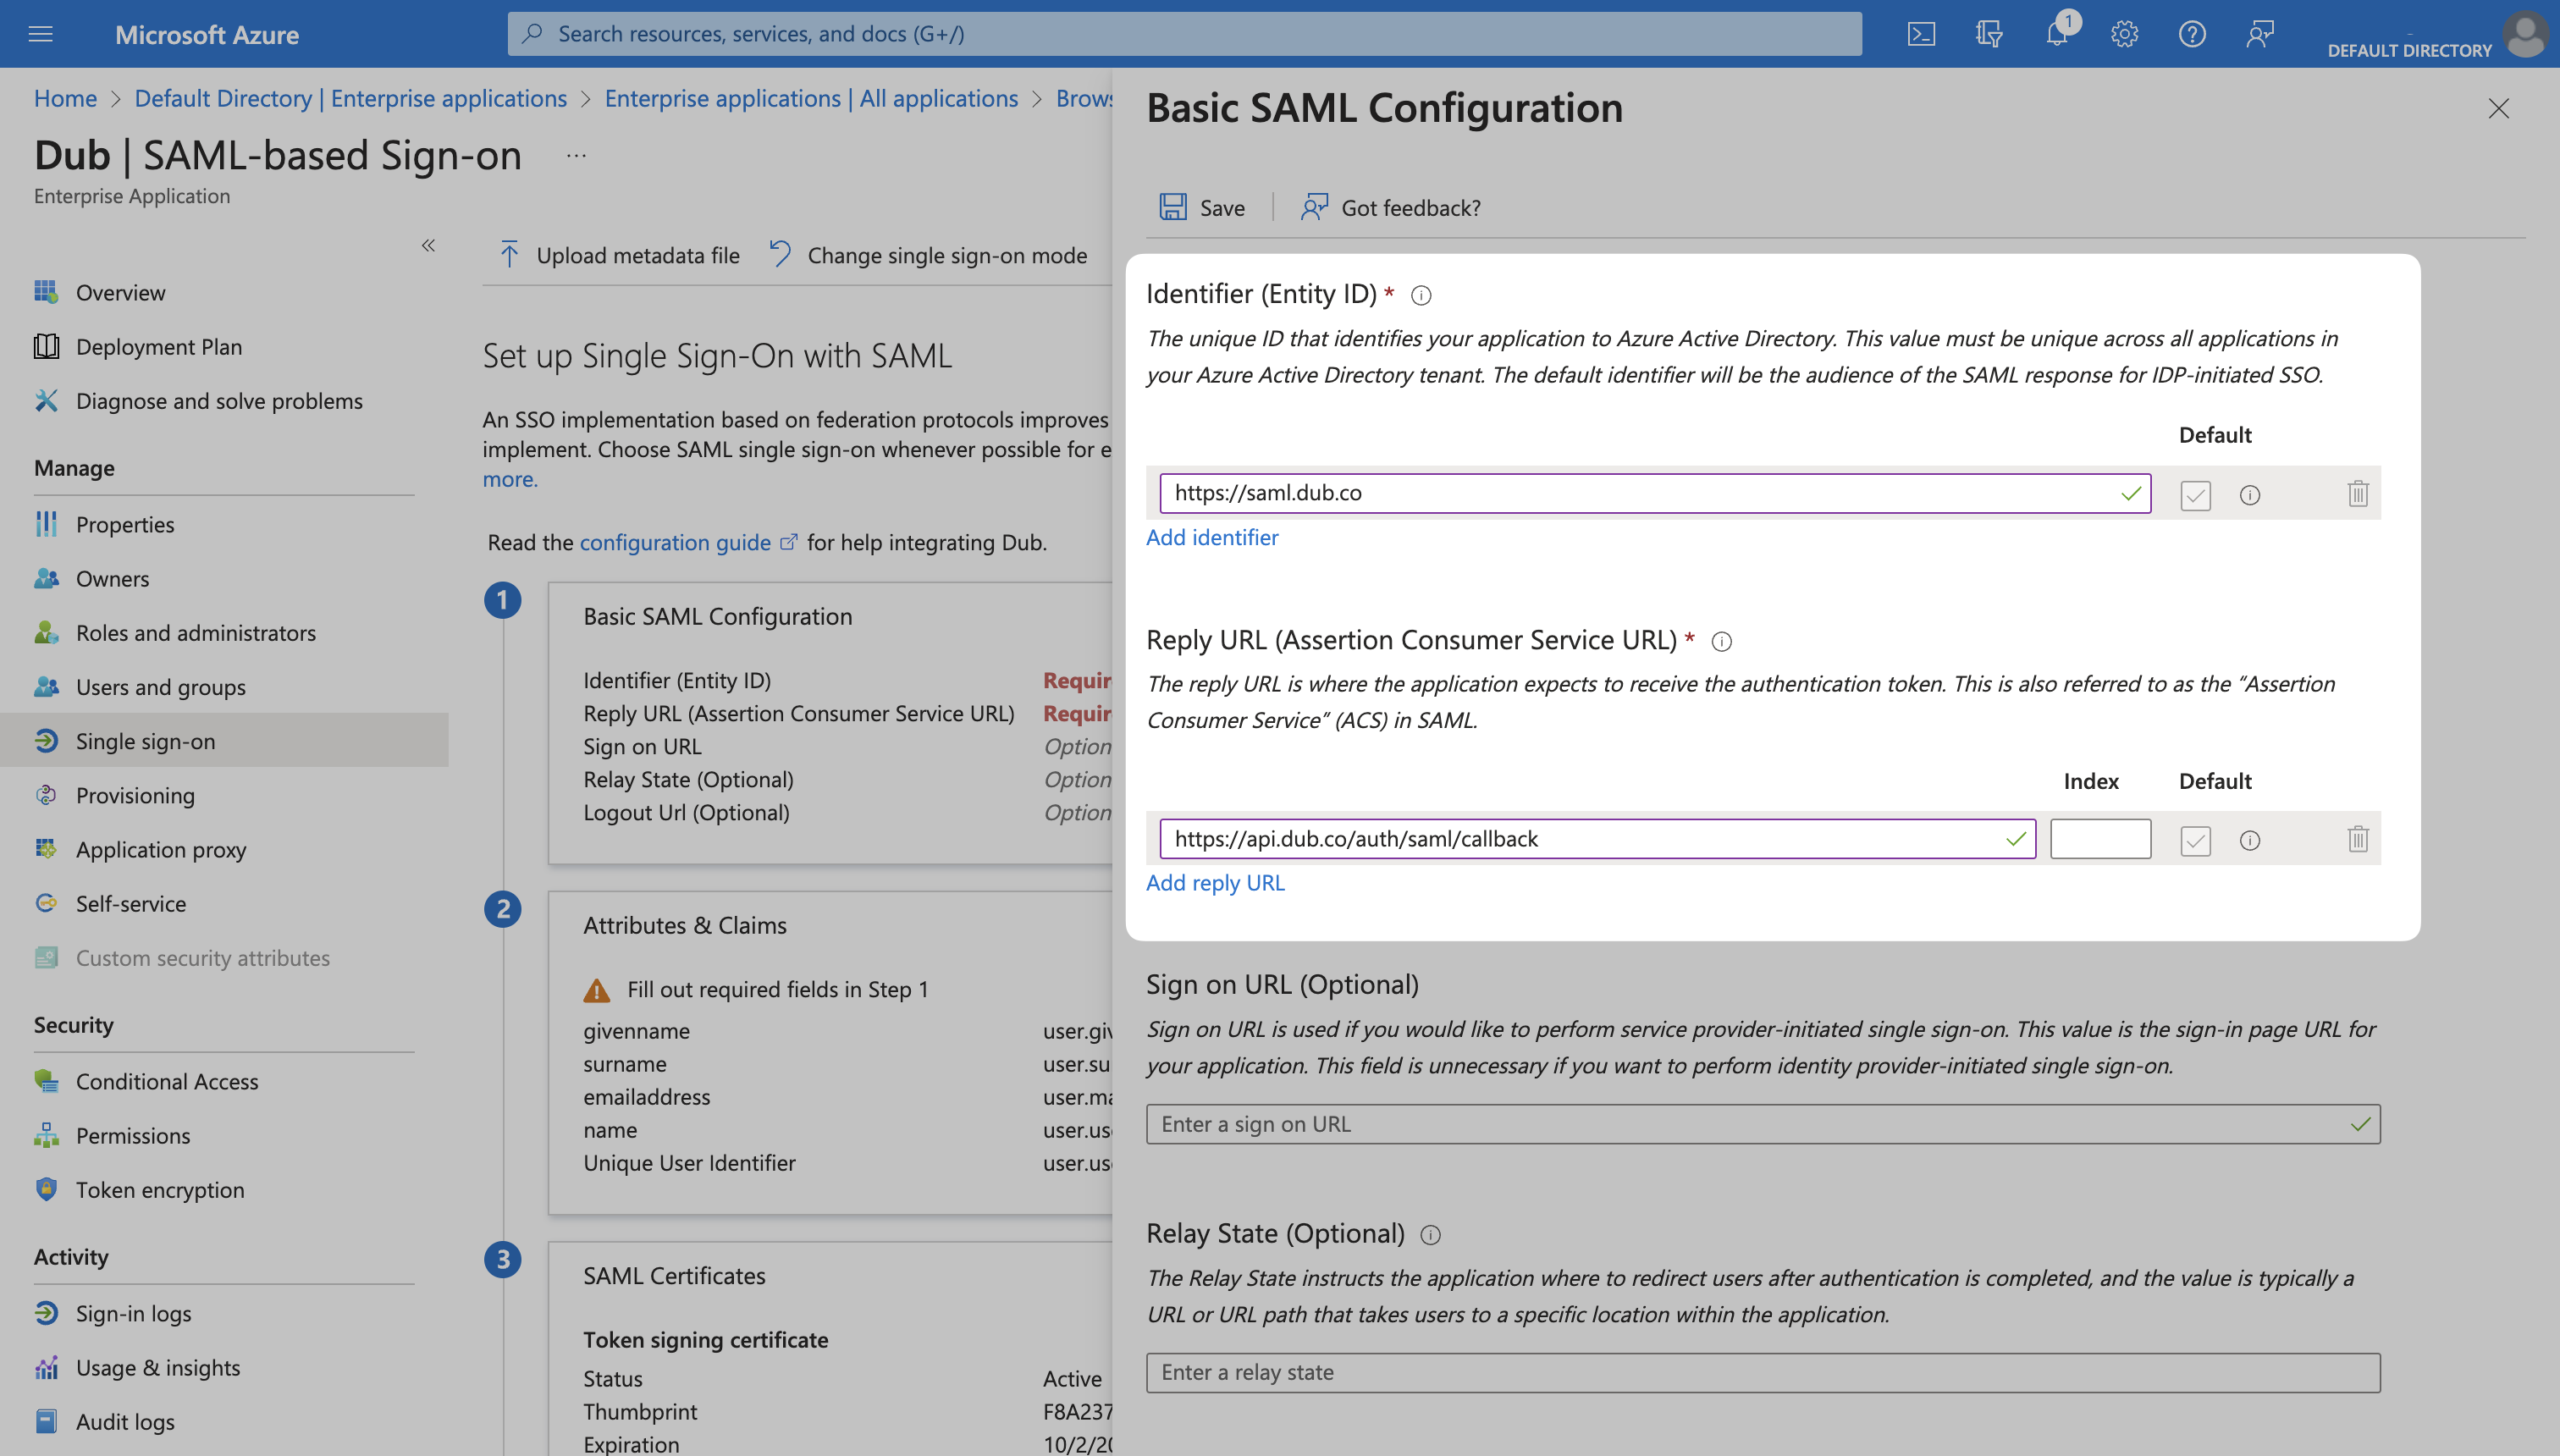
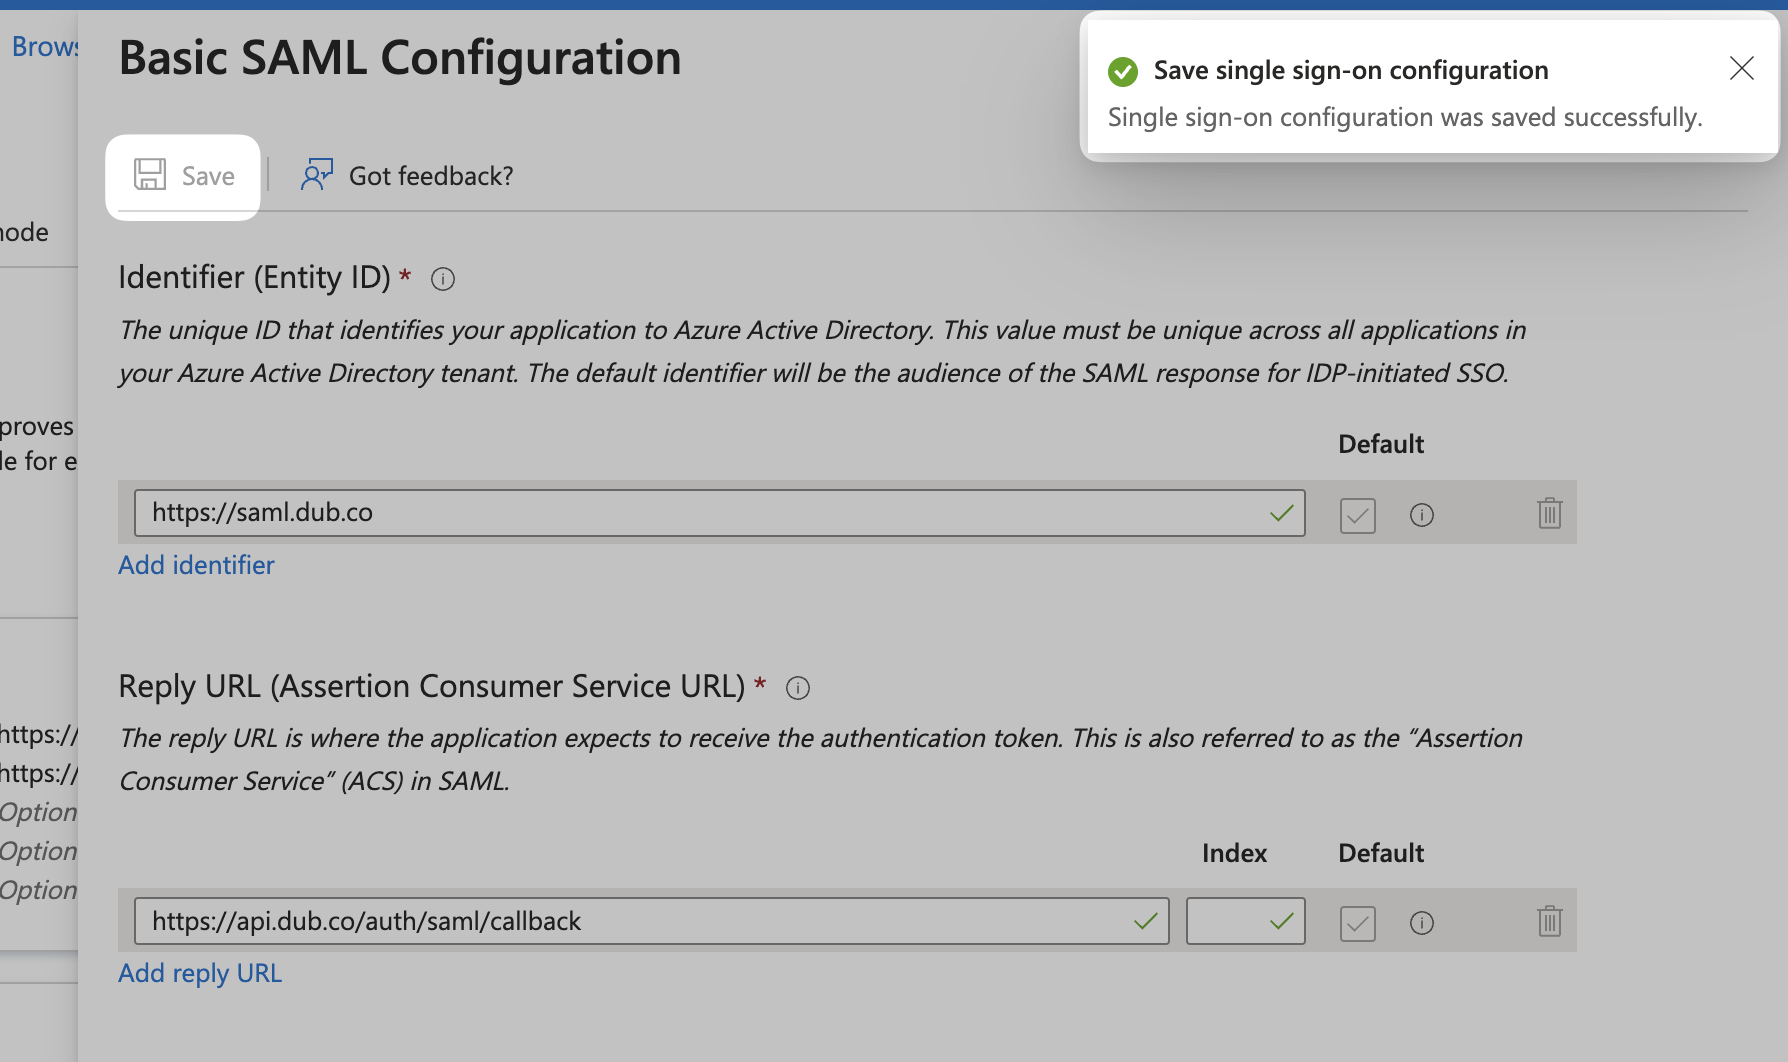
Identifier (Entity ID)
Reply URL (Assertion Consumer Service URL)
Step 3: Attribute Mapping
Click Edit on the Attributes & Claims section.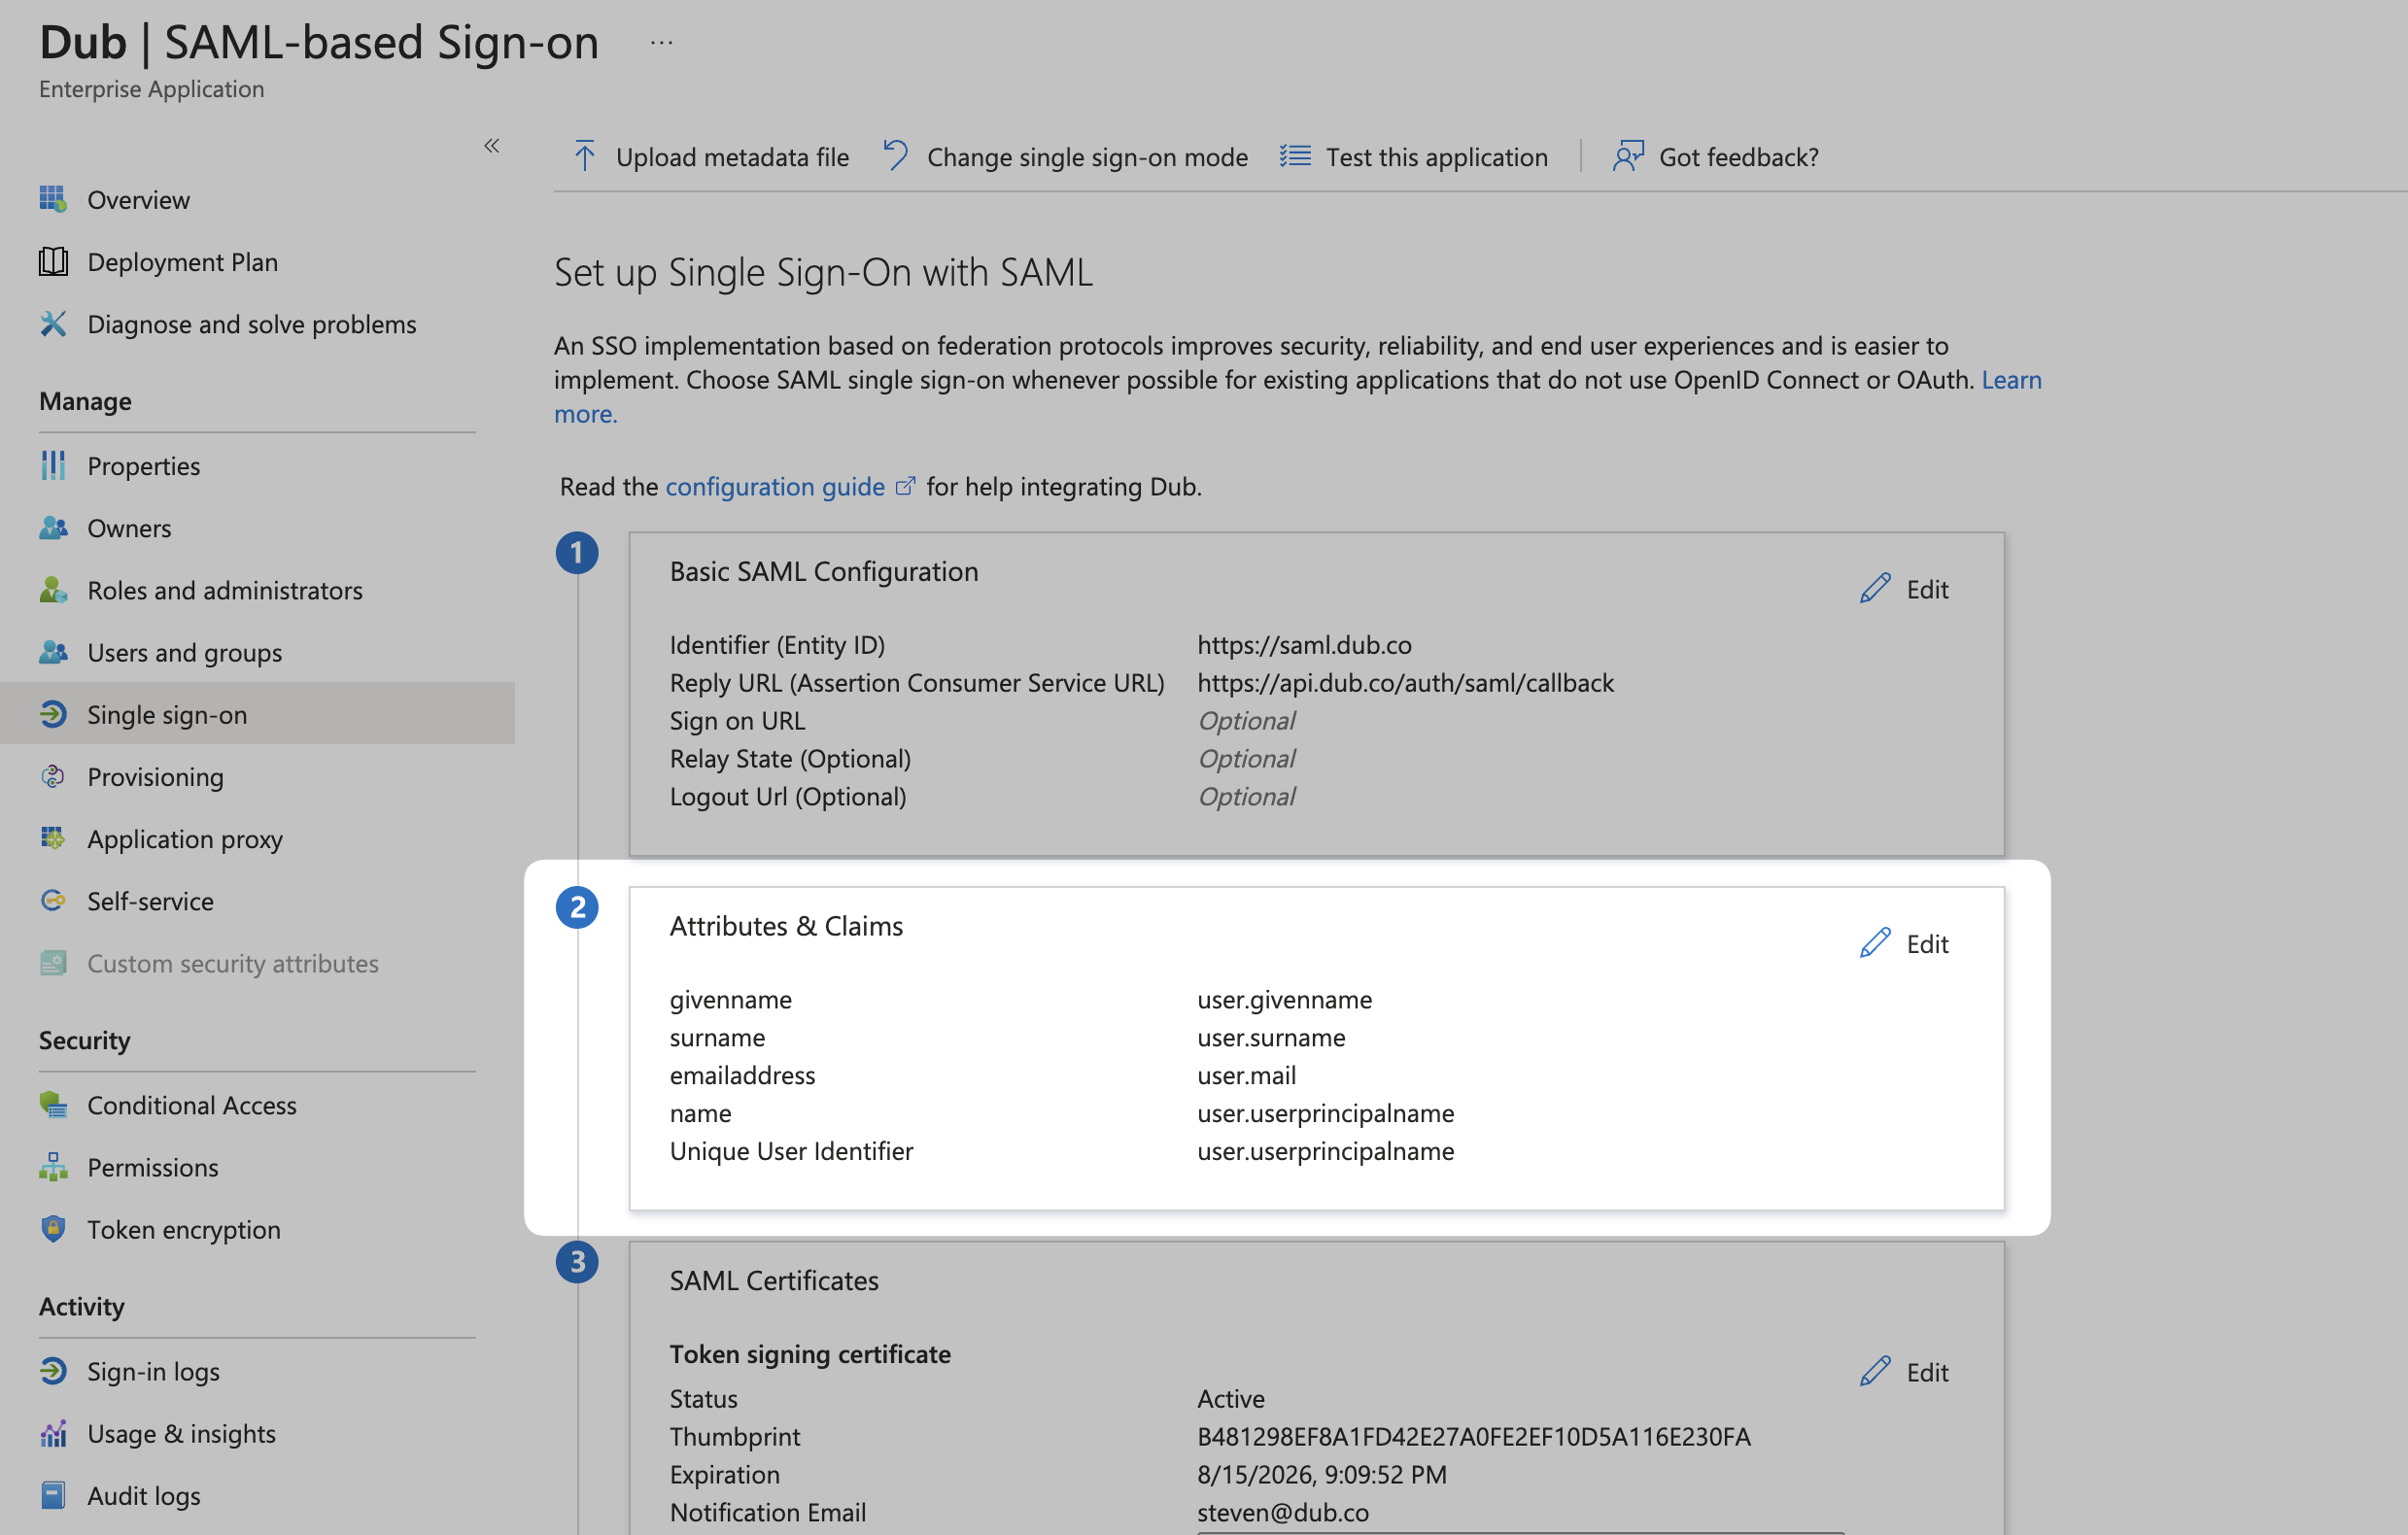

X button in the top right corner to go back to the main settings page (or click the back button in your browser).
Step 4: Copy the Metadata URL
Scroll down to the 3rd section on the page, SAML Certificates. Copy the App Federation Metadata Url value and return to the Dub dashboard.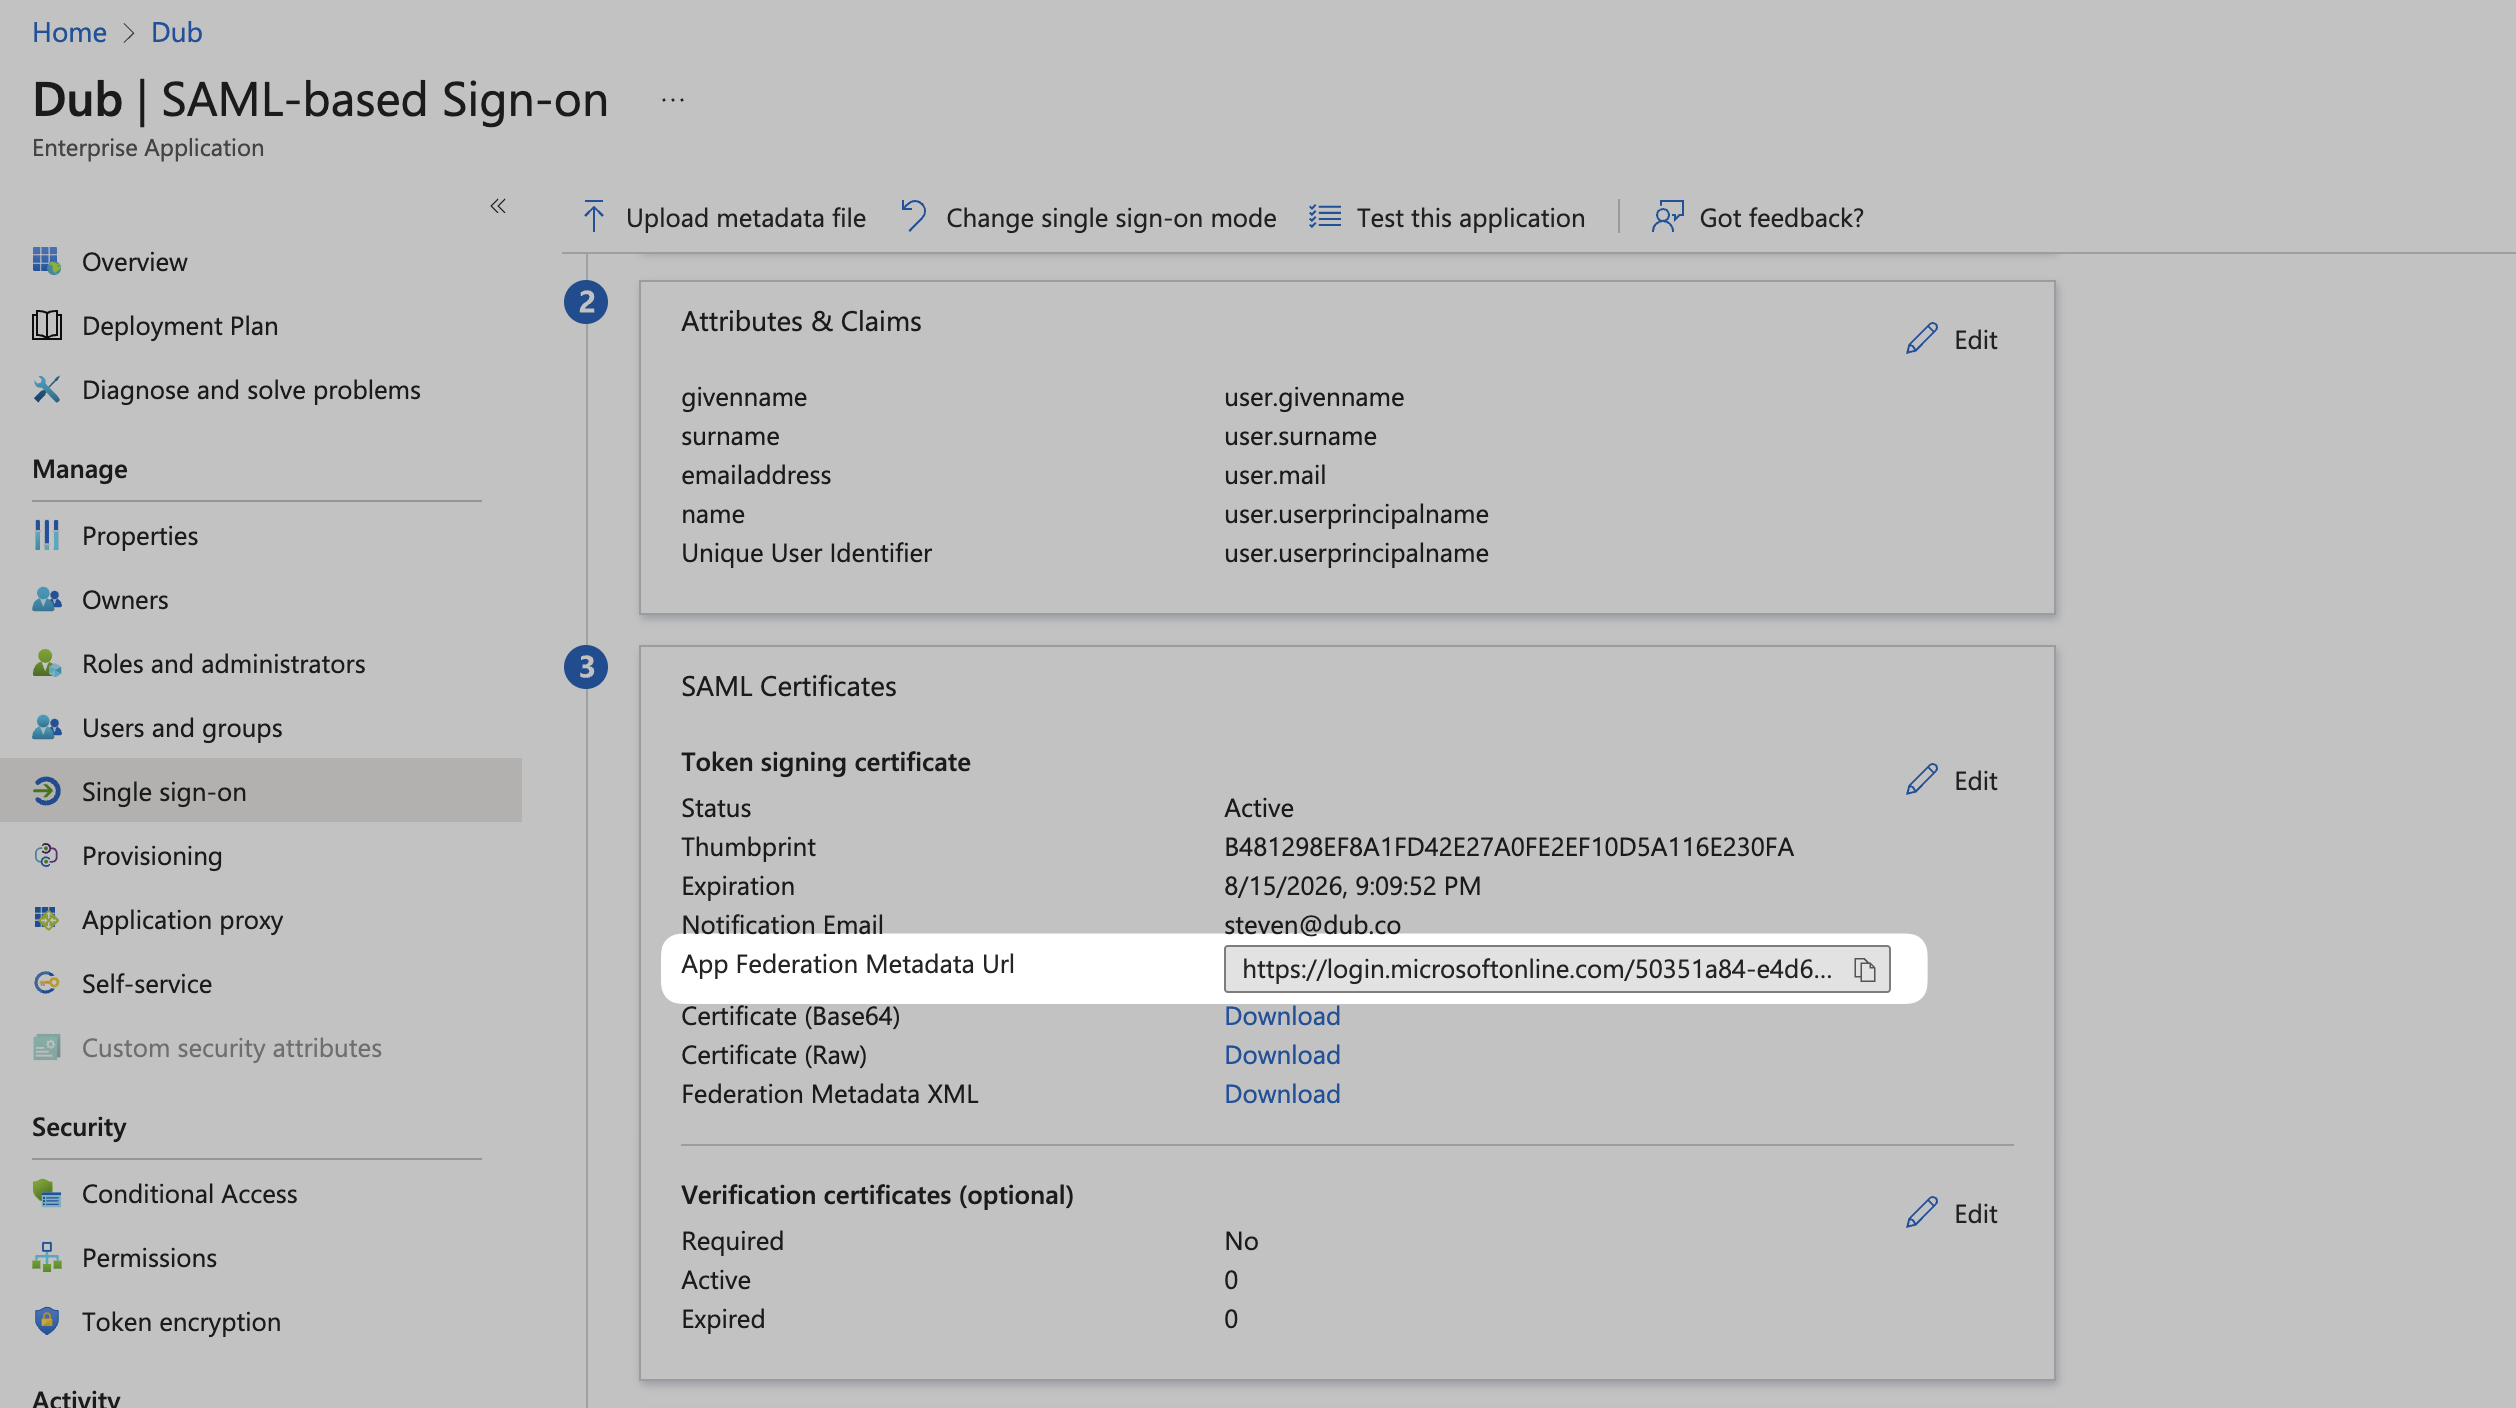
Step 5: Configure SAML SSO on Dub
In your workspace settings, click on Security in the Workspace group.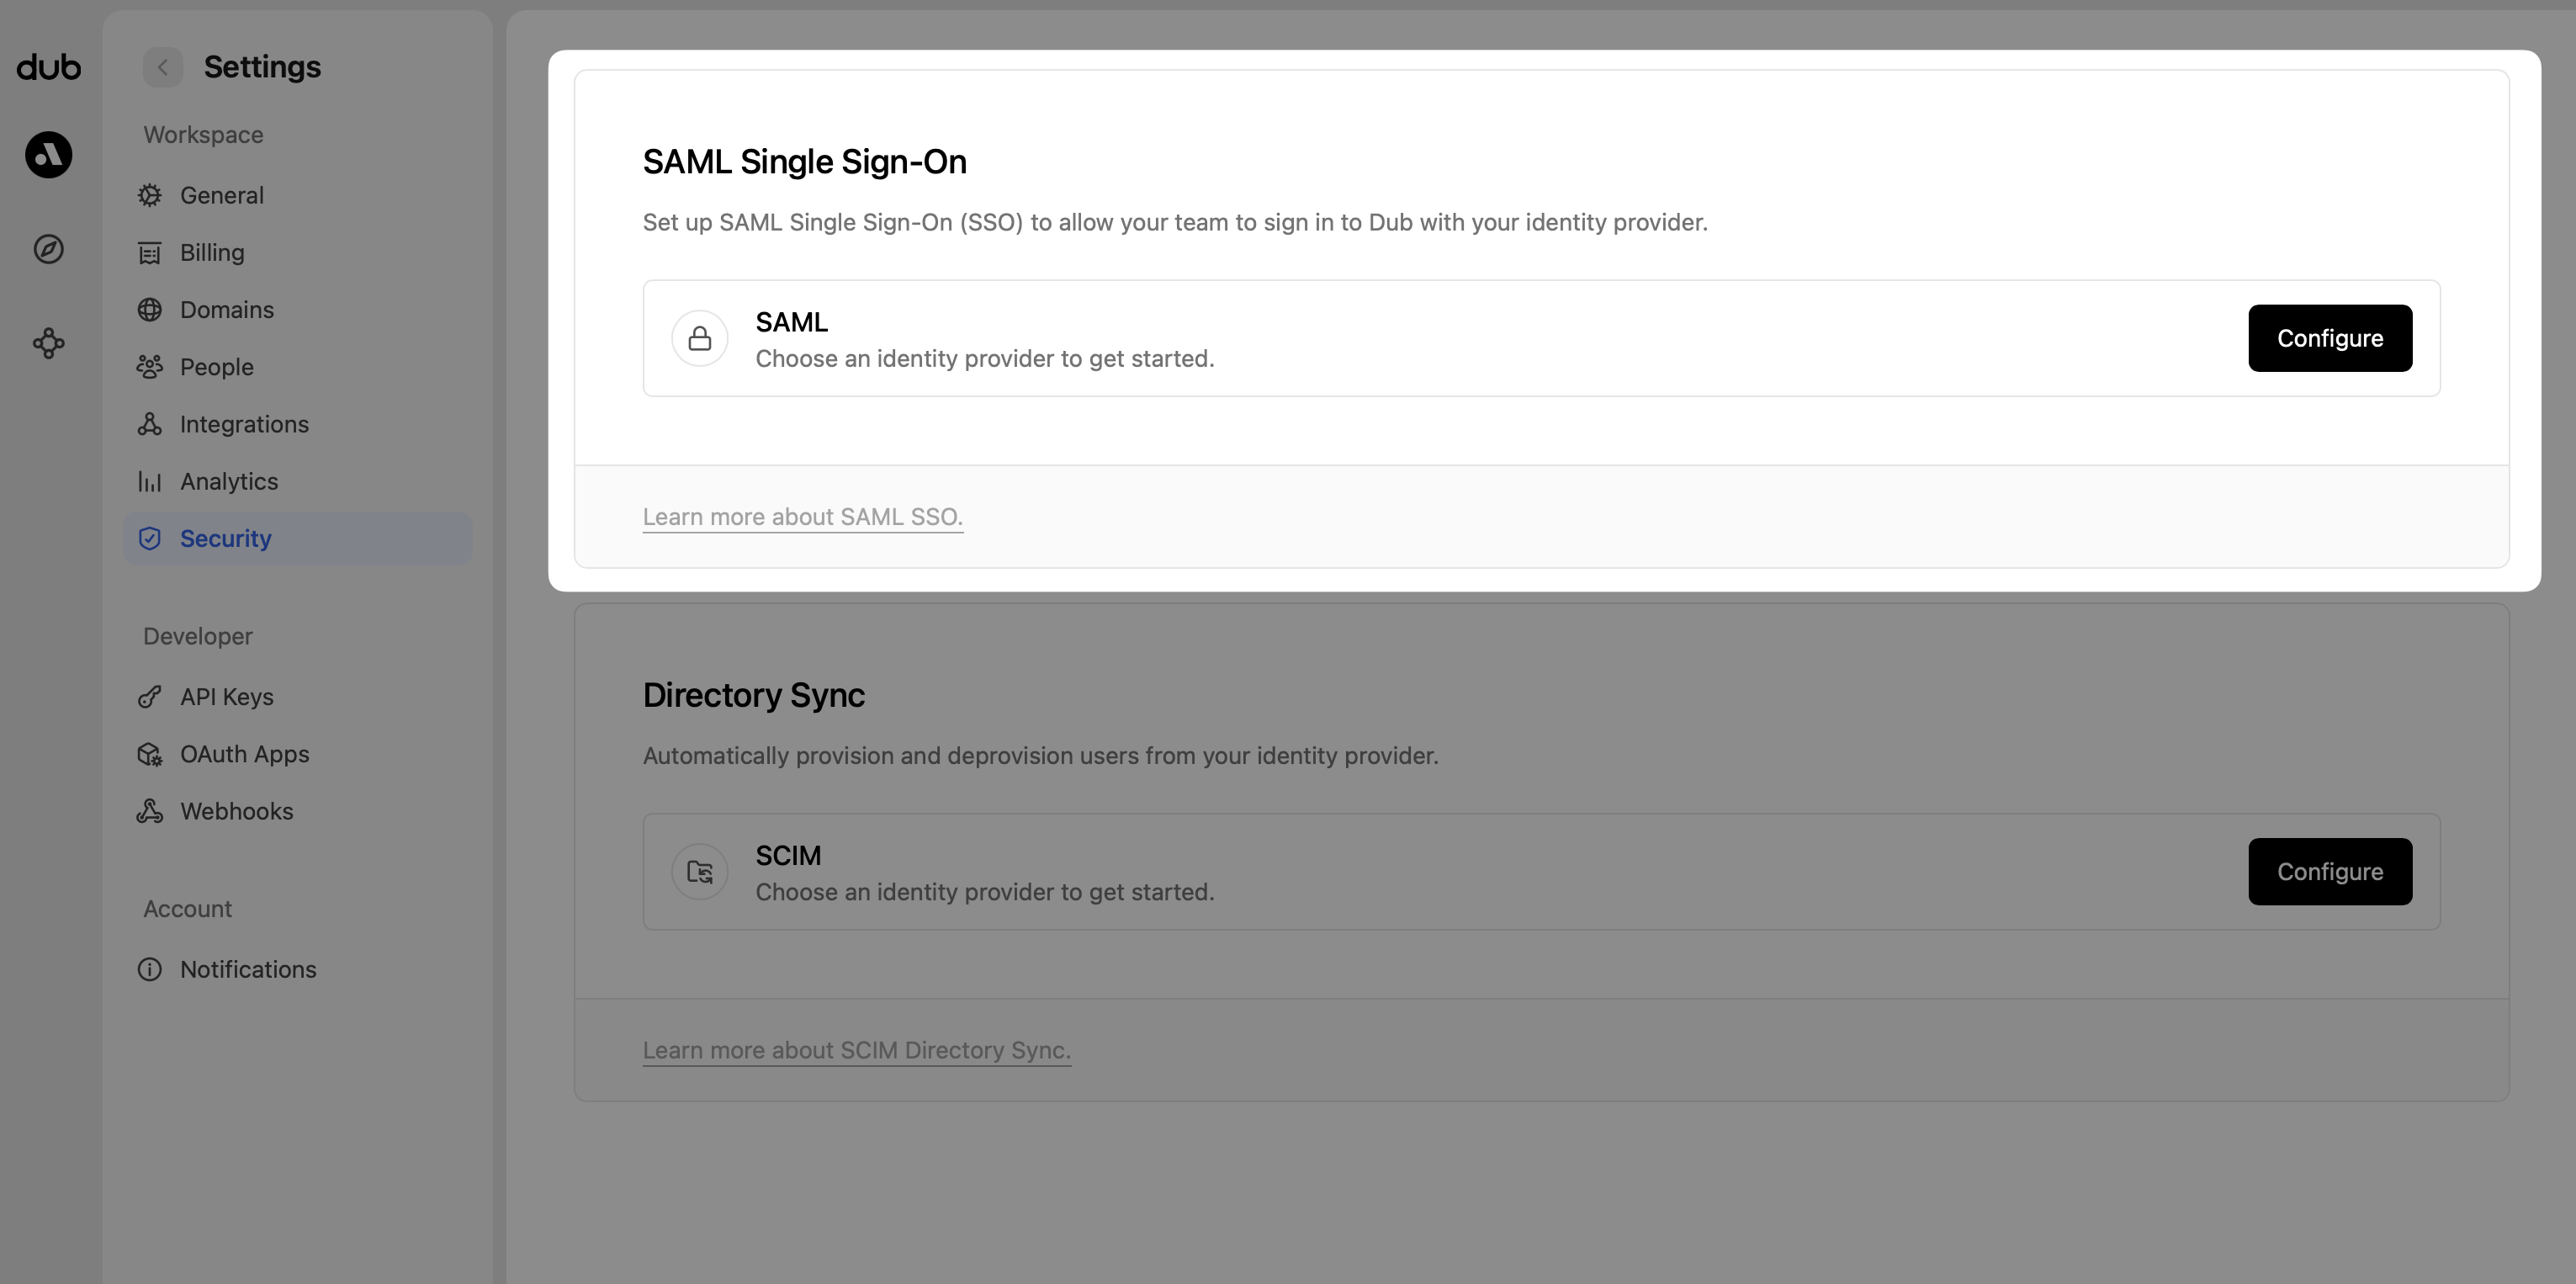
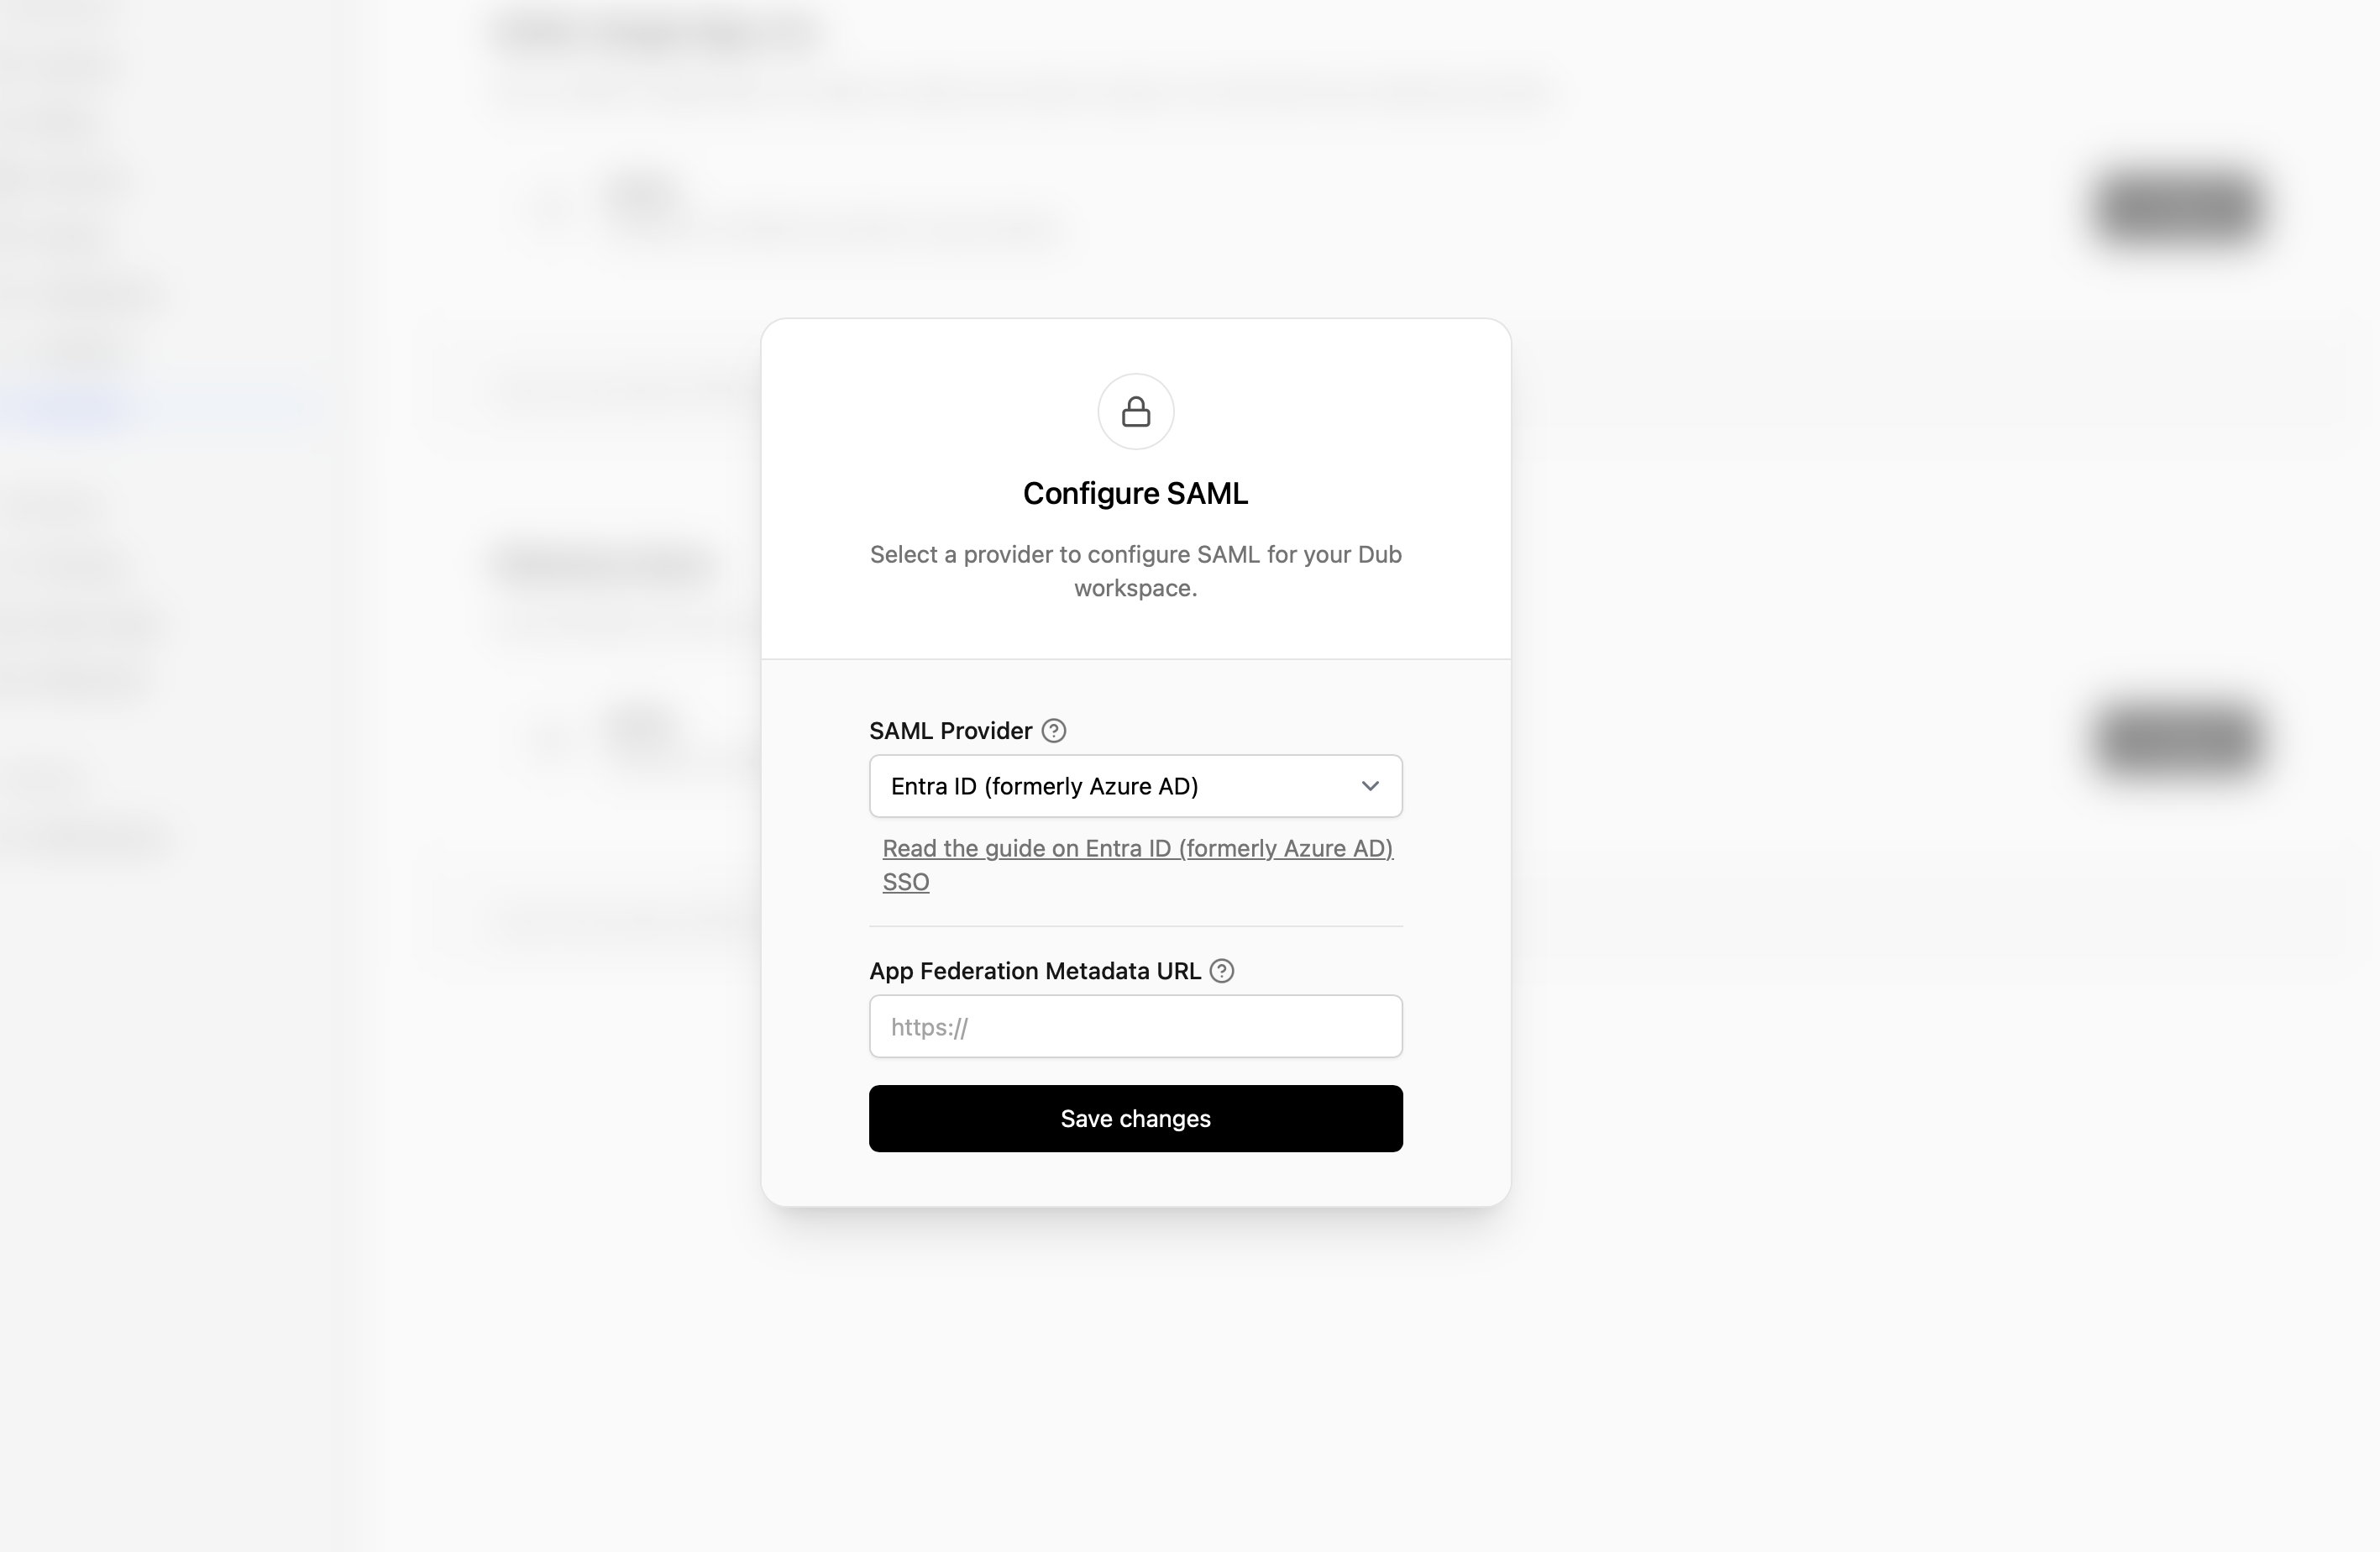
- Select Azure AD as the SAML provider.
- Enter the App Federation Metadata Url value that you copied from Step 4.
- Click Save changes.
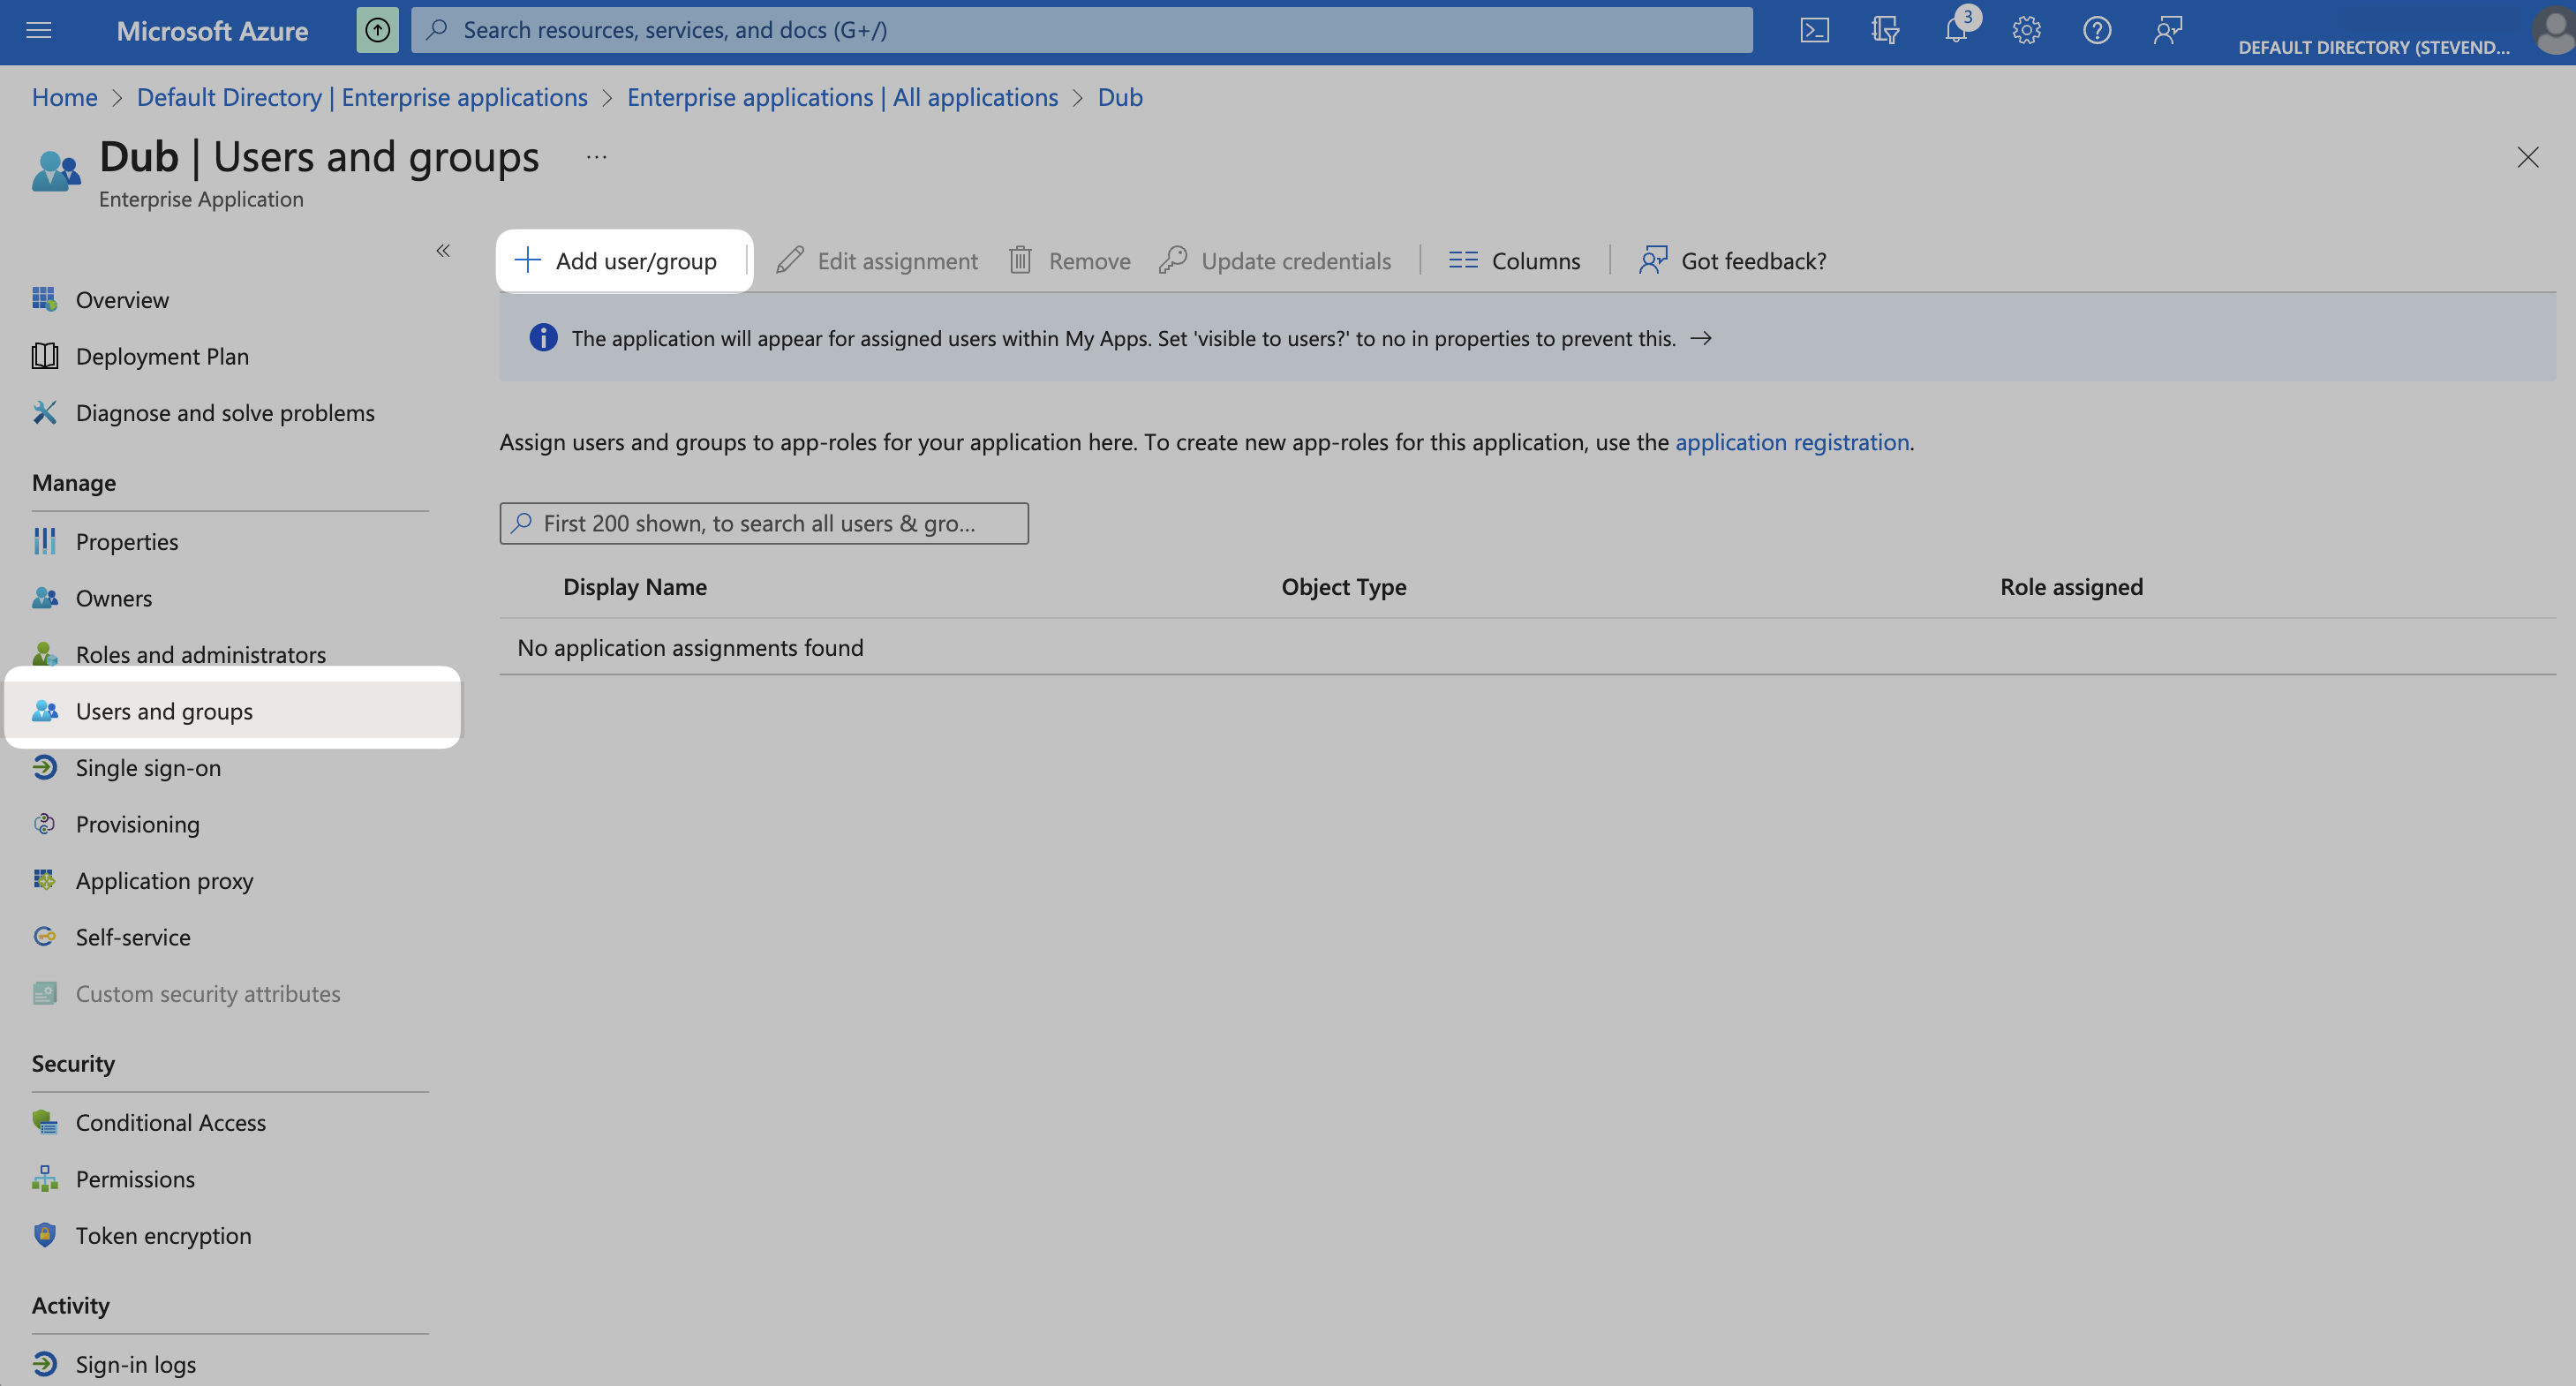
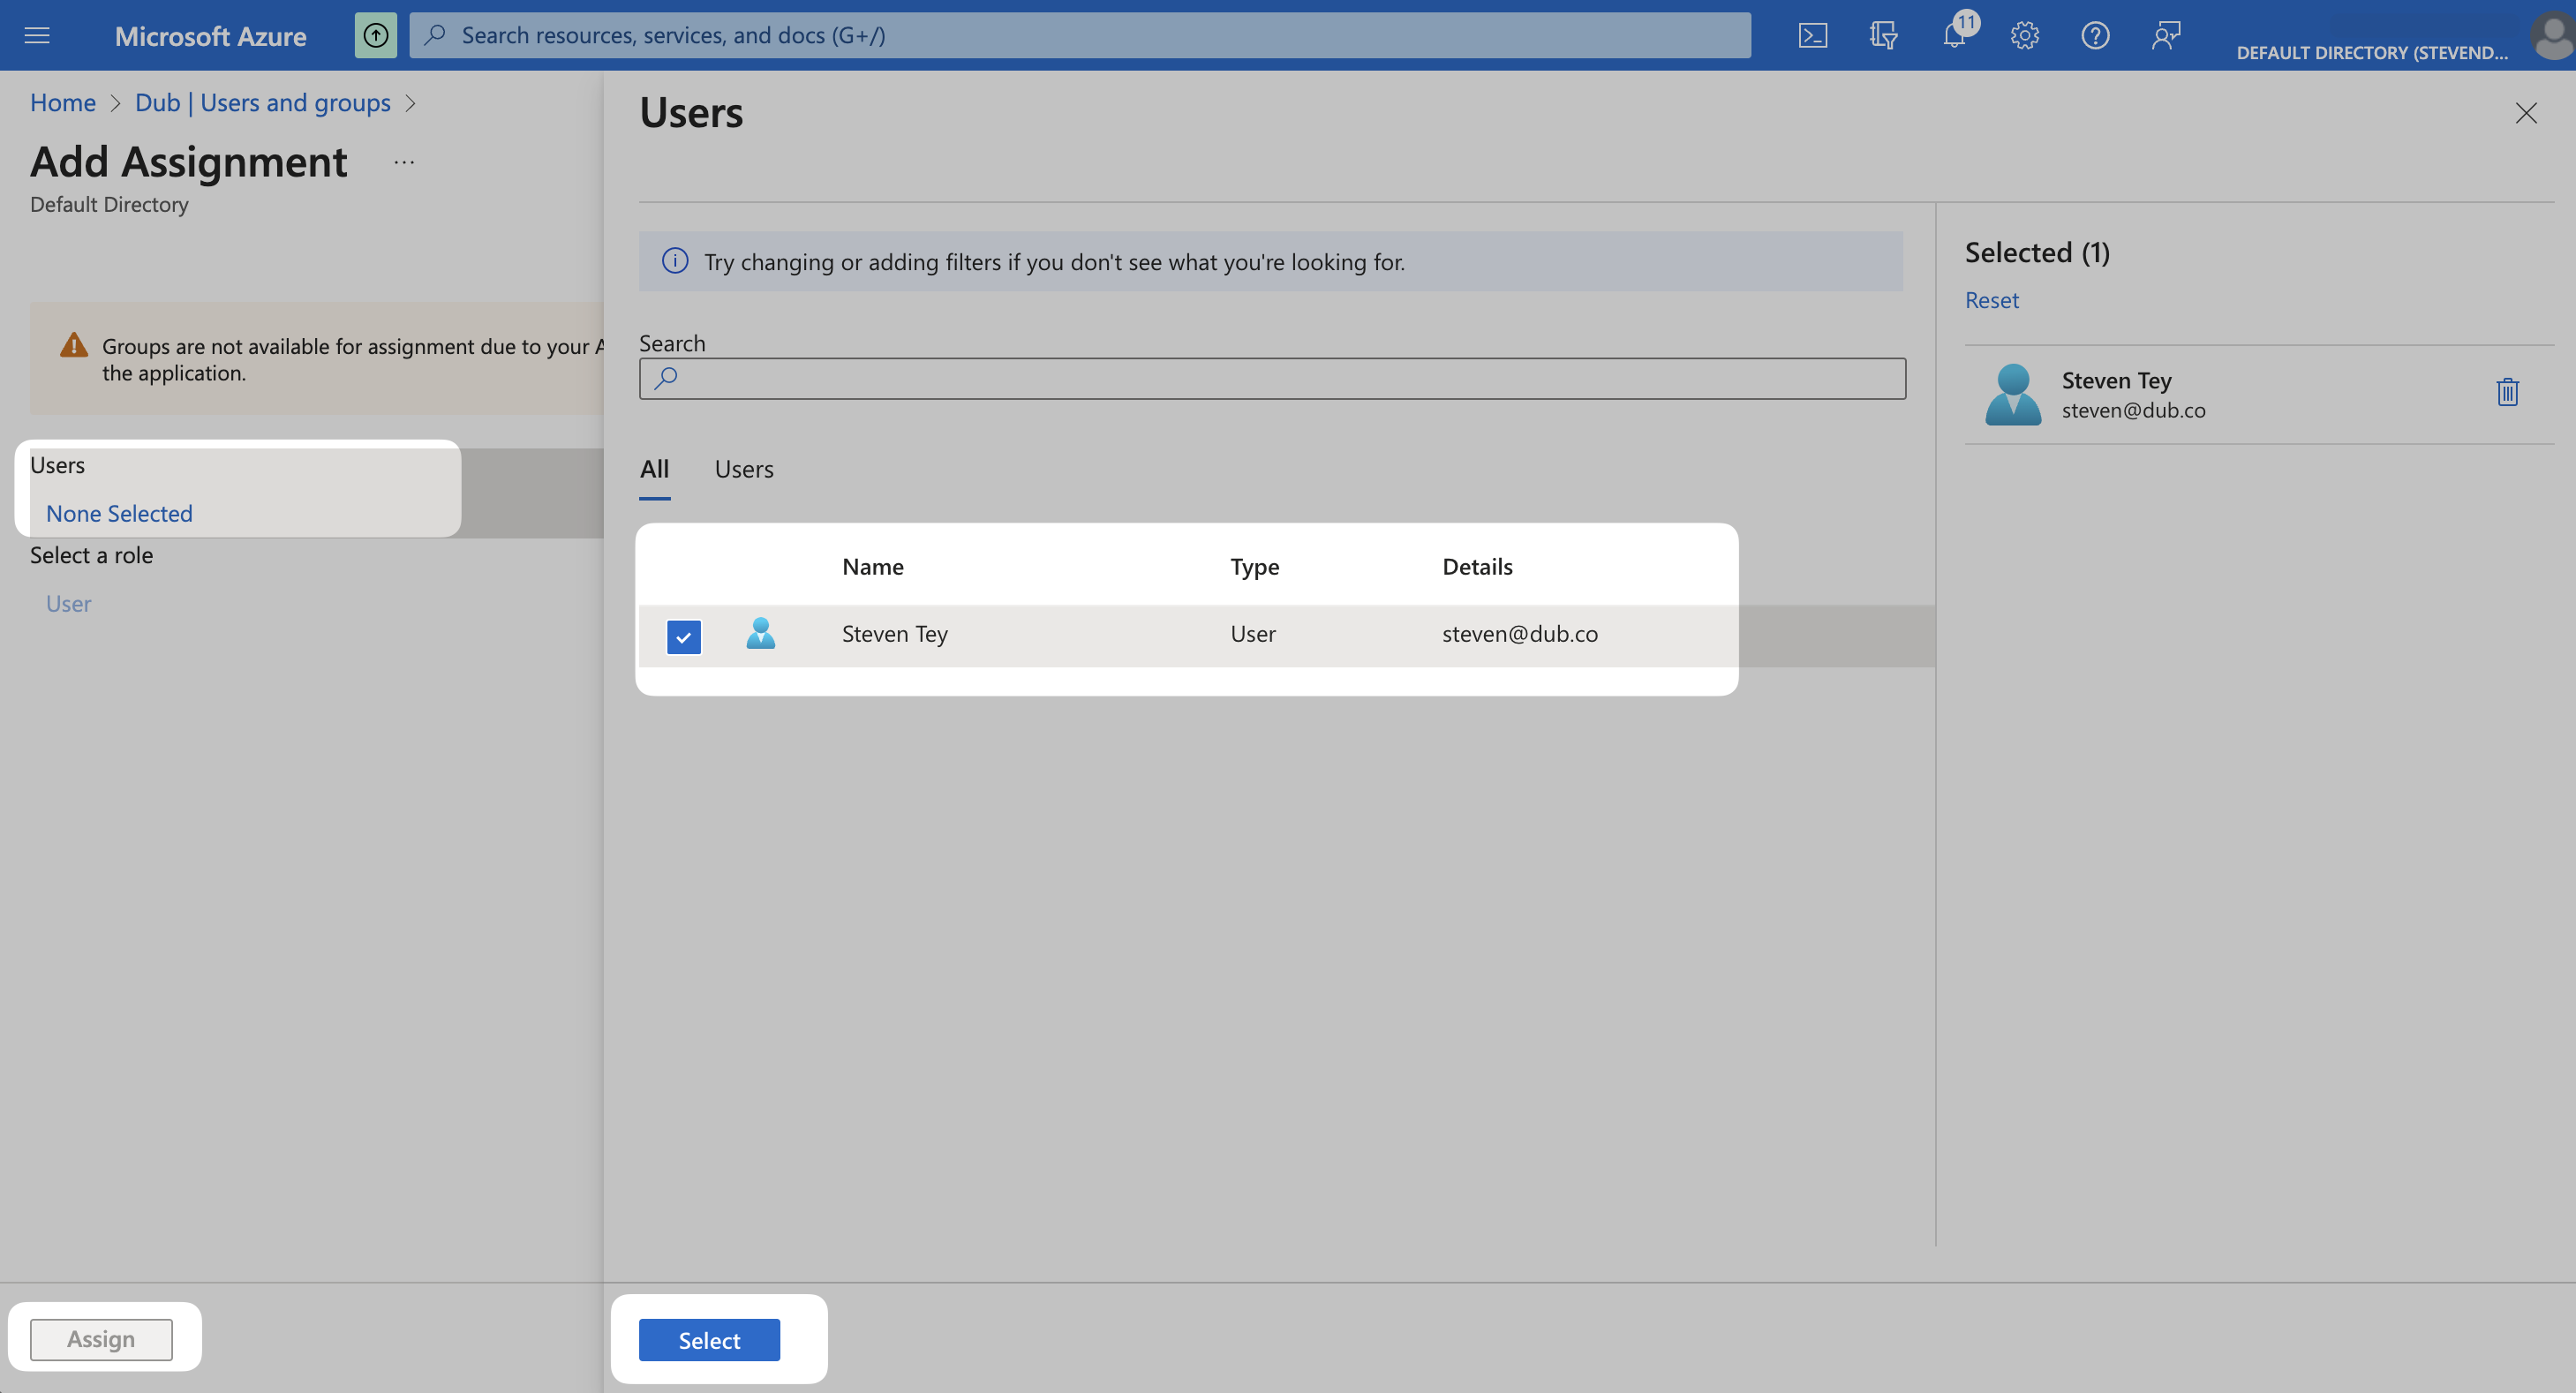
Step 6: Assign Users
Once you’ve configured SAML SSO, you can start assigning users & groups to your workspace. From your application, click the Users and groups from the left navigation menu and click Add user/group.