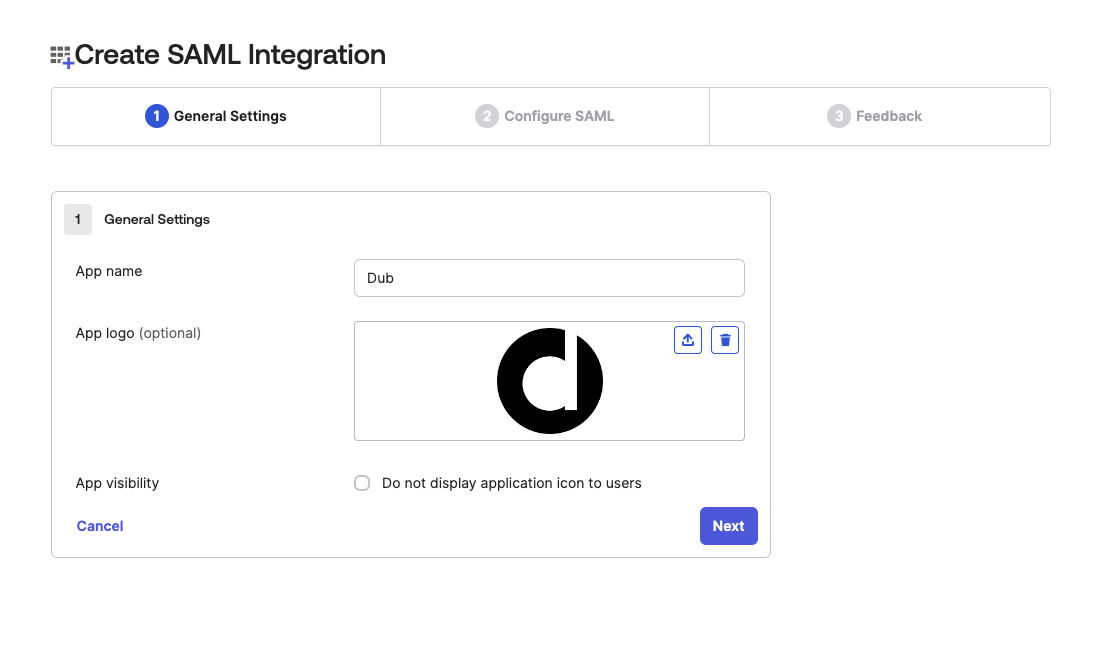
Step 1: Create SAML Integration
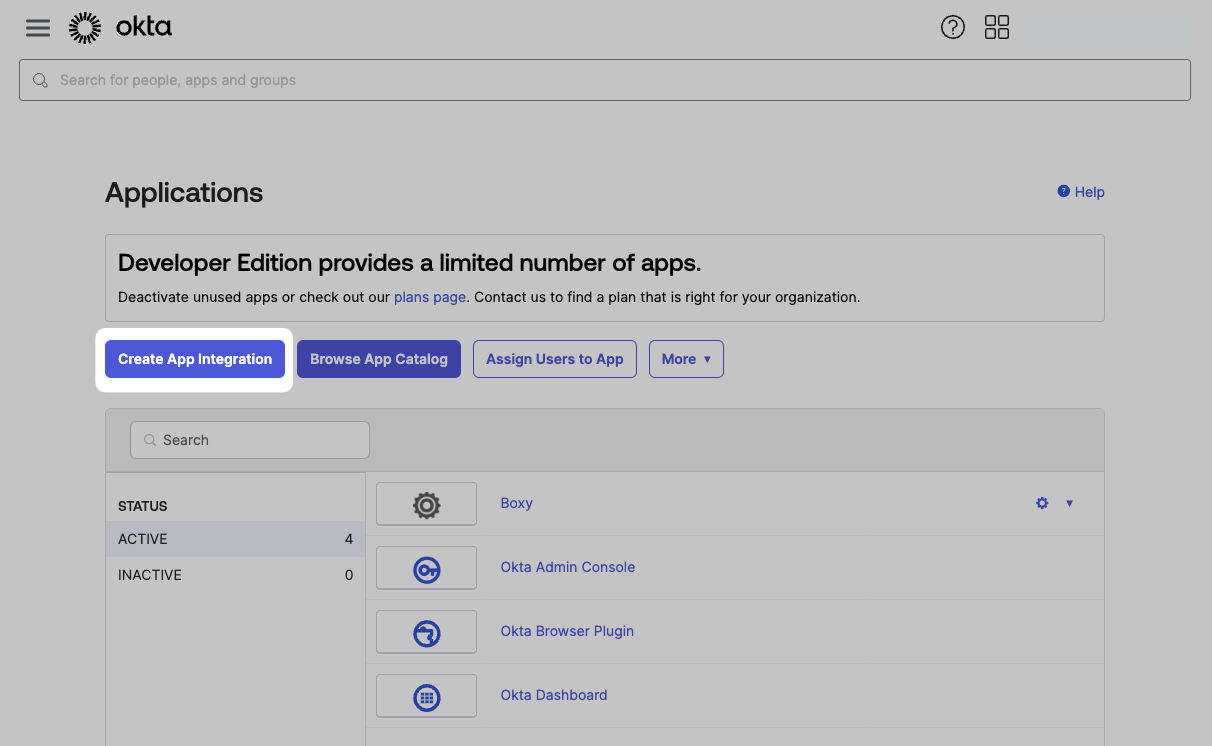
In your Okta Dashboard, click on Applications in the sidebar.

Single sign-on URL
Audience URI (SP Entity ID)

Step 2: Configure Attribute Statements
Right below the General section, you’ll see the Attribute Statements section.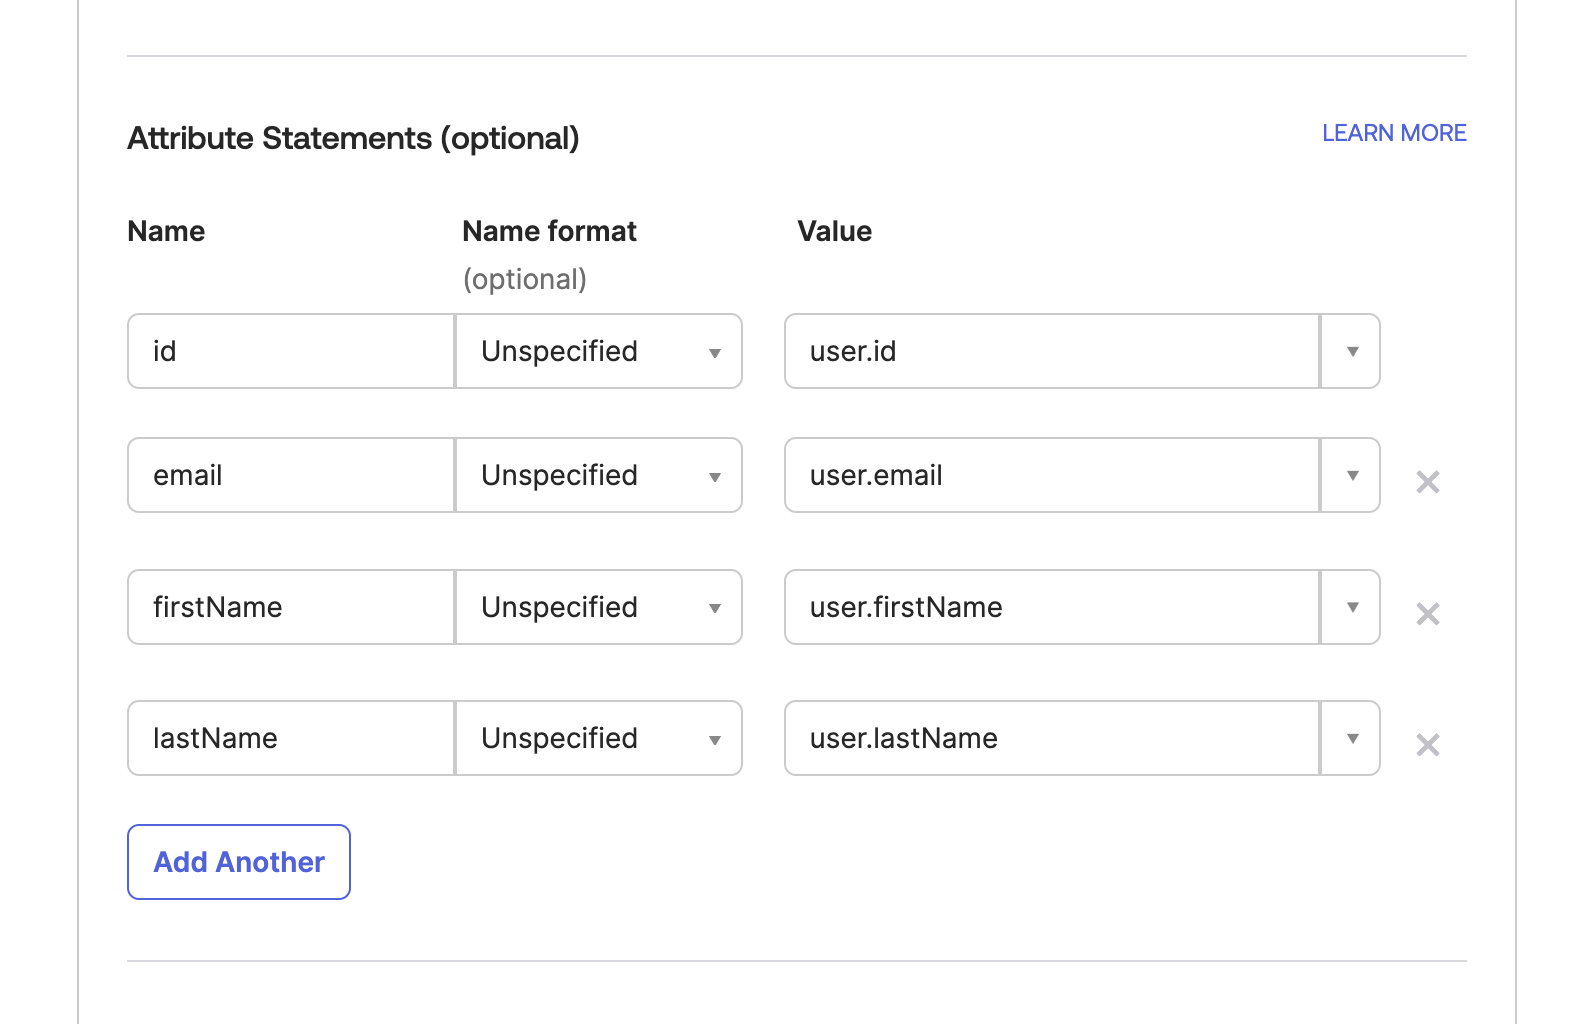
Once that’s done, click Next.
Step 3: Submit Feedback
Under the Feedback section, select This is an internal app we have created and click Finish.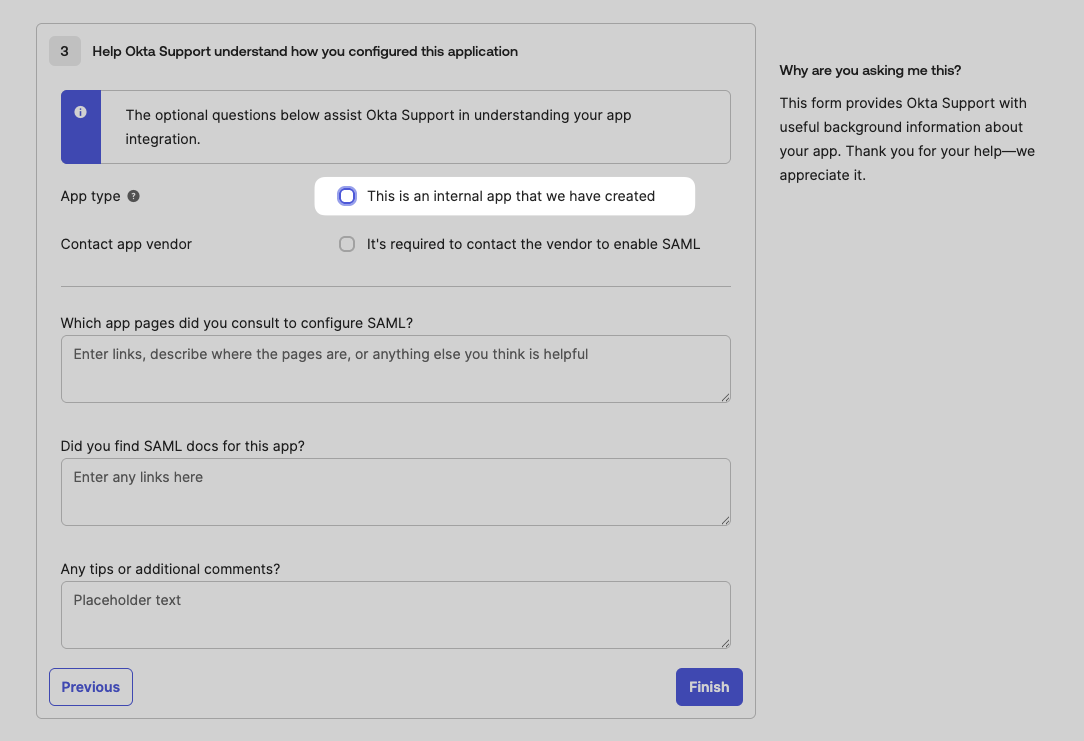
Step 4: Copy the Metadata URL
After you’ve submitted the feedback, you’ll be redirected to the Sign On tab, which contains the metadata URL.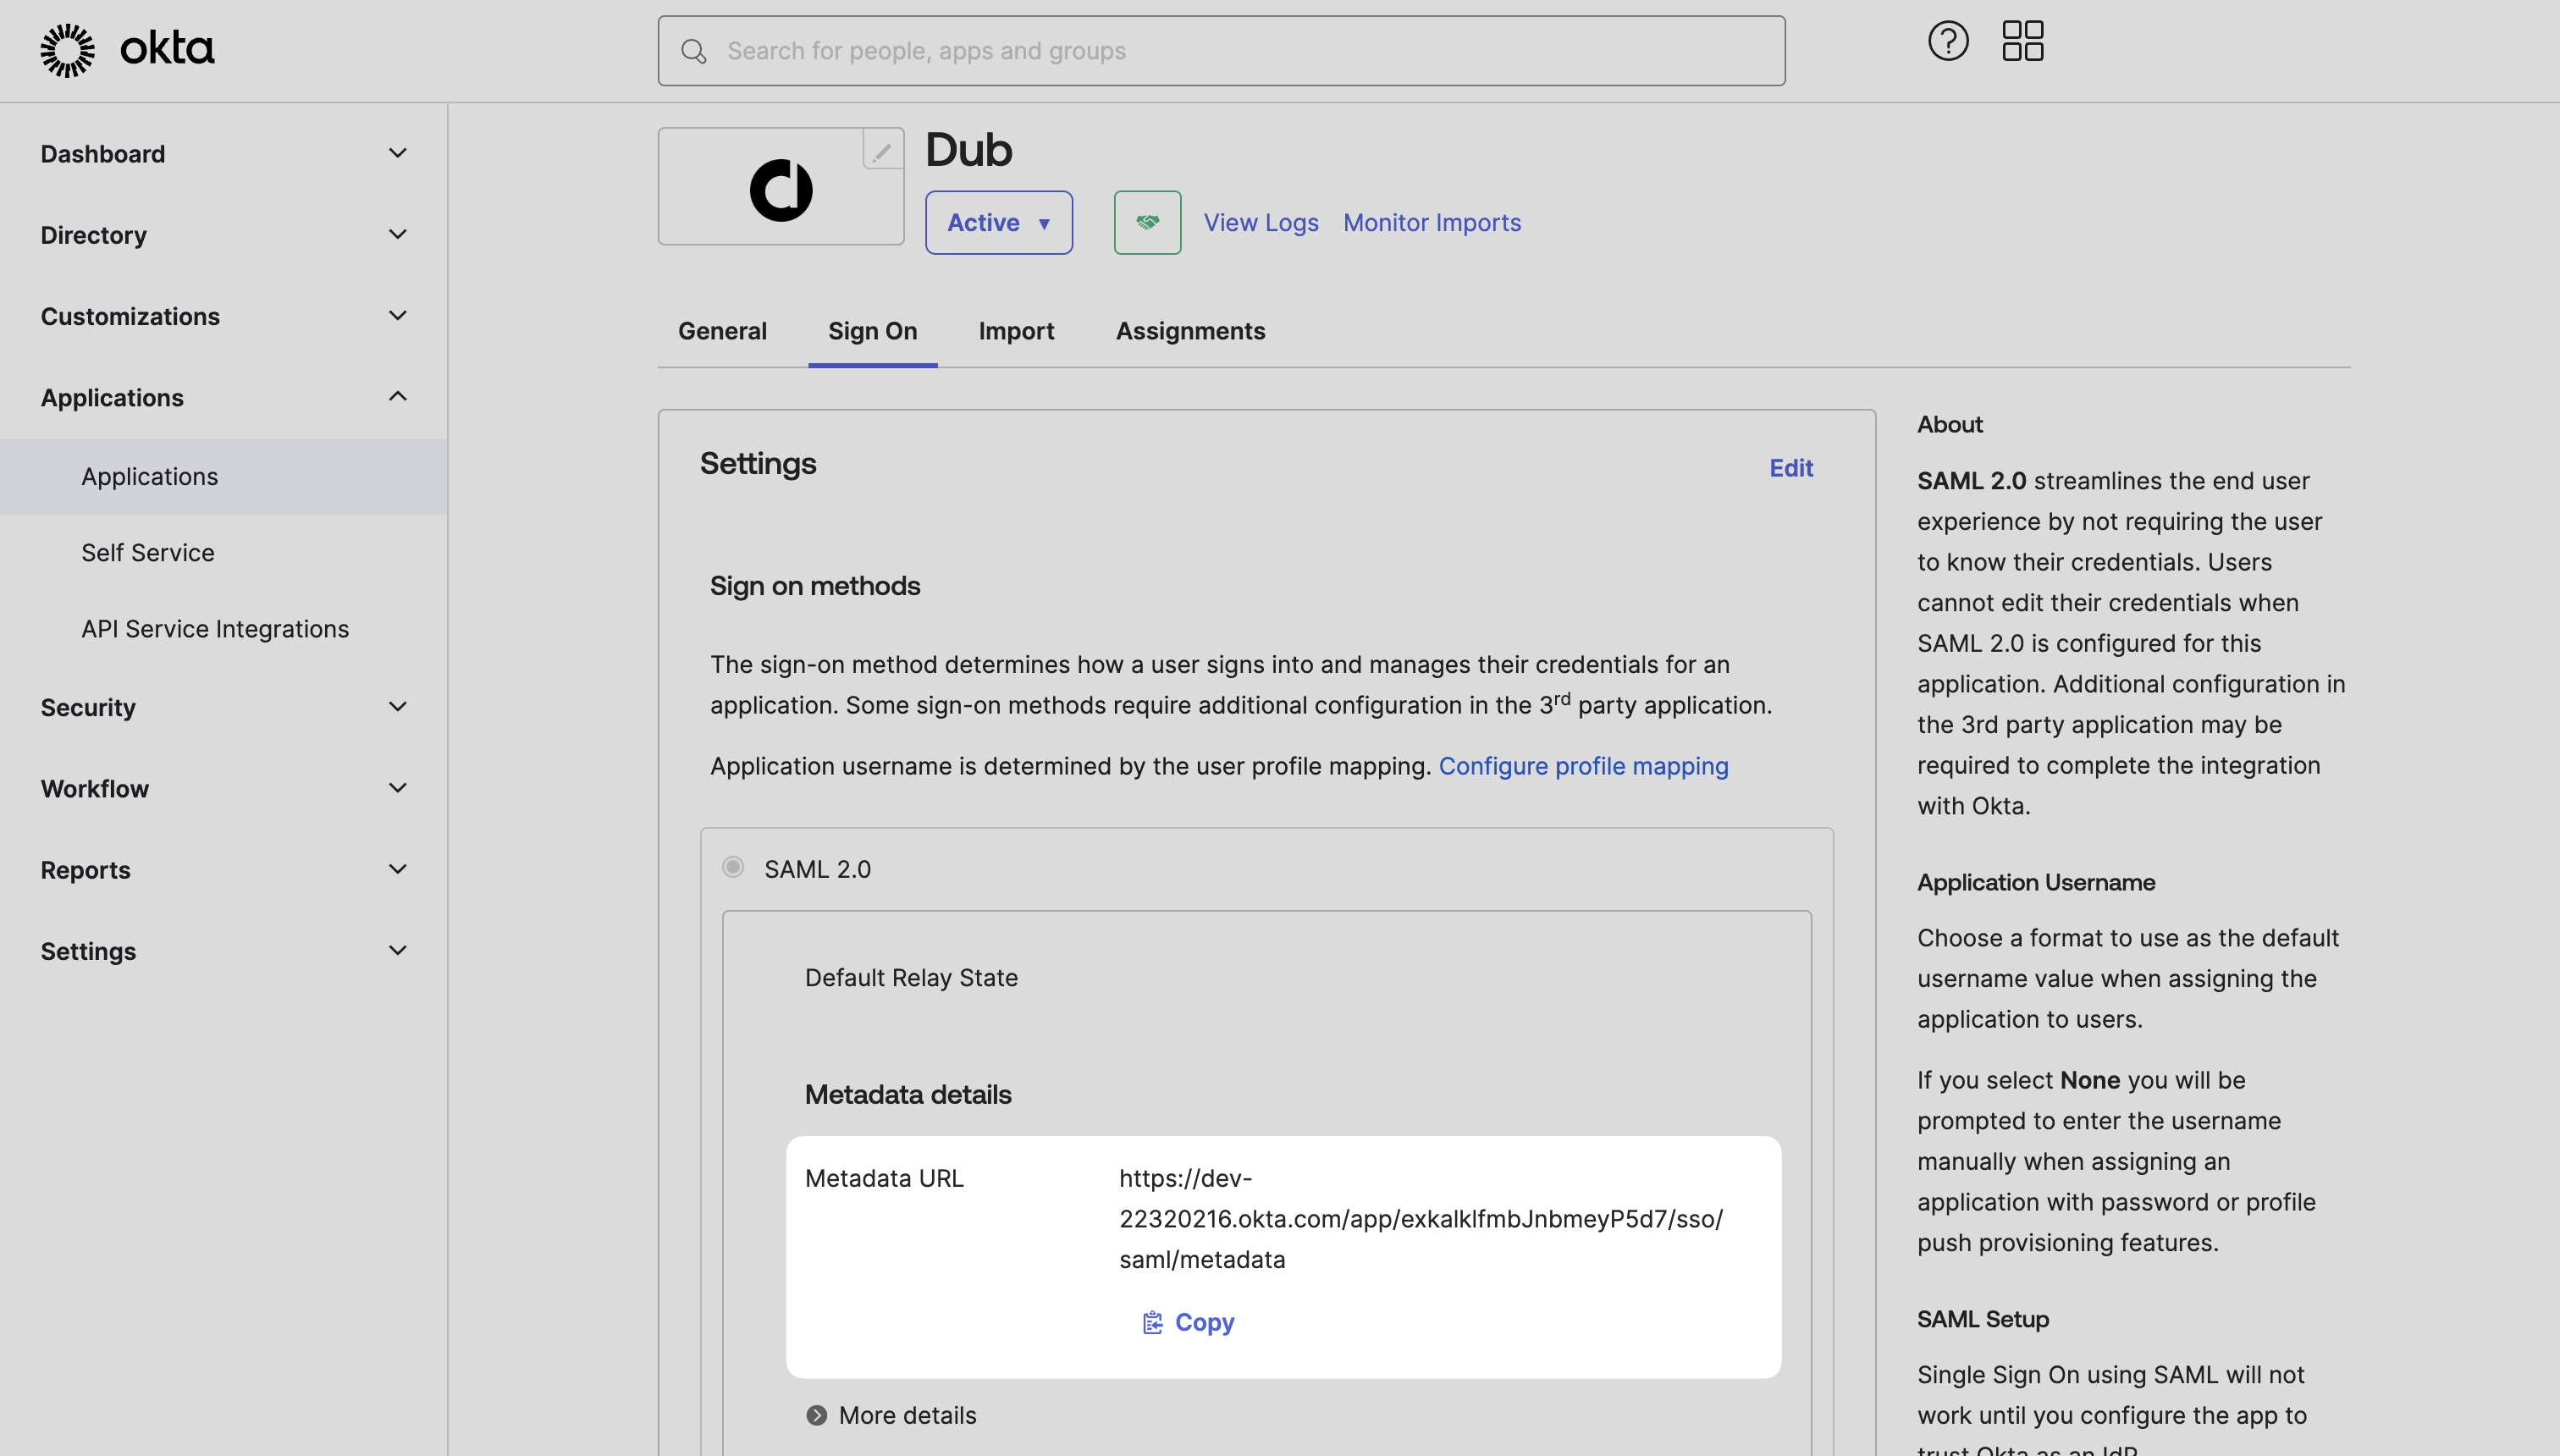
Step 5: Configure SAML SSO on Dub
In your workspace settings, click on Security in the Workspace group.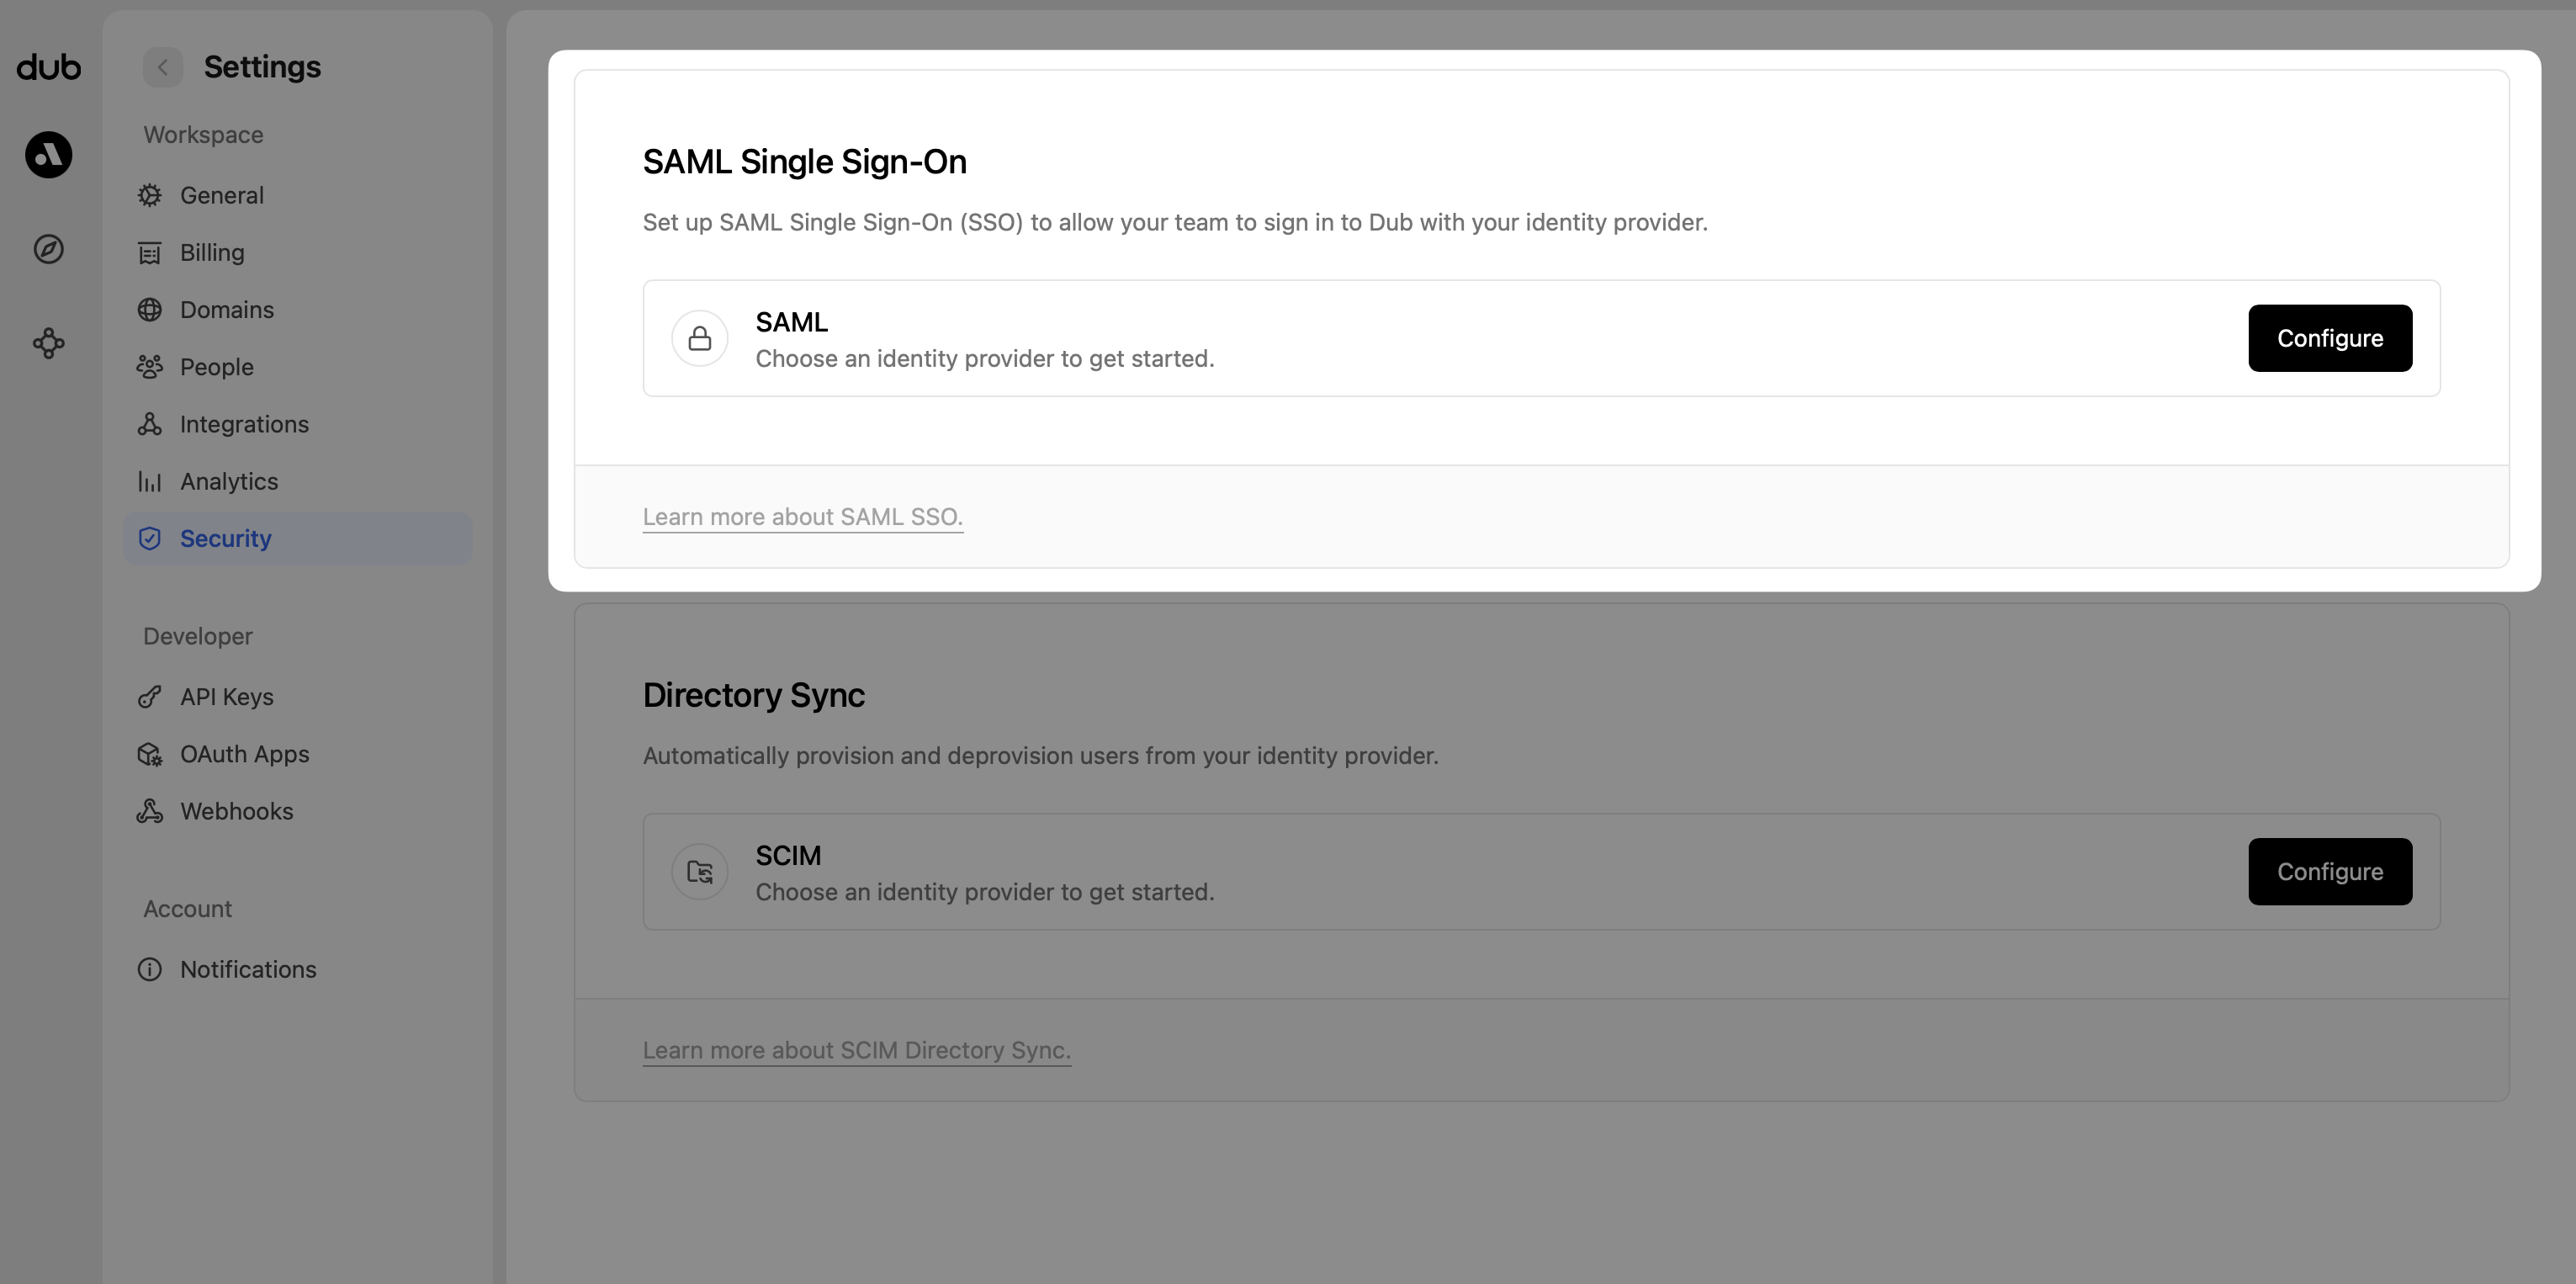
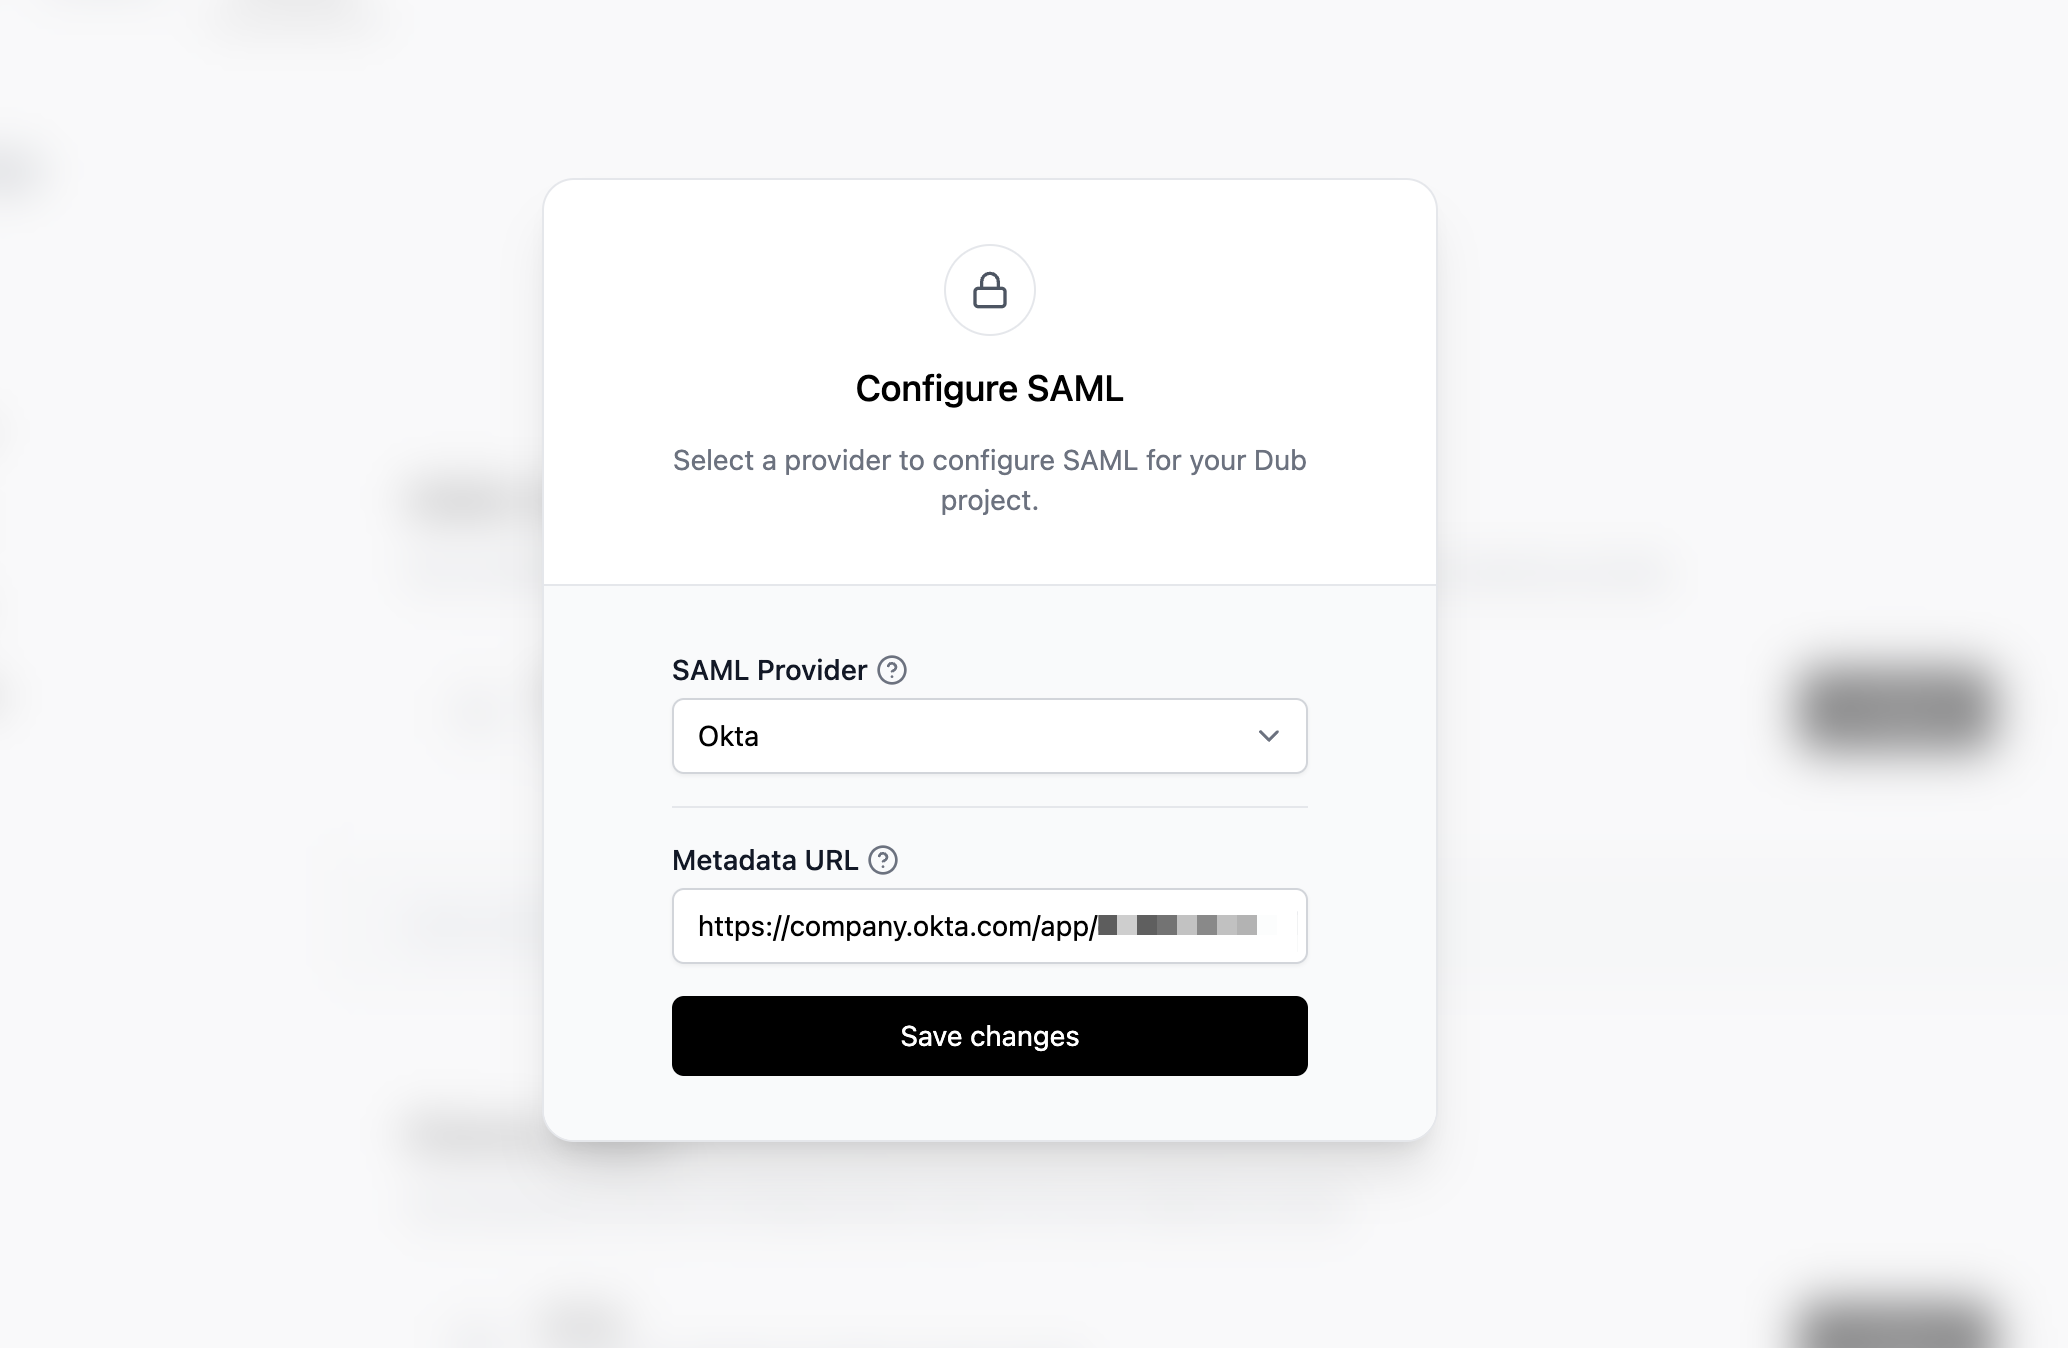
- Select Okta as the SAML provider.
- Enter the Metadata URL value that you copied from Step 4.
- Click Save changes.
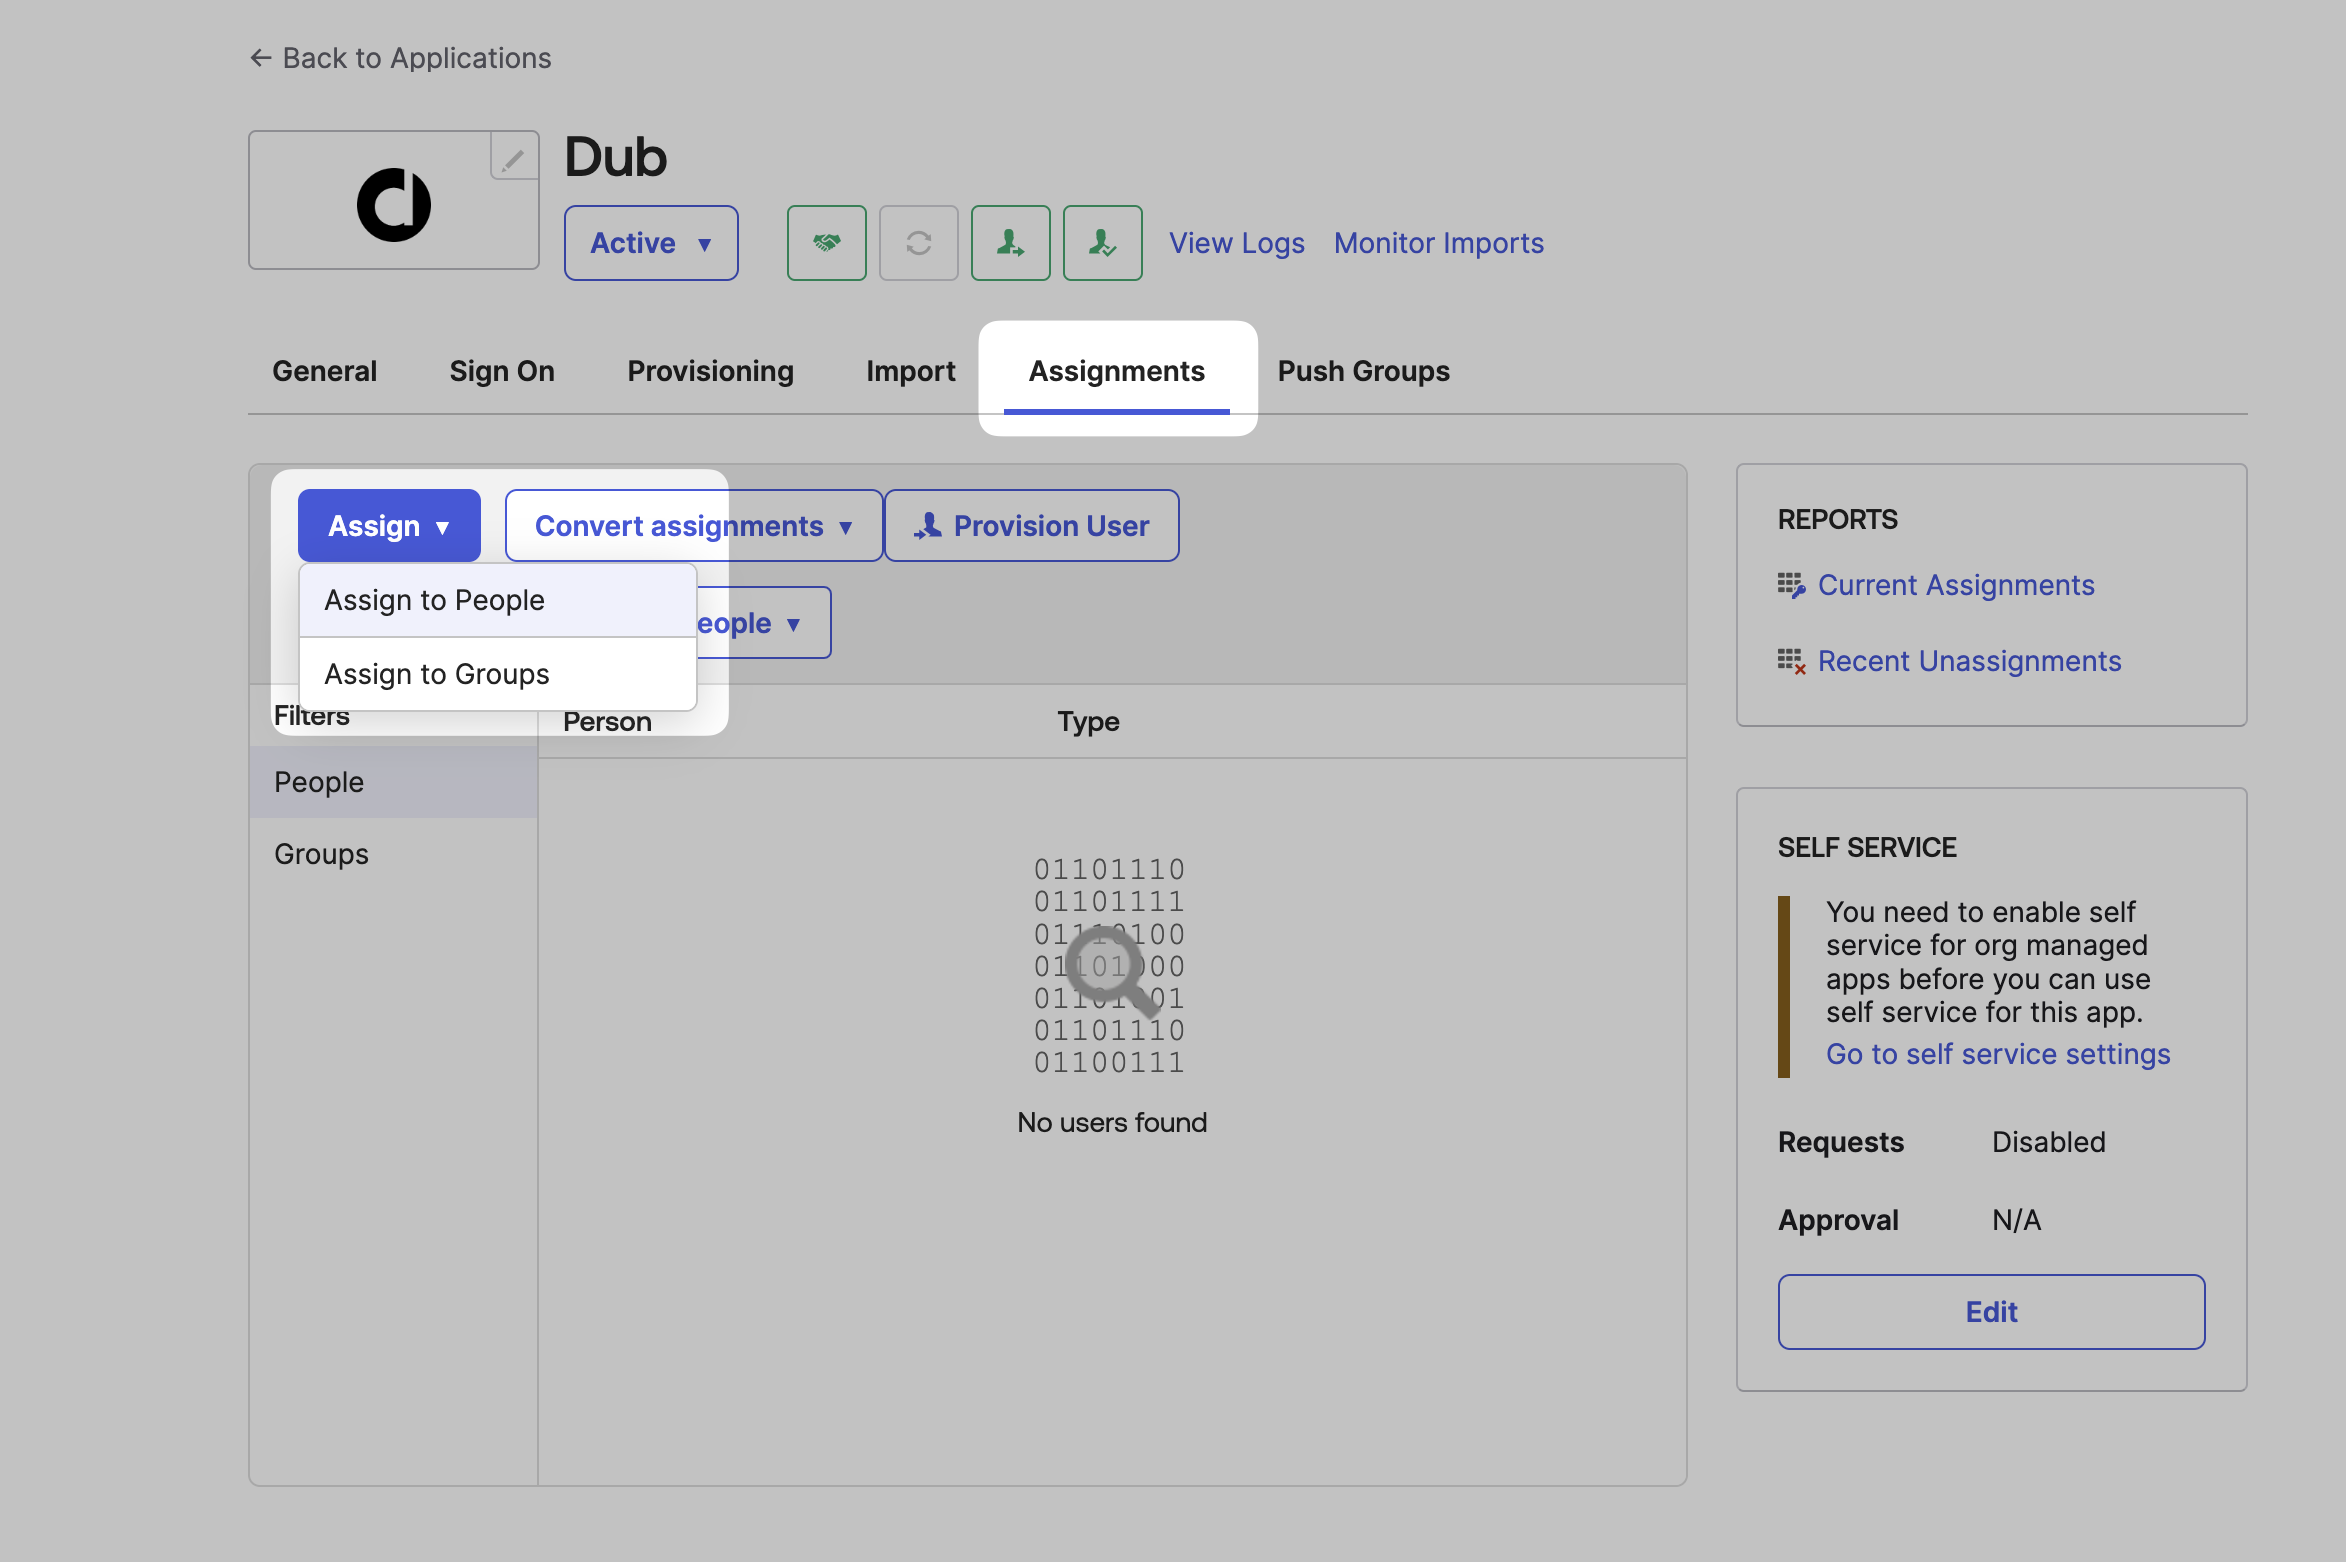
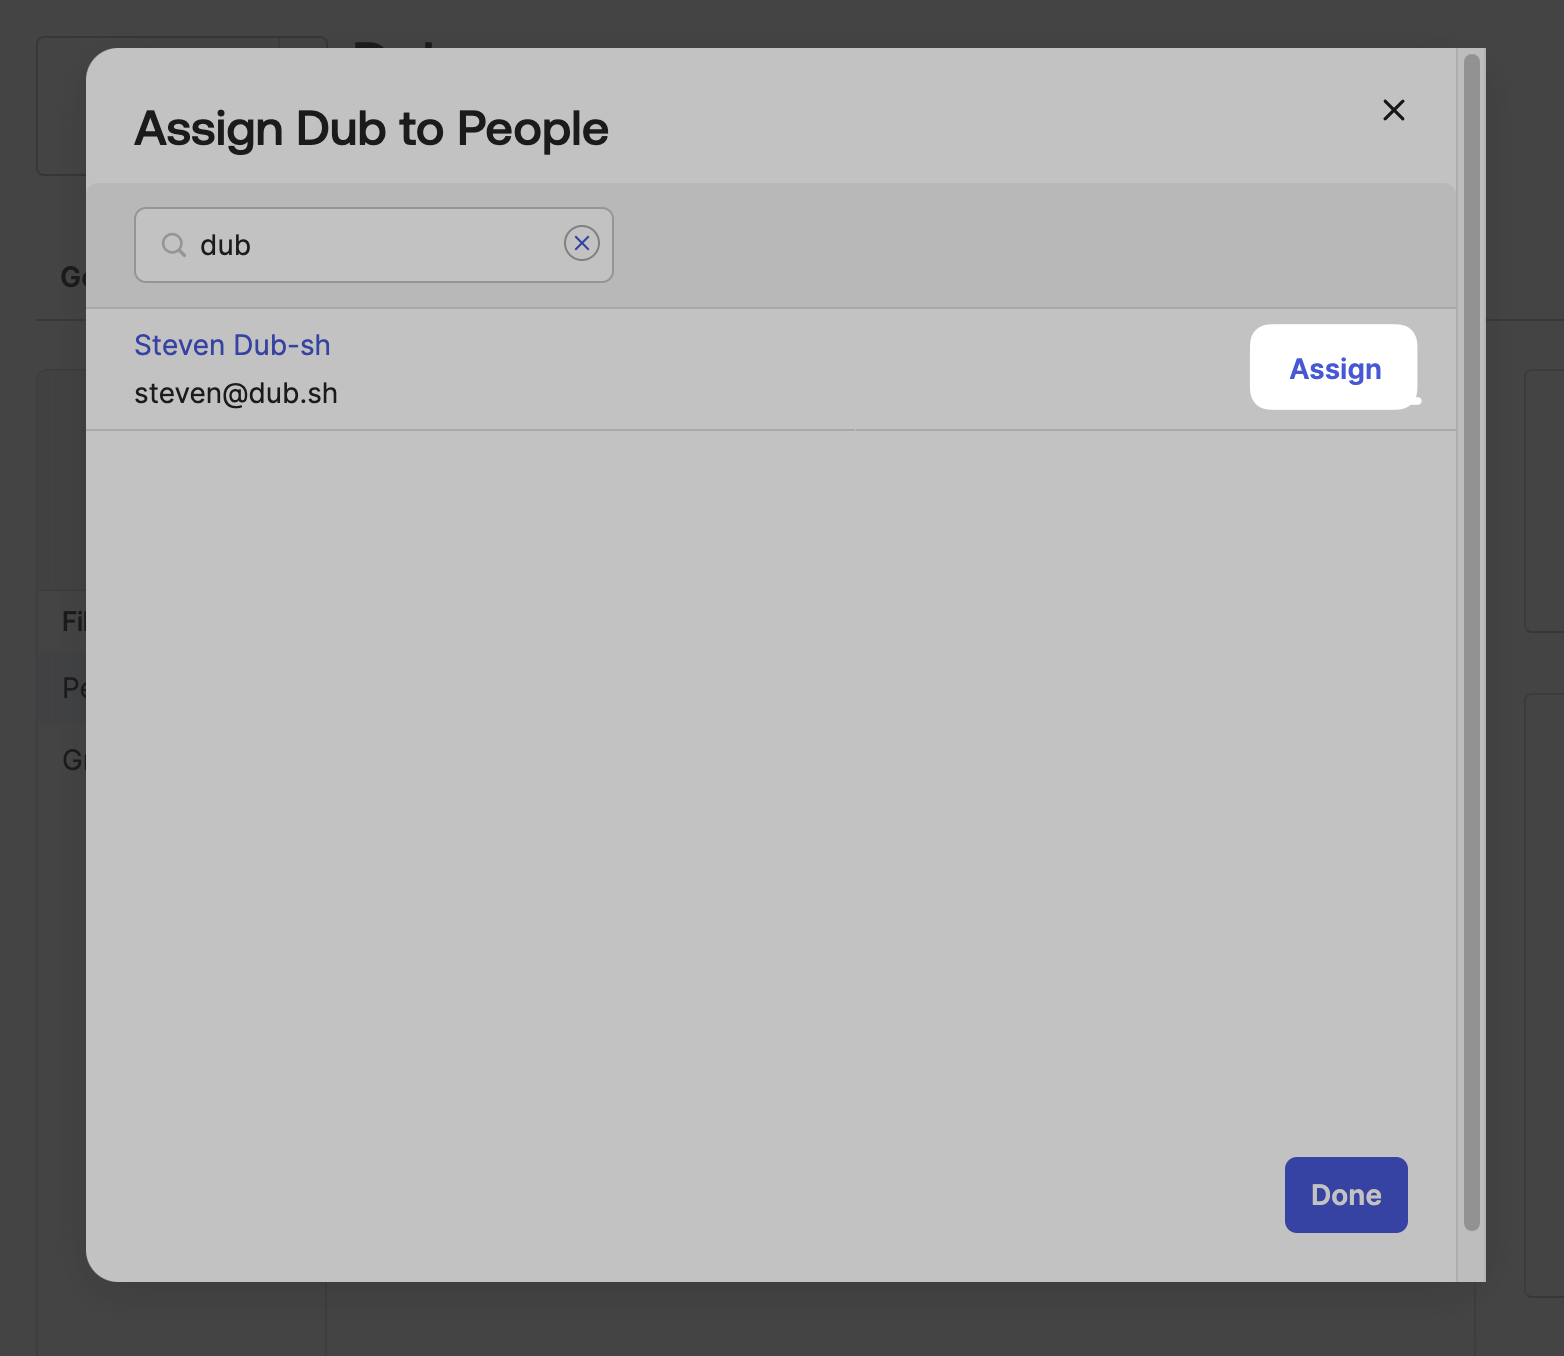
Step 6: Assign Users
Once you’ve configured SAML SSO, you can start assigning users & groups to your workspace. Click on the Assignments tab, and click Assign. You can choose to assign users individually, or assign them in bulk by group.