Step 1: Configure Directory Sync on Dub
In your workspace dashboard on Dub, click on the Settings tab in the menu bar at the top. Then, click on the Security tab in the sidebar.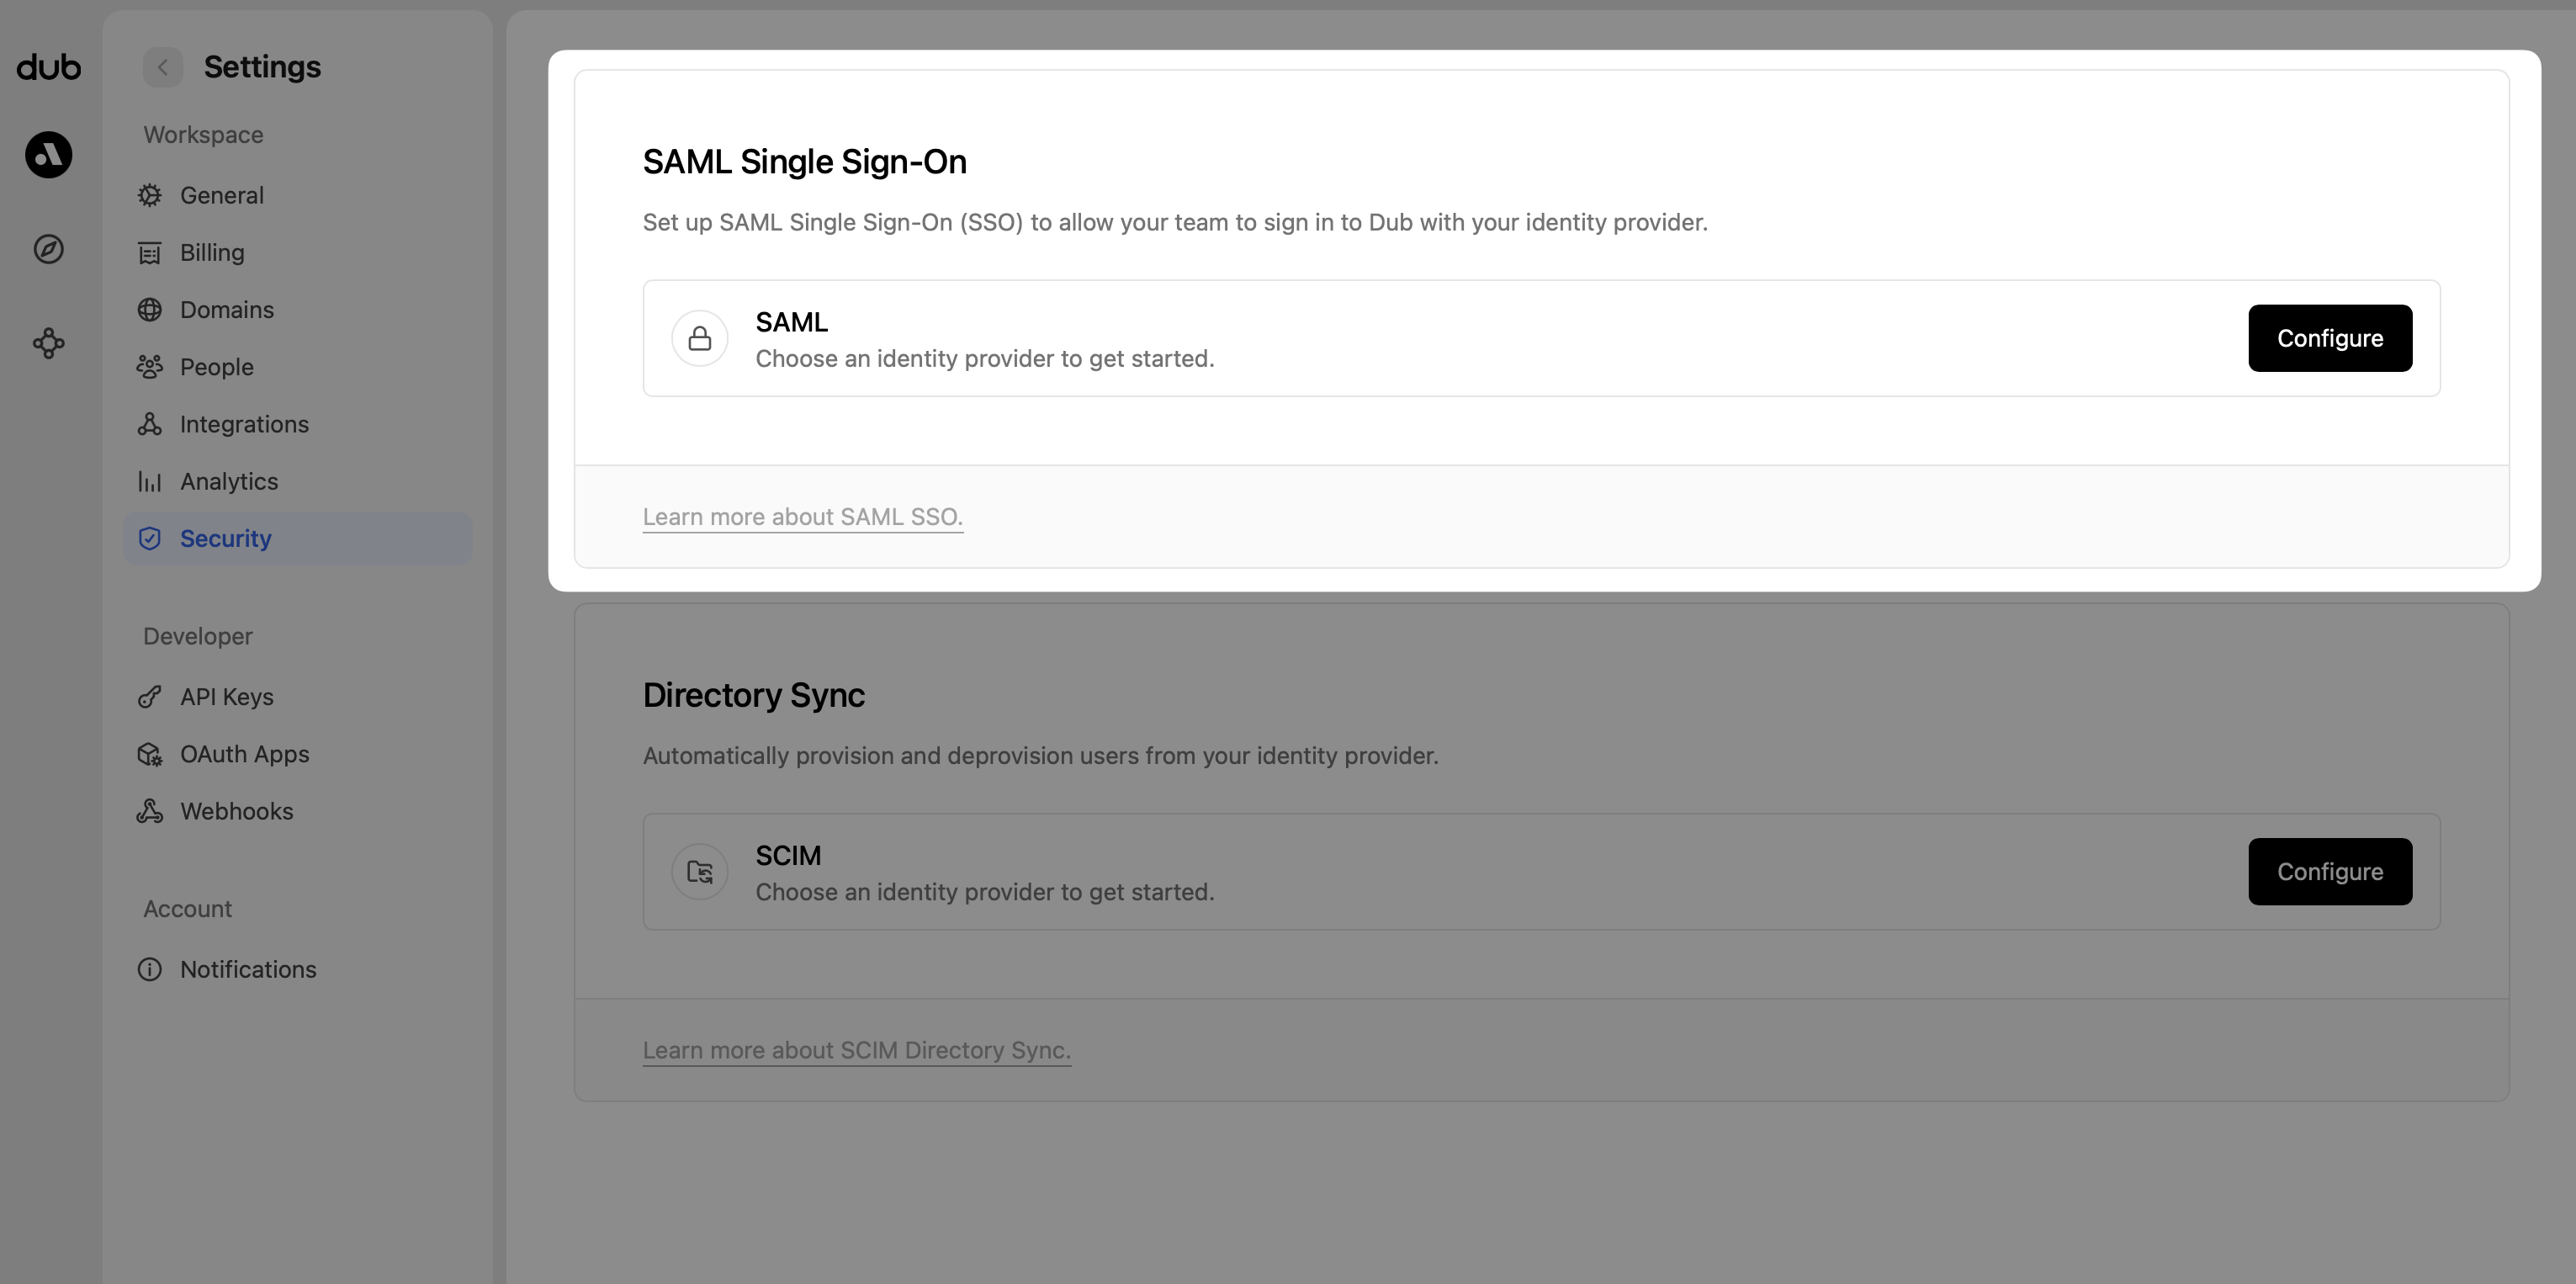
- Select Azure AD as the Directory Provider.
- Click Save changes.

- Tenant URL
- Secret Token

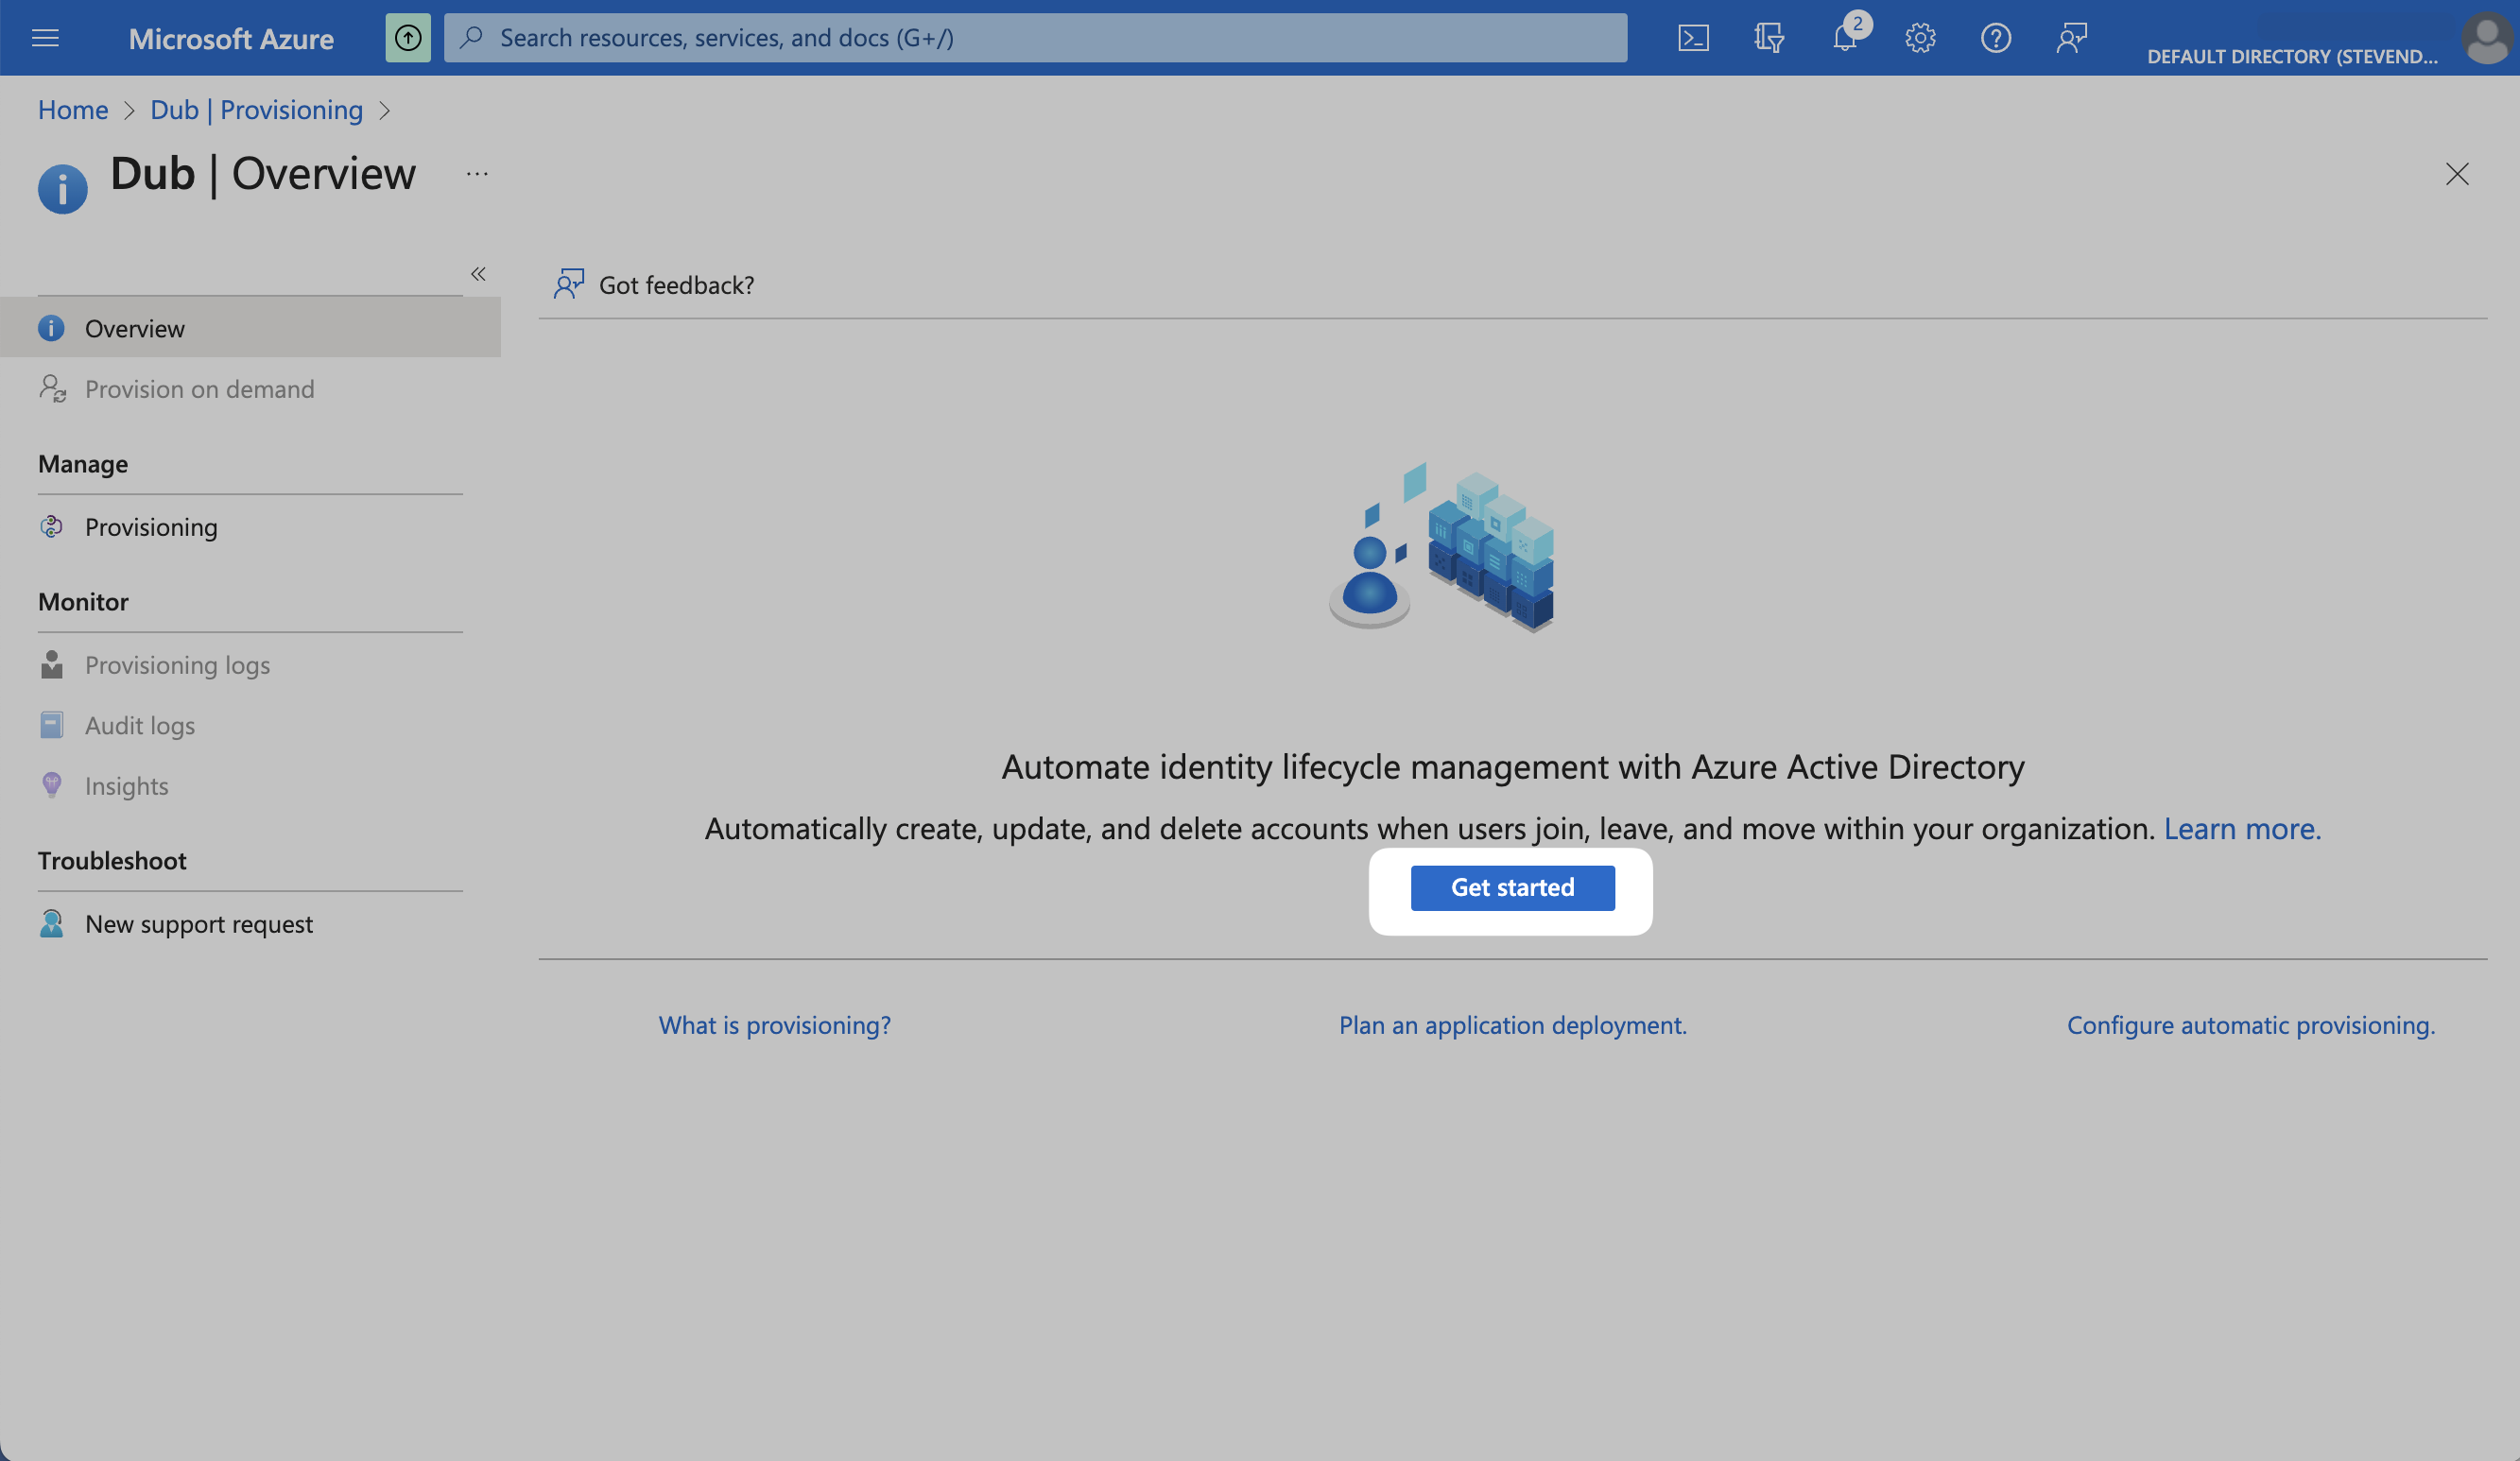
Step 2: Add Provisioning to SAML Application
Click on the Provisioning tab of your existing Dub Okta SAML application that you want to enable SCIM provisioning for.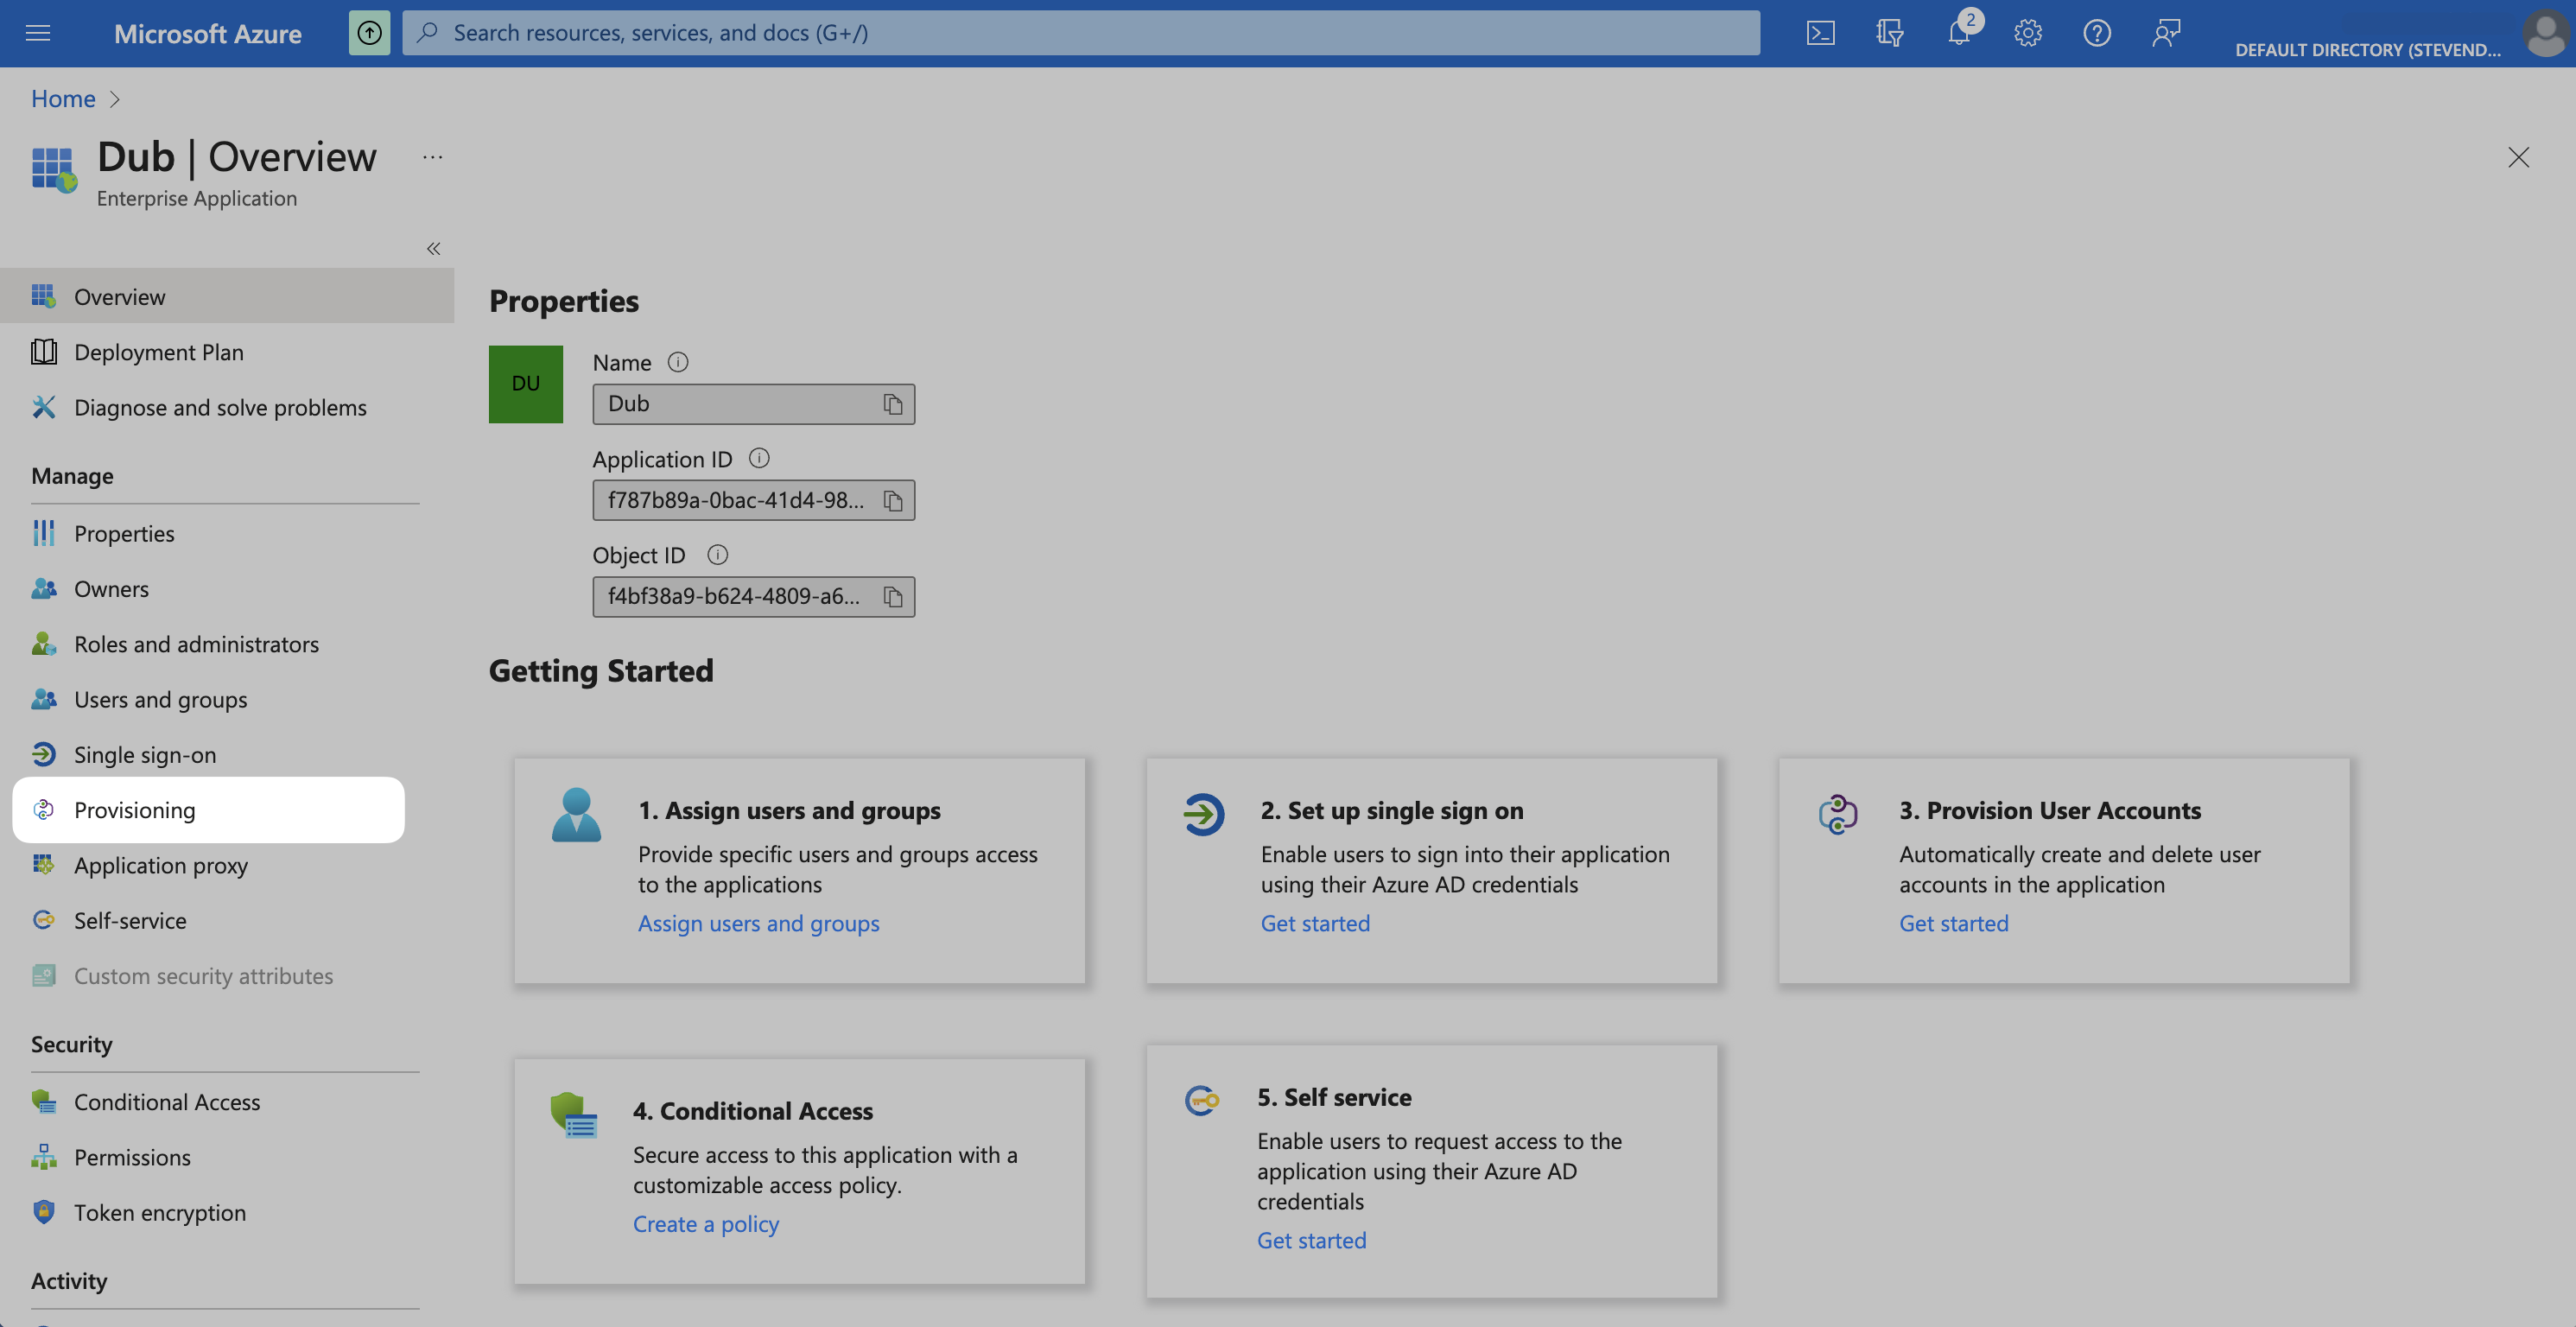
- Tenant URL
- Secret Token
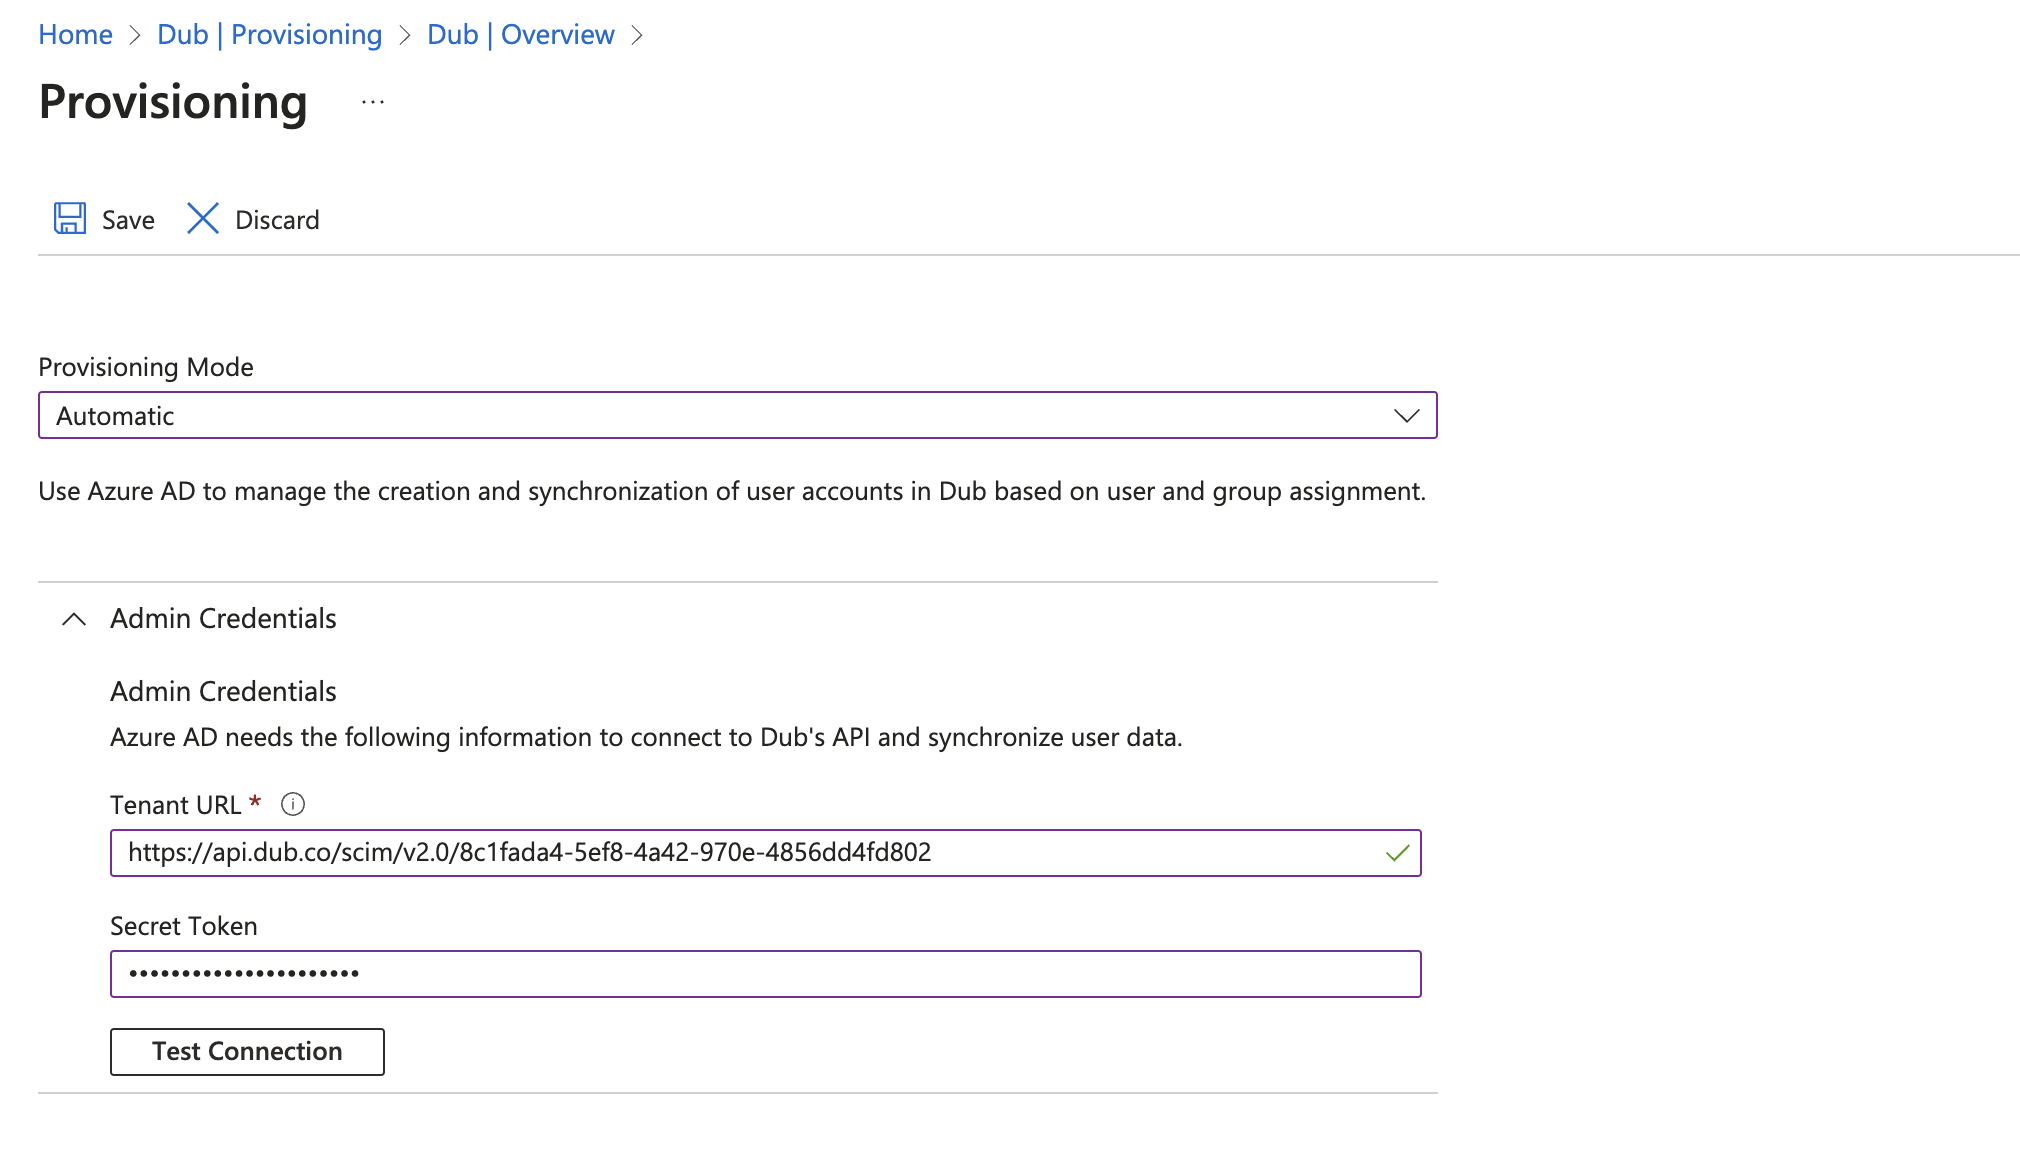
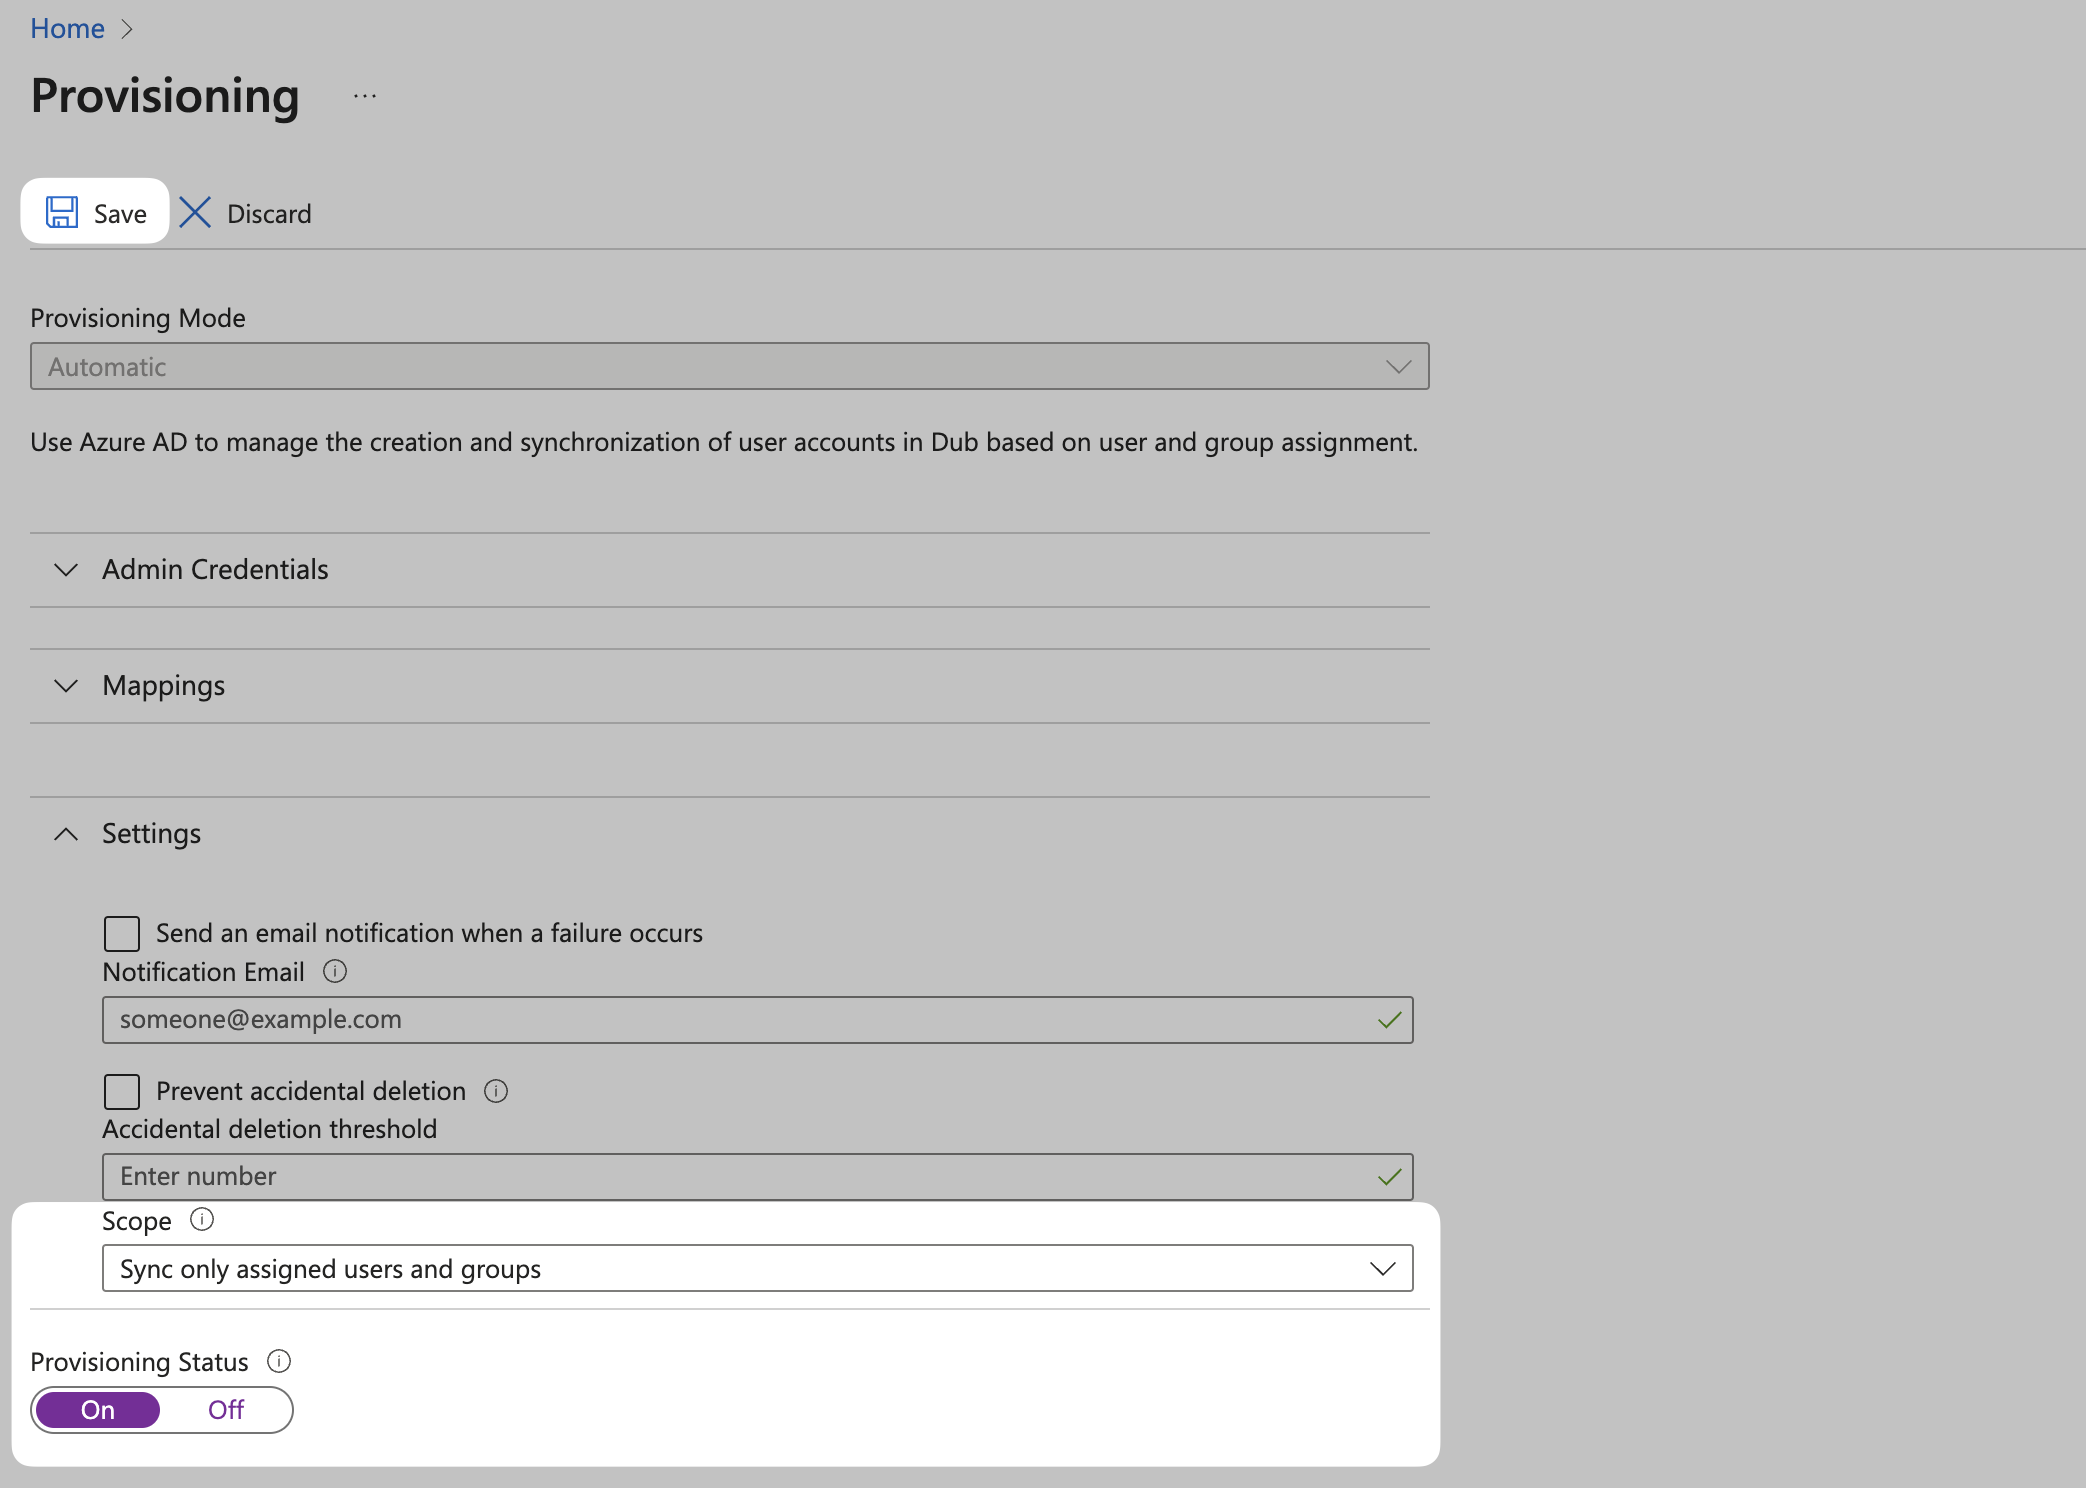
- Select Sync only assigned users and groups from the Scope dropdown.
- Confirm the Provisioning Status is set to On.
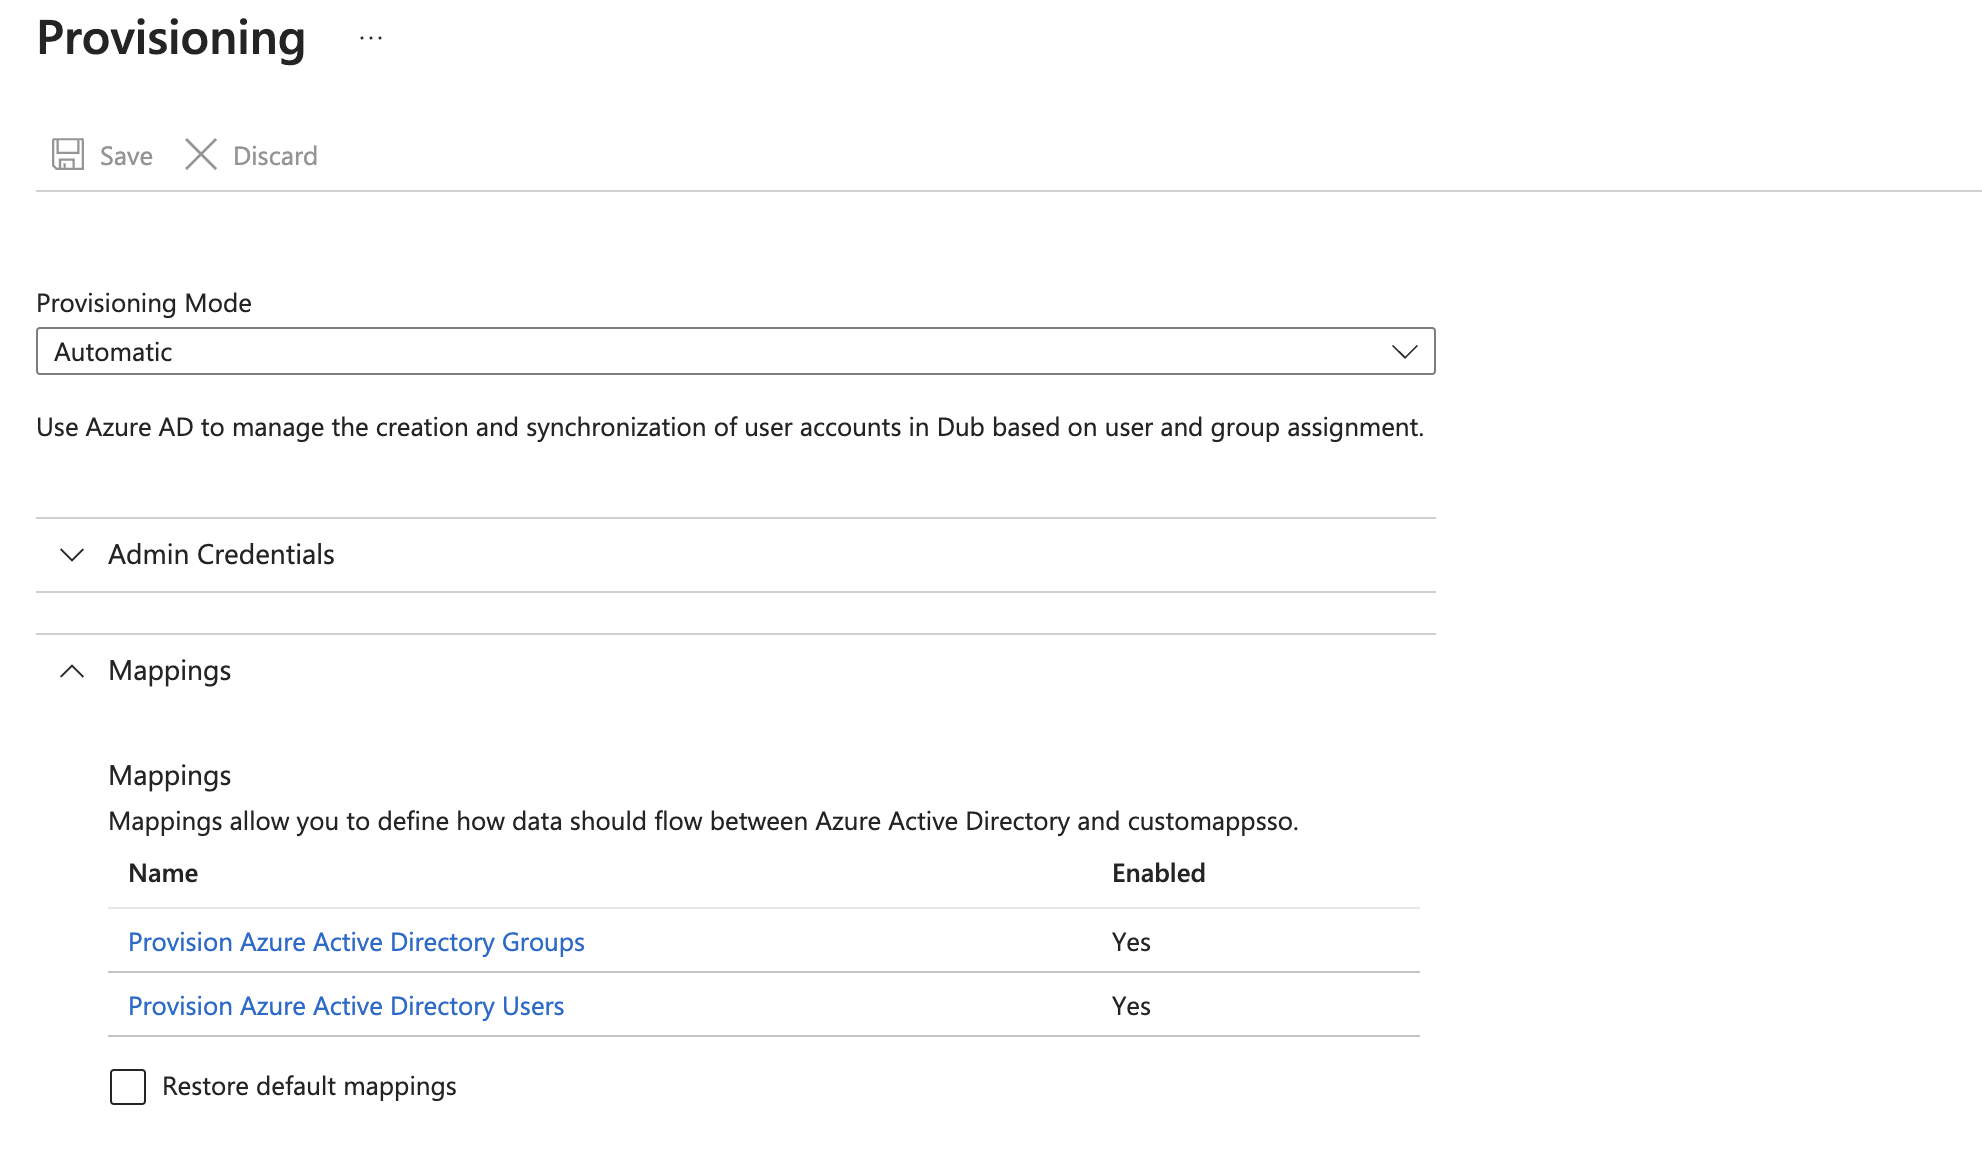
Step 3: Assign Users
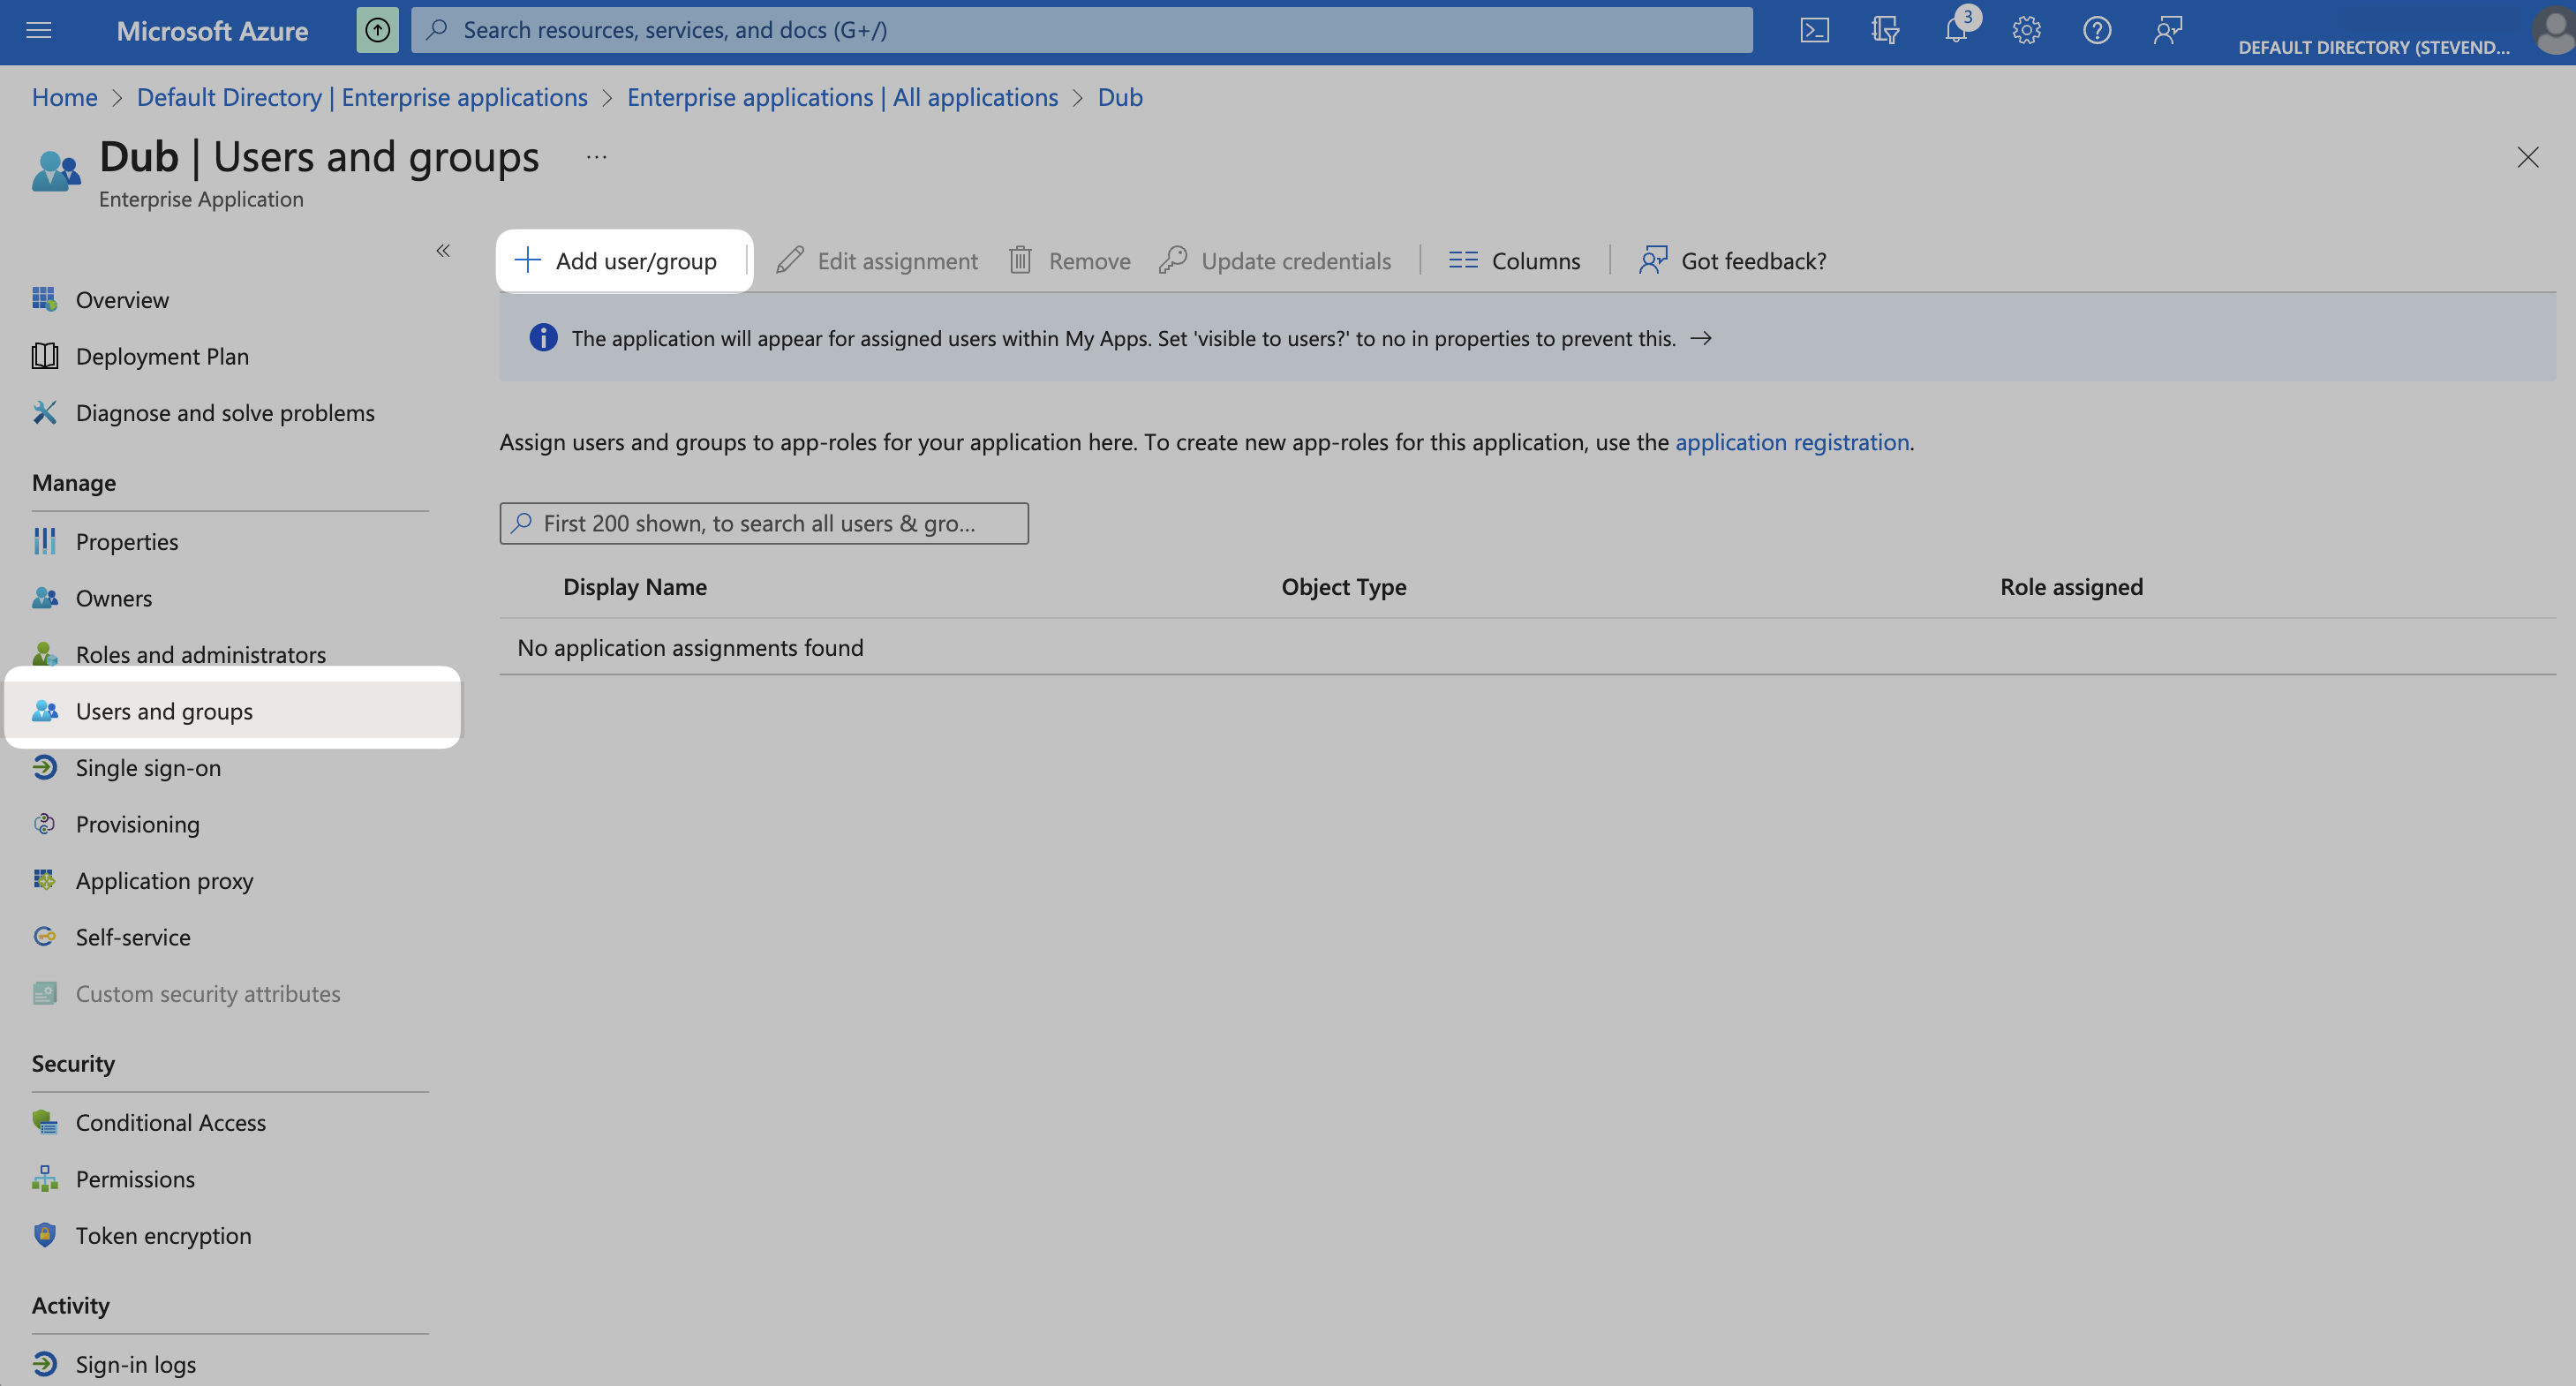
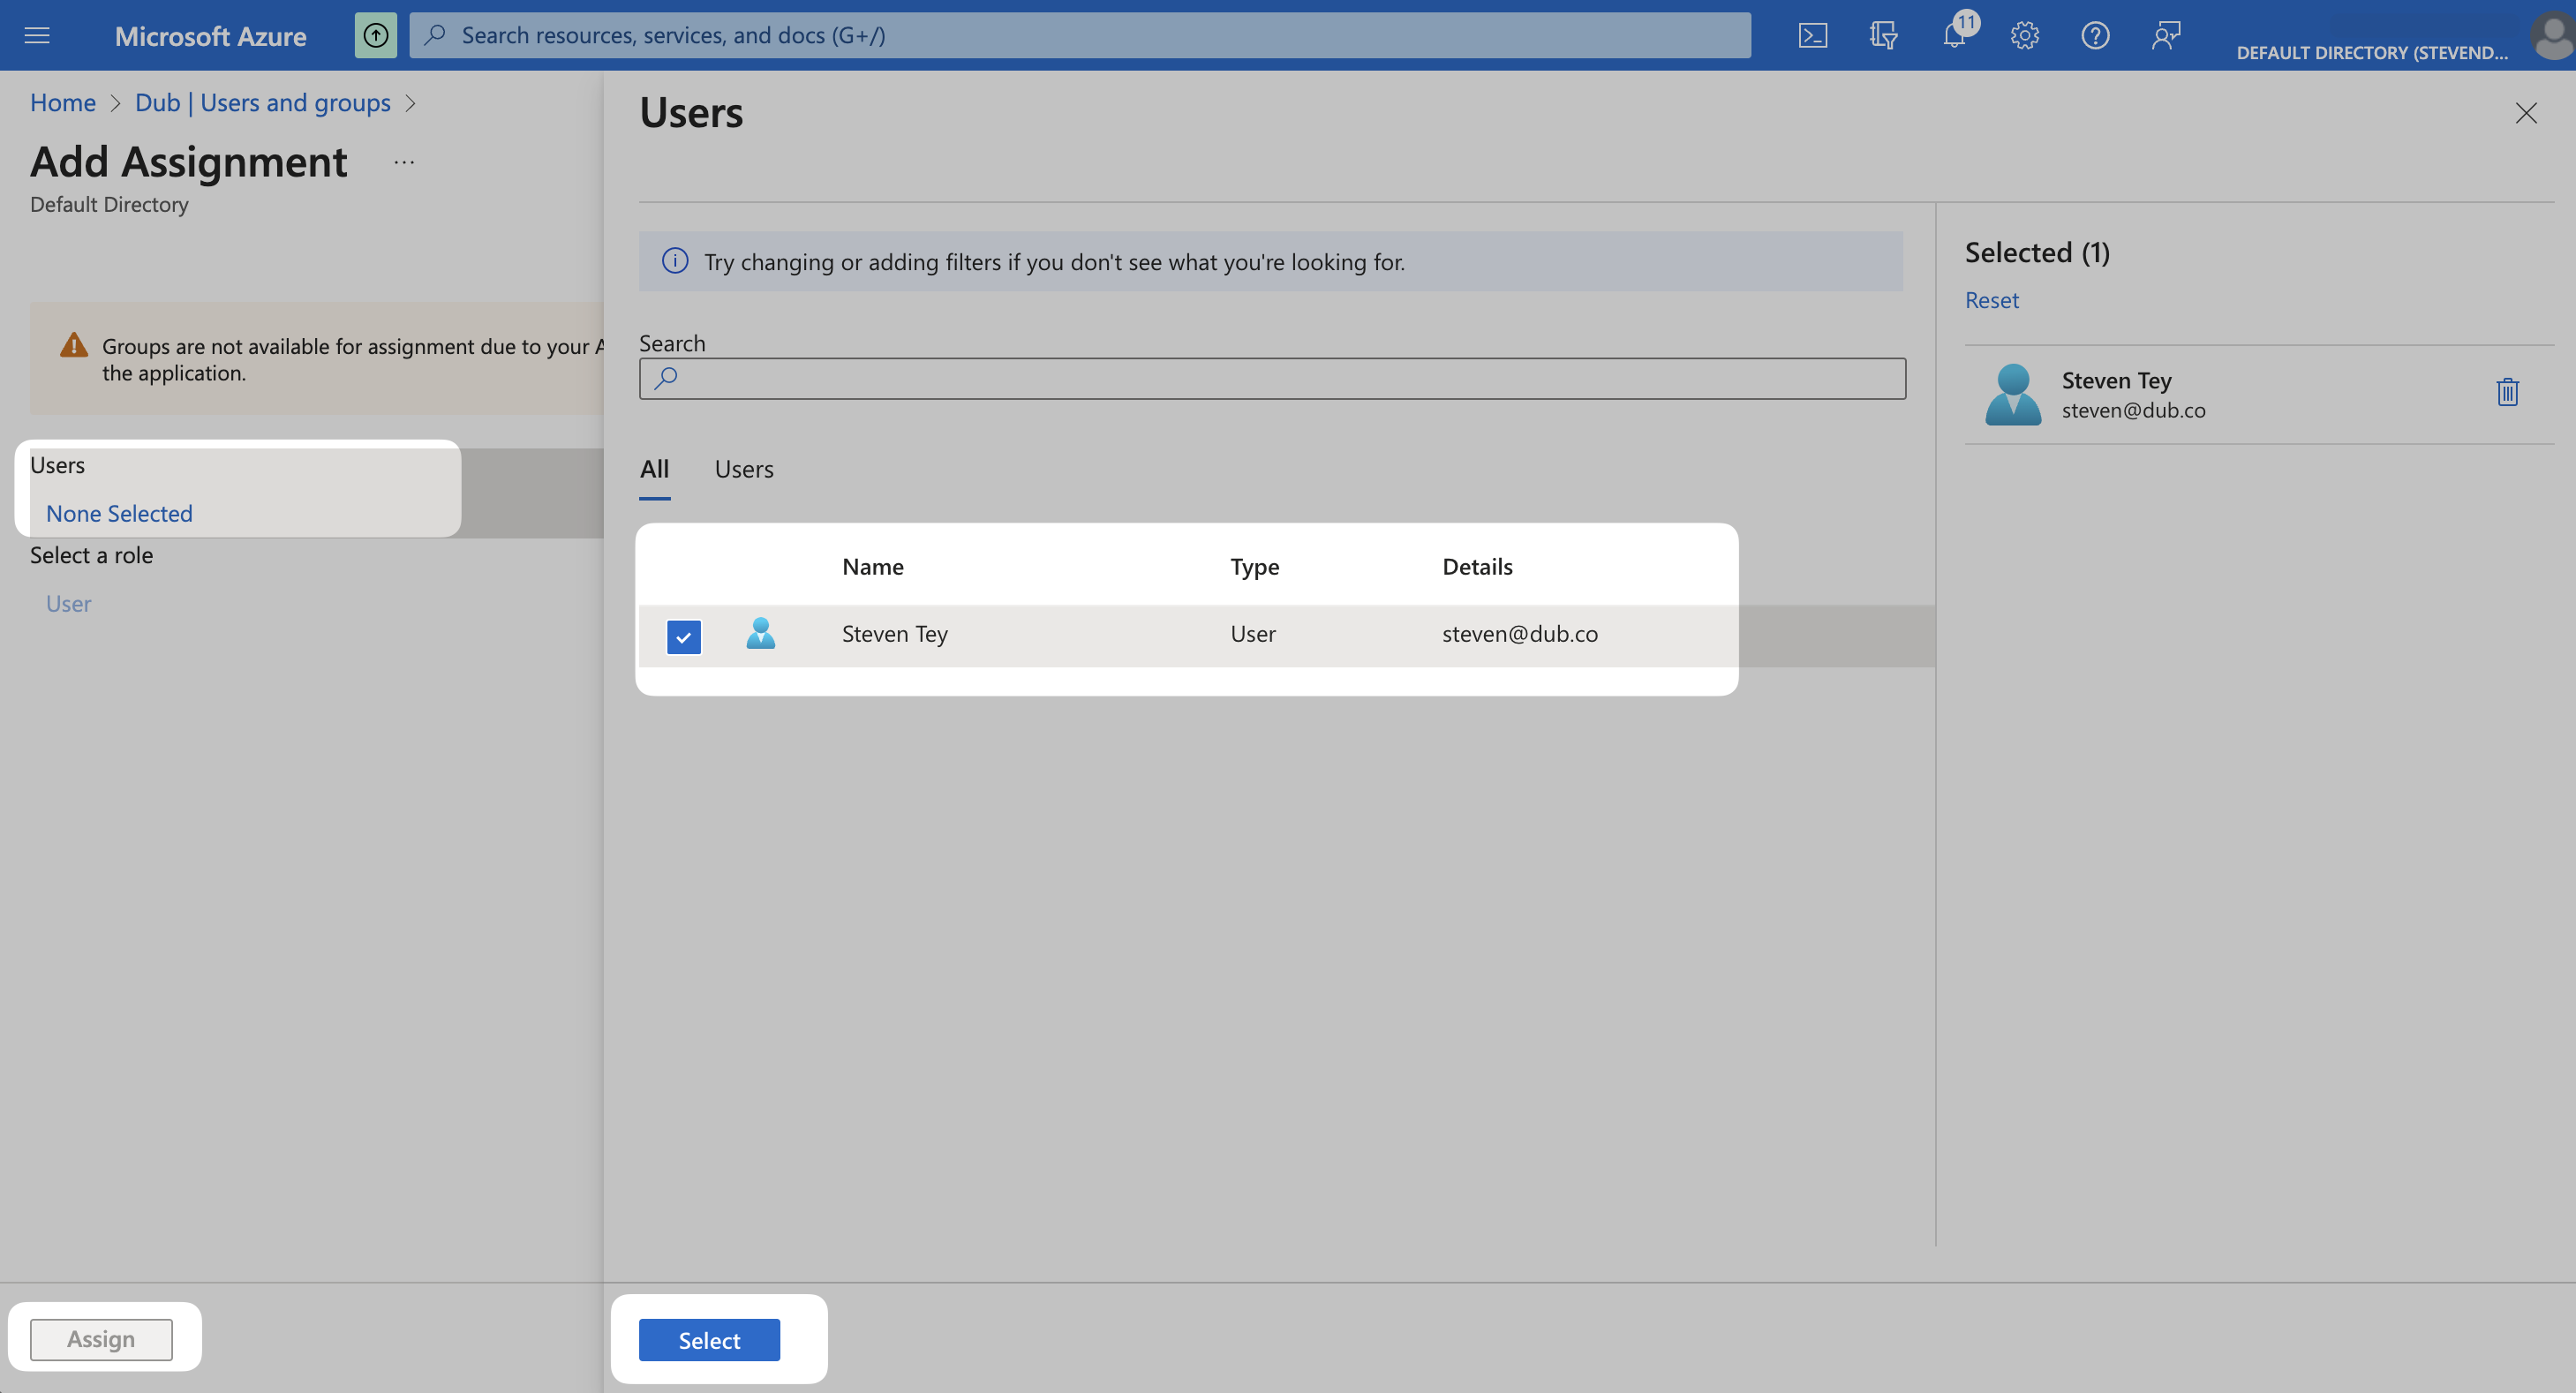
Once you’ve configured Directory sync, you can assign users to Dub directly within Azure AD. From your application, click the Users and groups from the left navigation menu and click Add user/group.